Shopify is a highly customizable online store builder. You can now easily integrate your Jotform forms with your Shopify checkout process.
Shopify Wiki has a detailed tutorial on how to use Jotform to ask customers for additional information during checkout.
How to integrate Shopify with Jotform
Add a special tag to your custom products
You’ll begin with adding a special tag to all your products that require you to present your customization form on the cart page.
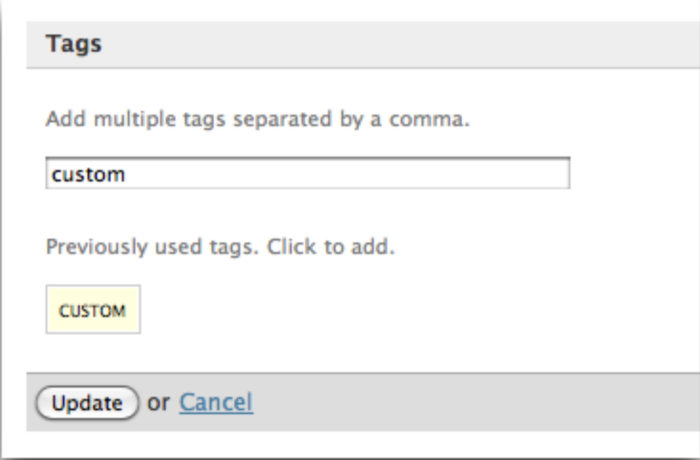
Find the tag section in the product detail page, type in your tag or click on an existing one and then click Update button. In this example, we have used ‘custom’.
Create a new snippet
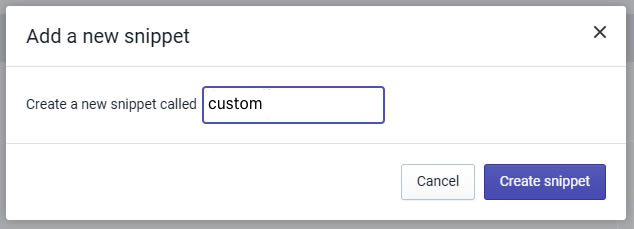
You need to create a new Liquid snippet named ‘custom’.
Before you proceed, do backup your theme by downloading it on your Assets page.
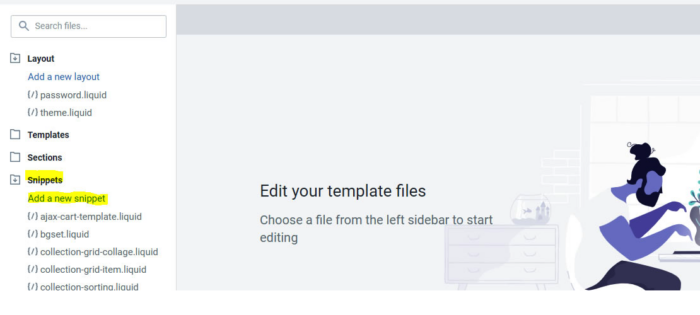
Once you’ve created a backup of your theme, go to Assets then click on the Theme Editor link or tab.
On the Themes page, click on the ‘Add a new snippet’.
Type in ‘custom’ to create a custom.liquid snippet, then click on Create snippet.
Get the embed code from Jotform
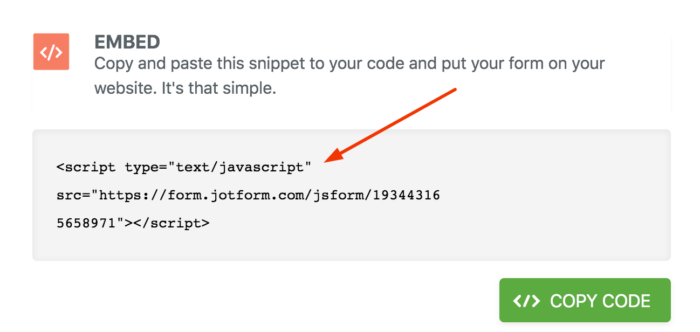
At this point, you need the embed code of your Jotform that you would like to show to your customers.
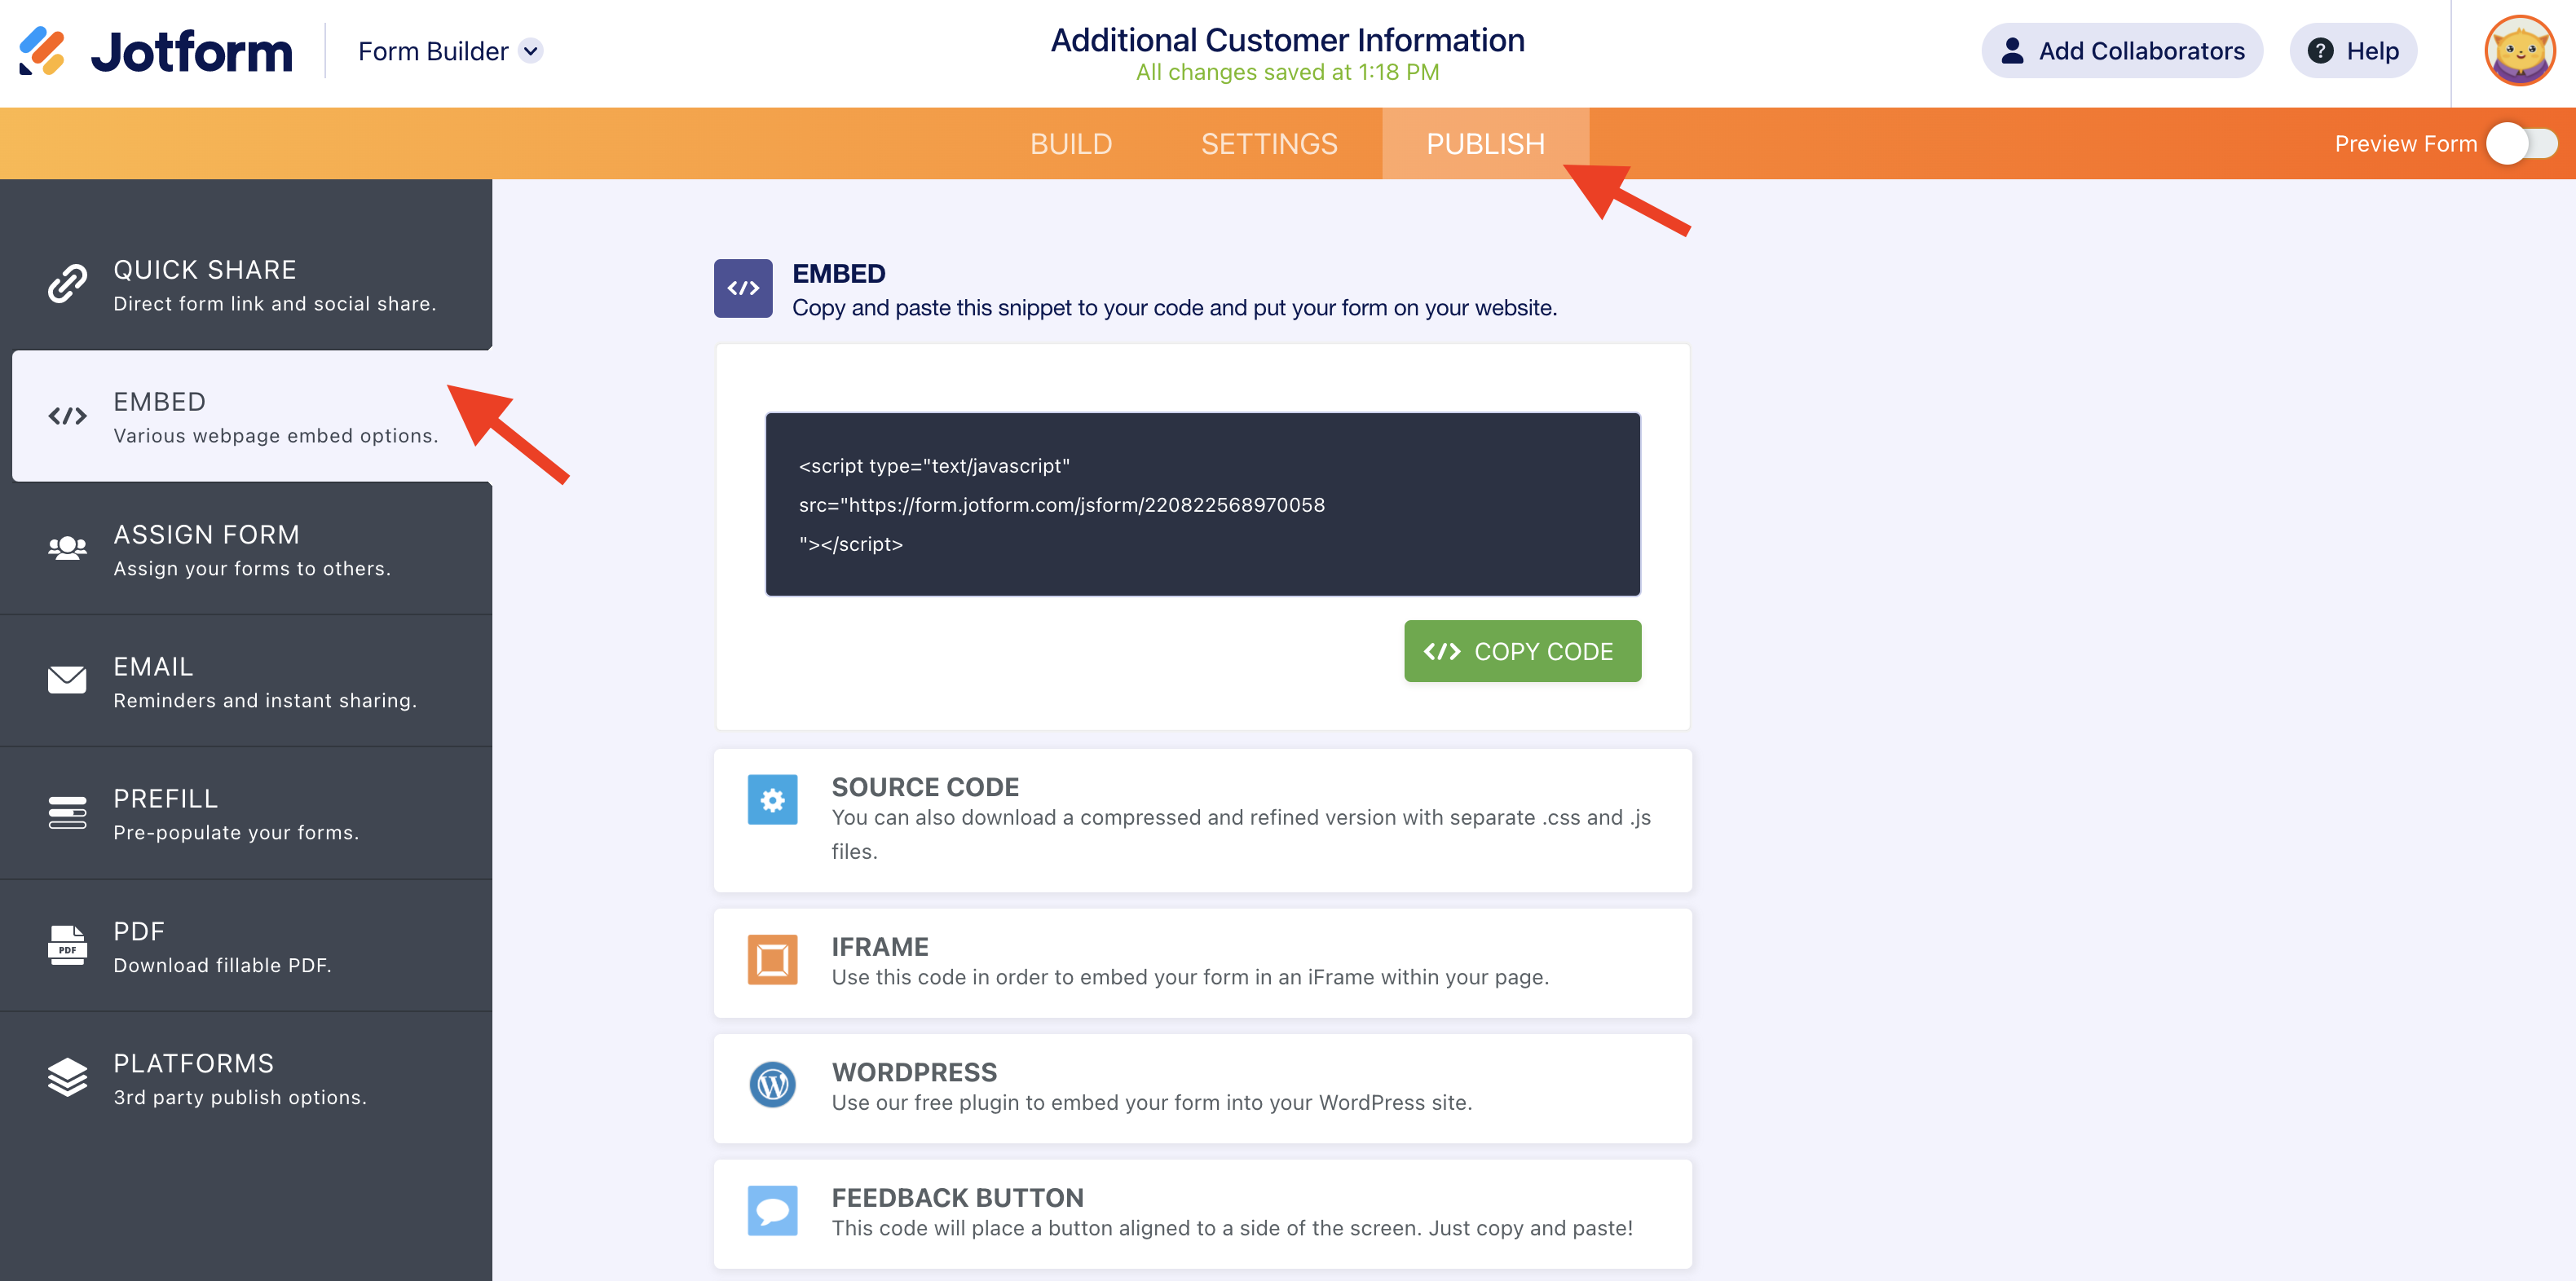
In the form builder and under ‘Publish’ tab, click ‘Embed’ button, where you will find the code piece to copy.
Paste the Jotform embed code in your snippet
Copy the code, go back to the Themes page in Shopify and paste the embed code into the Liquid snippet. Don’t forget to save it.
Edit the Thank you page on Jotform
If you would like to redirect people to your Shopify checkout page, simply follow the instructions given in this guide on how to use redirections after a form is submitted.
Edit the cart.liquid template
Go to your Theme Editor page, and click on ‘cart’ under Templates to open the template cart.liquid in the online code editor.
At the top of the file, add this code:
{% assign needs_form = false %}
Then locate this code:
{% for item in cart.items %}
On the next line (after the above code), add this code:
{% if item.product.tags contains "custom" %}
{% assign needs_form = true %}
{% endif %}
Then, locate the code for your checkout button. The code will look like this:
<input id="getout" name="checkout" type="submit" value="PROCEED TO CHECKOUT" />
Replace the above code with that one:
{% if needs_form %}
{% include 'custom' %}
{% else %}
<input type="submit" id="getout" name="checkout" value="PROCEED TO CHECKOUT">
{% endif %}
Save.
The modifications we made to cart.liquid have this effect: if any item in the cart is tagged with ‘custom’ (is a to-be-customized product), then we show the jotForm form instead of the checkout button.
How do we link the customization data with the order?
Now, you must ask yourself: how will I associate the data collected on the Jotform website with my order in Shopify? Simple: include a form field in your Jotform form that asks for either the customer’s name or his or her email address. Both are required at checkout too. You’ll put 2 and 2 together that way.
Demo Store
Want to see an application of this solution in action? Visit the Jotform customization at checkout shop. This product is one that can be customized: https://cormier-larson-and-vonrueden7119.myshopify.com/products/lets-make-out-sofa.



Send Comment:
10 Comments:
344 days ago
How can I use the approach above if I can only find a 'cart.json' vs a 'card.liquid' file in my admin code section?
More than a year ago
How can I use the approach above if I can only find a 'cart.json' vs a 'card.liquid' file in my admin code section? Thanks a lot in advance, Jan
More than a year ago
I have created an App using Jotform. Now I'd like to connect it with my Shopify store so I can use Shopify for shipping purposes. Hope can I accomplish this?
More than a year ago
I need Jotform to ask customer for name , address , phone , email etc, How to I get shopify to use that data to populate the checkout details which would be the same. Can Shopify Checkout pull that information from the Jotform fields and populate the checkout fields do customer does not have to enter same information twice.
Also Can this been done the other way around aswell. Can Jotform import customer details from checkout ?
I have Jotform consent form that customers fill out for a covid test and then they have to pay for test online, so i dont want them to have to enter their name and address, email etc details twice
More than a year ago
Hello, I already add my jotform in my shopify store, but I just noticed one button is on spanish, can I change it directly in shopify? and if yes how can I do that? thanks!!
More than a year ago
Can this be done as a popup? We need the customer to read a lot of info before signing not just fill in some fields.
More than a year ago
This doesn't work because there is no
""
More than a year ago
This doesn't work, there is no
In that template
More than a year ago
I would like customers to upload images on the check out page can I do this with jotforms? if so how? thanks
lizMore than a year ago
great!
I used Jotform Forms in my Shopify store. Check