-
rafaelolimpiooooPerguntado em 11 de novembro de 2023 às 22:18
Olá, Gostaria de saber se é possível usar o gateway da stripe e receber tambem pelo apple pay e google pay juntos no mesmo checkout, e caso não sejá possível, se eu selecionar a opção google e apple pay, vi que tambem disponibilizam pagamento por cartão de credito, em caso da escolha dessa opção sem vinculo com a stripe, qual gateway será utilizado para processamento ? onde o valor das minhas vendas irá ser depositado ? em quantos dias o valor será depositado ?
-
Kyle Jotform SupportRespondido em 12 de novembro de 2023 às 00:36
Hi Rafaelolimpioooo,
Thanks for reaching out to Jotform Support. Integrating Stripe with your form is easy. Let me walk you through it:
1. Open your form in Form Builder.
2. Then, open the Payments Toolbox on the left side of the page and drag and drop Stripe Checkout onto your form.

3. Click or drag/drop Stripe Checkout to your form.
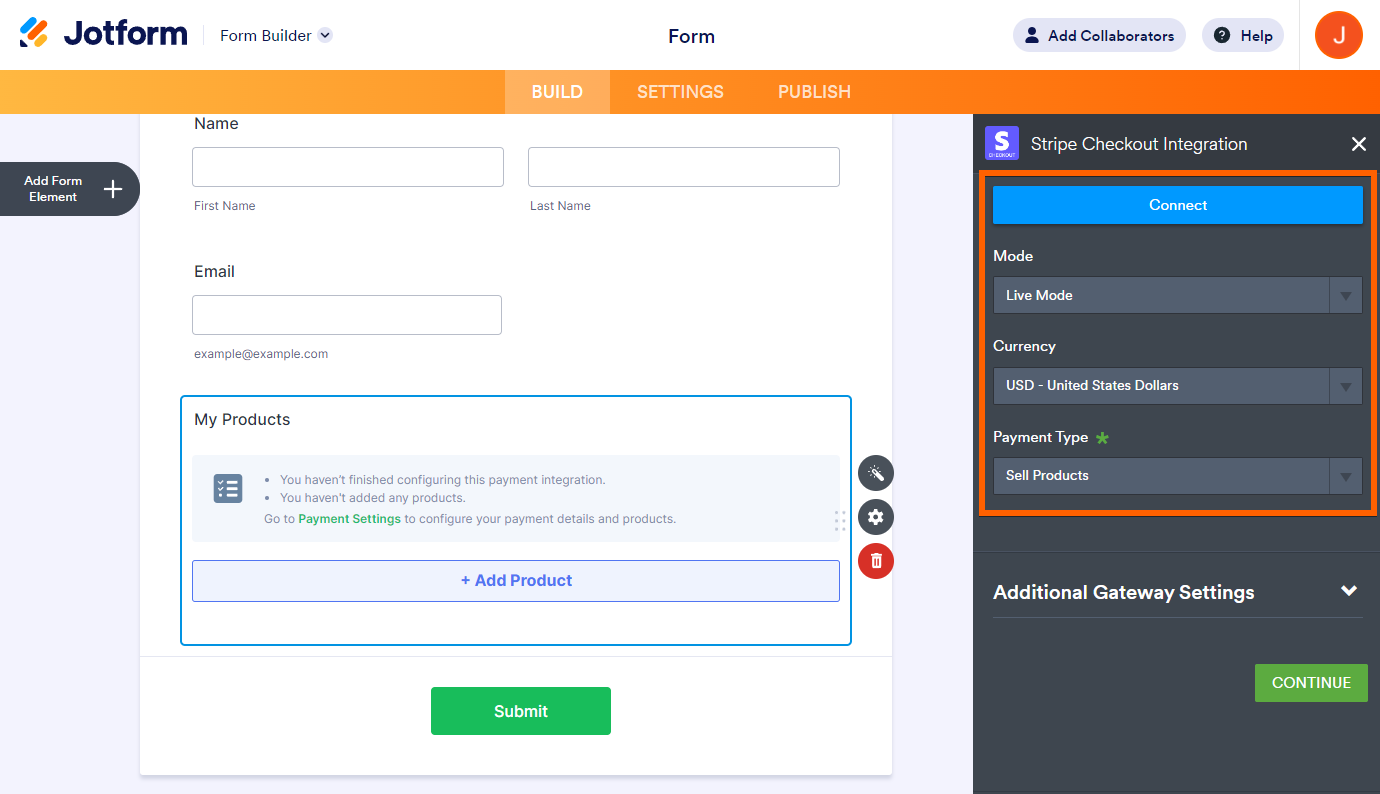
4. First, choose the Mode in the Payment Settings. The Mode tells Stripe Checkout what area you're in. Test is for trying in the Sandbox, and Live is for taking payments in real-time.
5. After clicking "Connect," you'll need to log in to your Stripe account to prove who you are. The button will turn green and say "Connected" once it is linked.
6. Pick the Currency you want. You can choose one of more than 100 accepted currencies from the drop-down menu next to Currency.
7. Pick the Payment Type. It is up to you whether you want to collect donations, sell products, or set up user-defined amounts. Check out Order Form Types to learn more.
Note: When you add Stripe Checkout, its Payment Settings will automatically open. If not, click the Wand icon to open it.
Under the Additional Gateway Settings, you can set up a few options related to the integration.
8. If you’ve selected Sell Products or Sell Subscriptions, click the Continue button to add your product or subscription items. Otherwise, click the Save button to complete the integration.
Give it a try, and let us know how it goes.