Switching a payment gateway in a form is essential when you need to update your payment system to offer a new payment option for your customers. When switching, it is also essential to keep your form working while also keeping the data safe during the transition.
Note
This method is for switching payment gateway using the current native flow. If you’re looking to switch payment gateway using the Reusable Payment Connection, visit Switching Reusable Payment Connections for the steps.
The process of switching a payment gateway in your form is easy. Let’s get started!
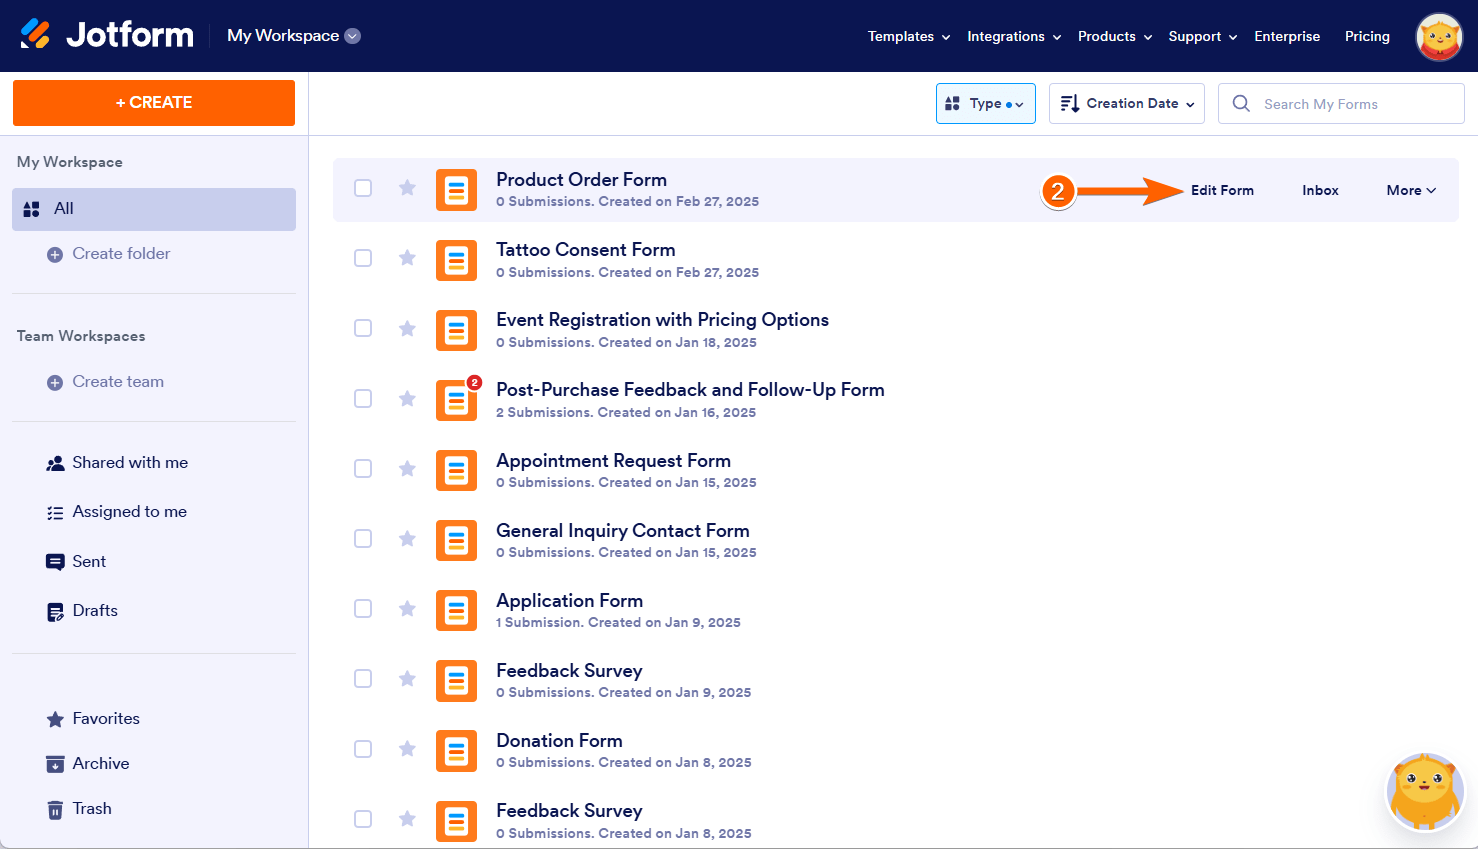
- On your My Workspace page, click on Type at the top and in the Dropdown menu that opens, uncheck the boxes next to all the assets except Forms, so only your forms are displayed.

- Now, hover your mouse over the form you want to switch its payment gateway, and click on Edit Form on the right side of the page to open the Form Builder.
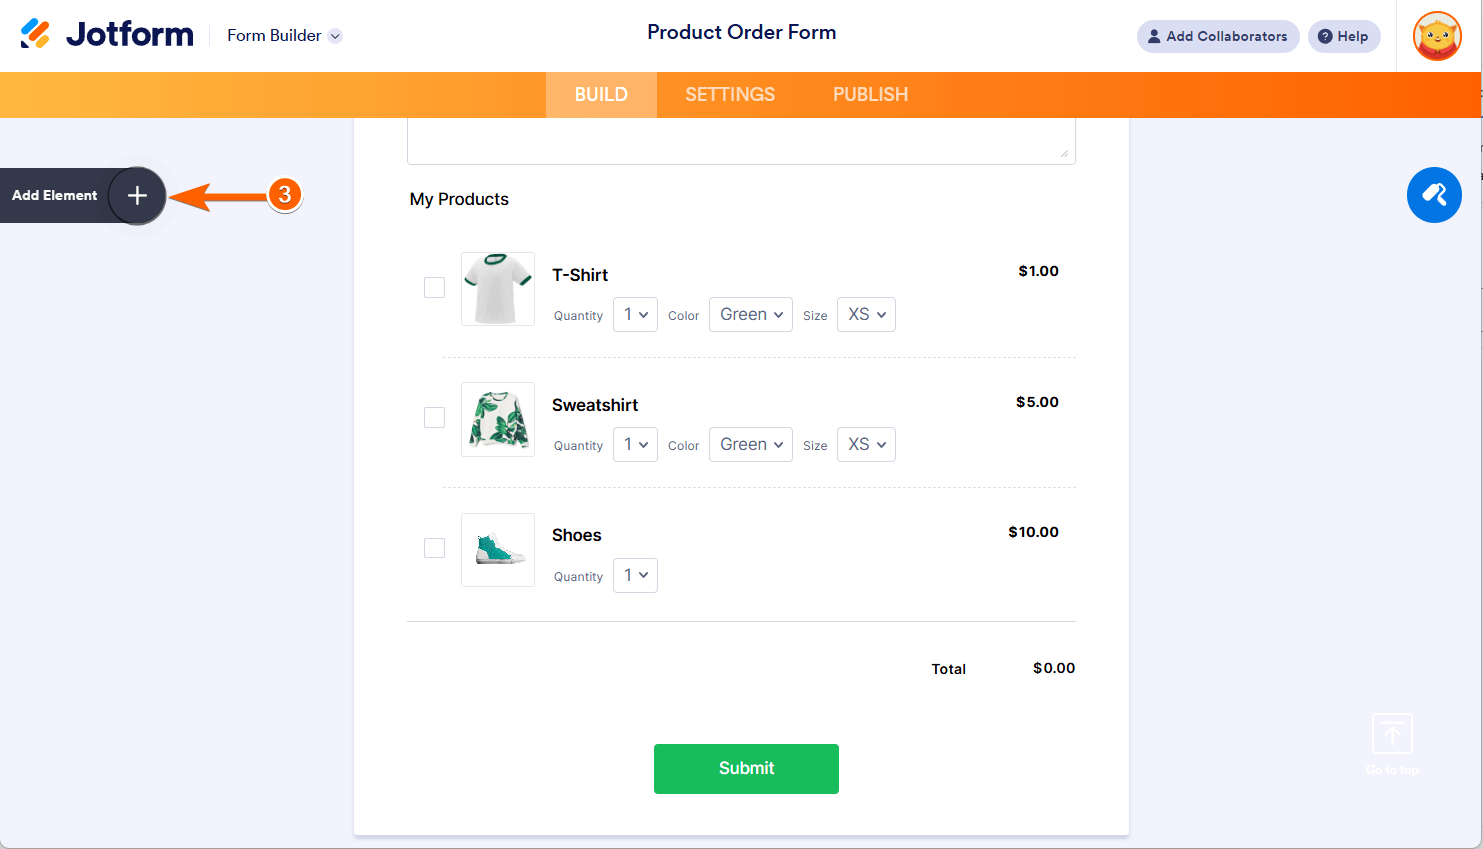
- In Form Builder, click on the Add Element menu on the left side of the page.
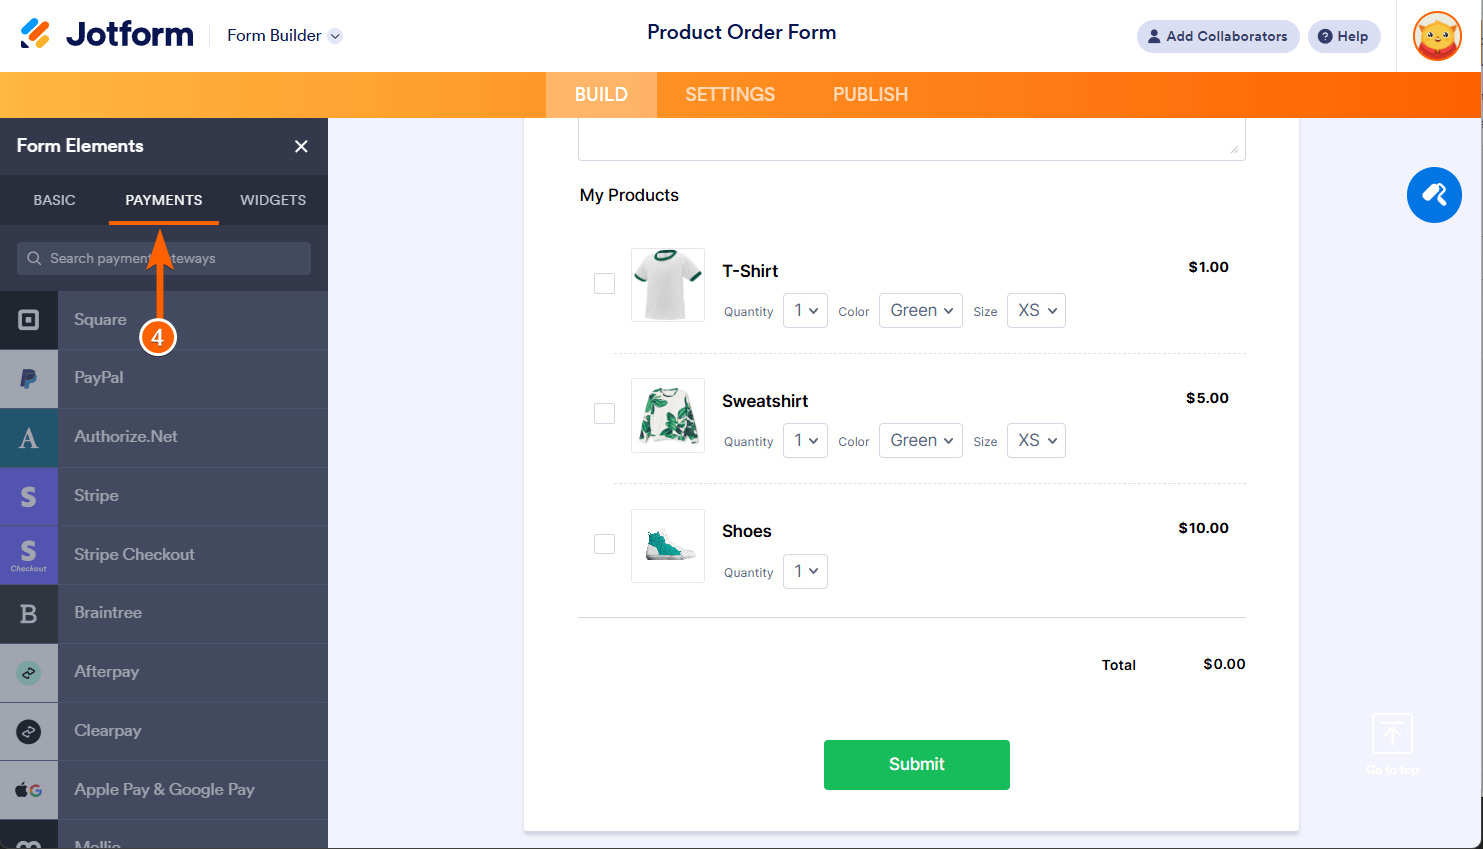
- Then, click on Payments in the Form Elements panel to see the list of payment gateways.
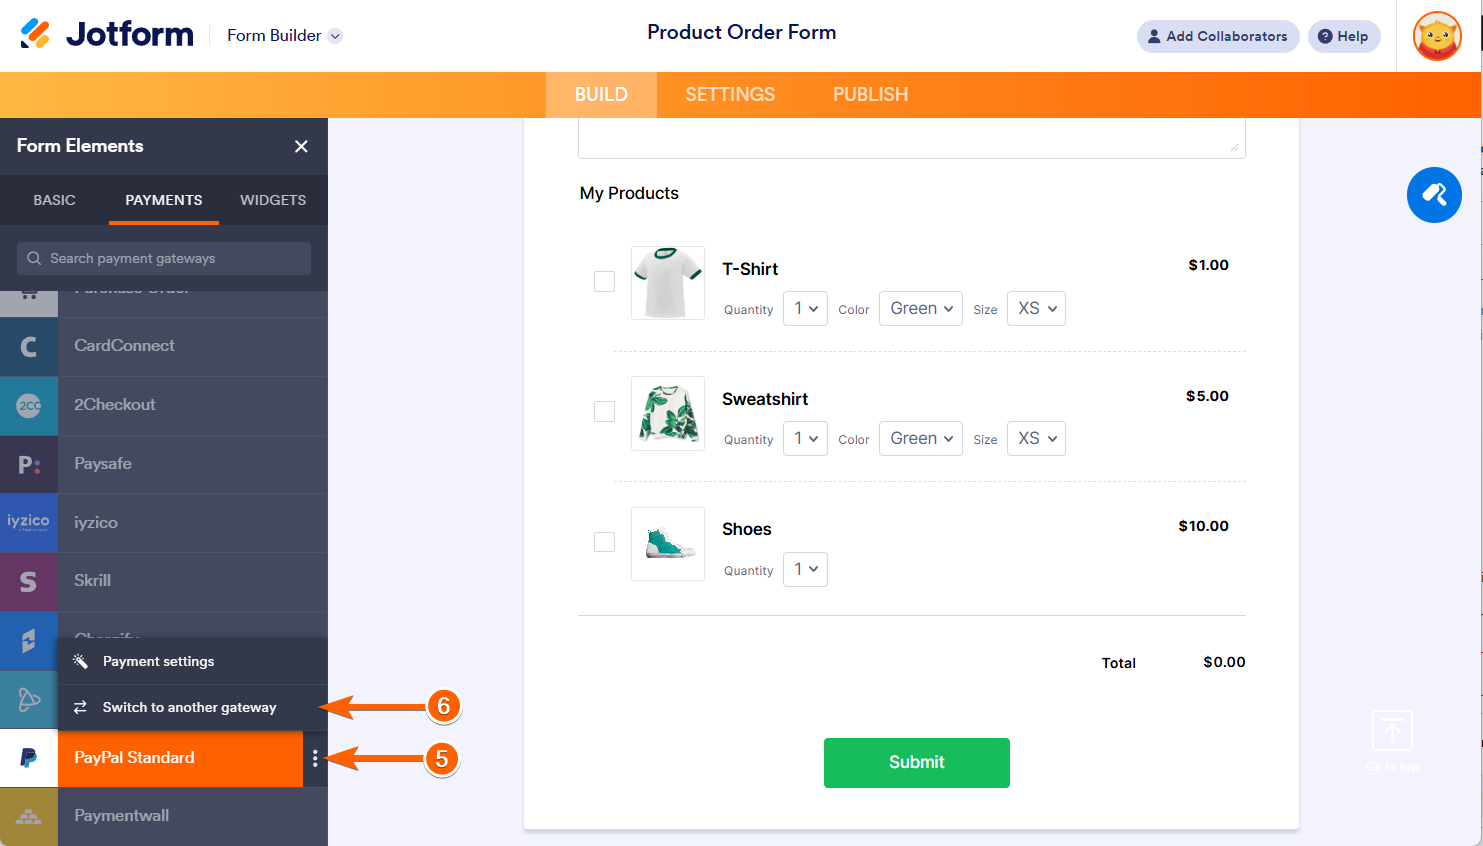
- Next, click the Three Dots icon on the current payment gateway that is active. In the given example, we used PayPal Standard
- Then, on the options that are displayed, click on Switch to another gateway.
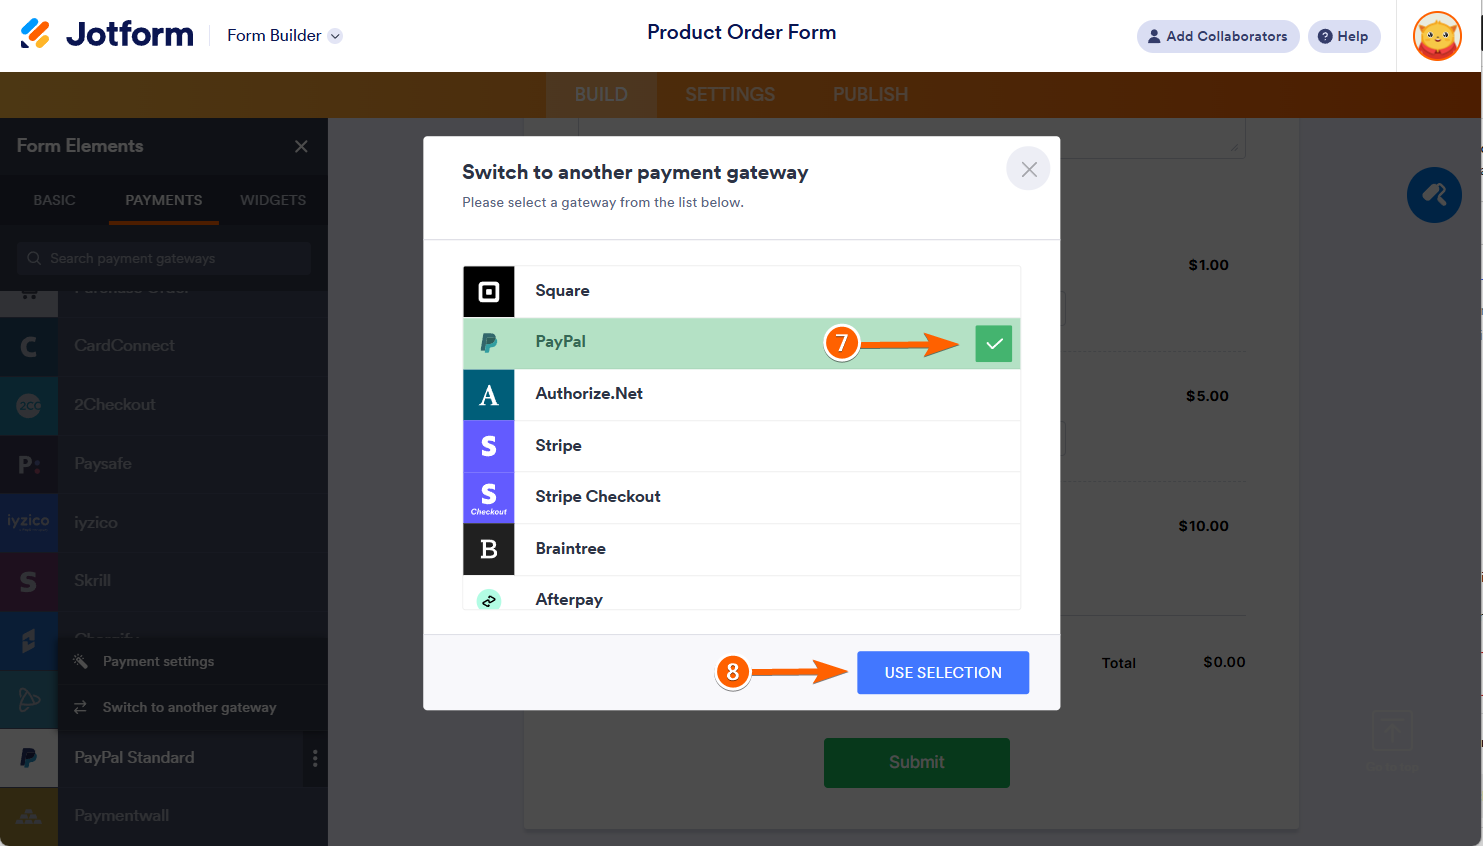
- In the window that opens, select the new payment gateway from the list. In the given demo form, we used PayPal.
- Next, click on Use Selection button at the bottom.
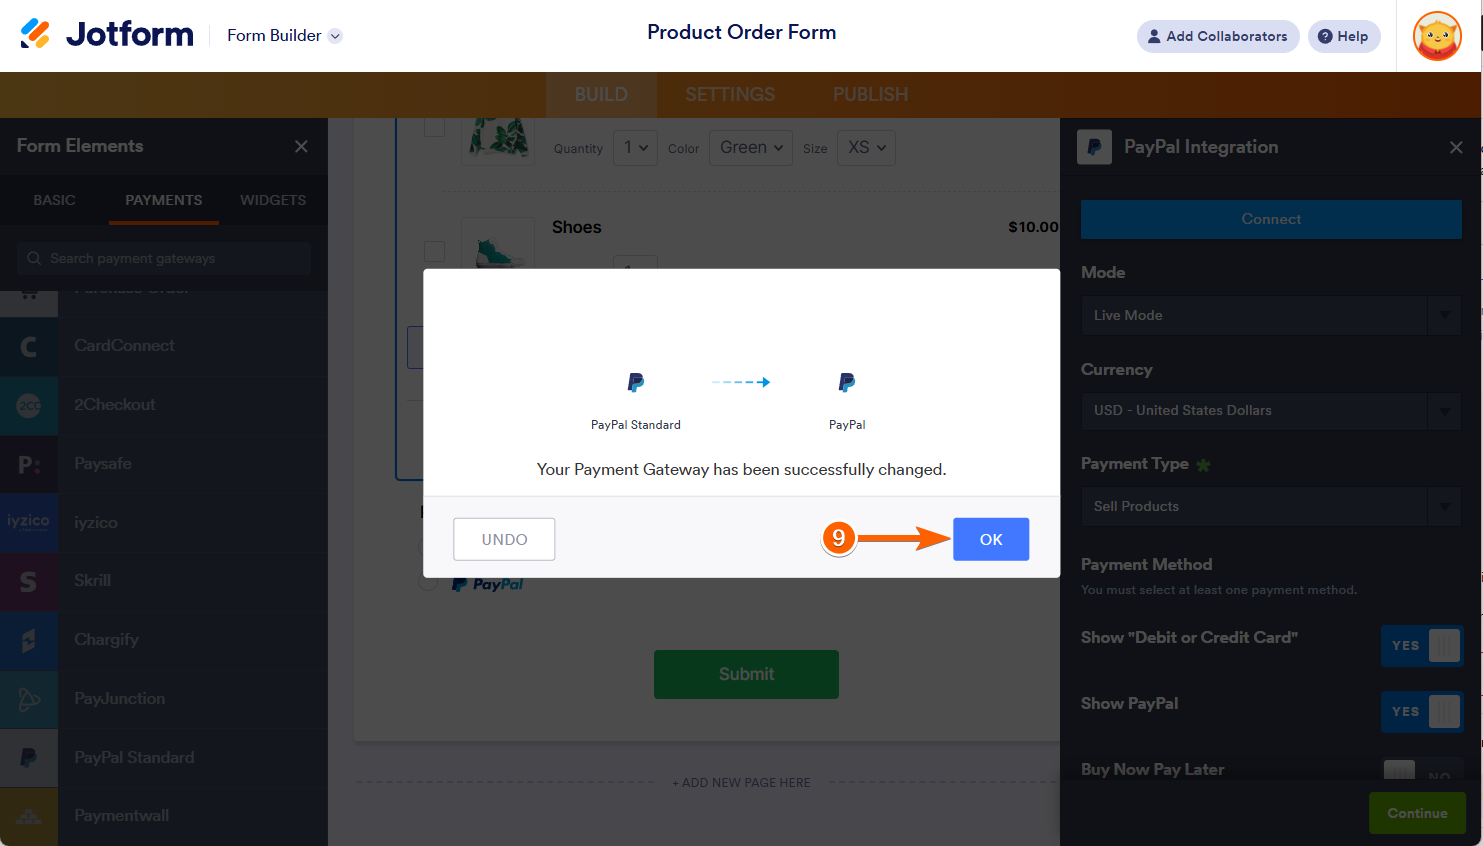
- Now, in the confirmation window that opens, click on Ok button.
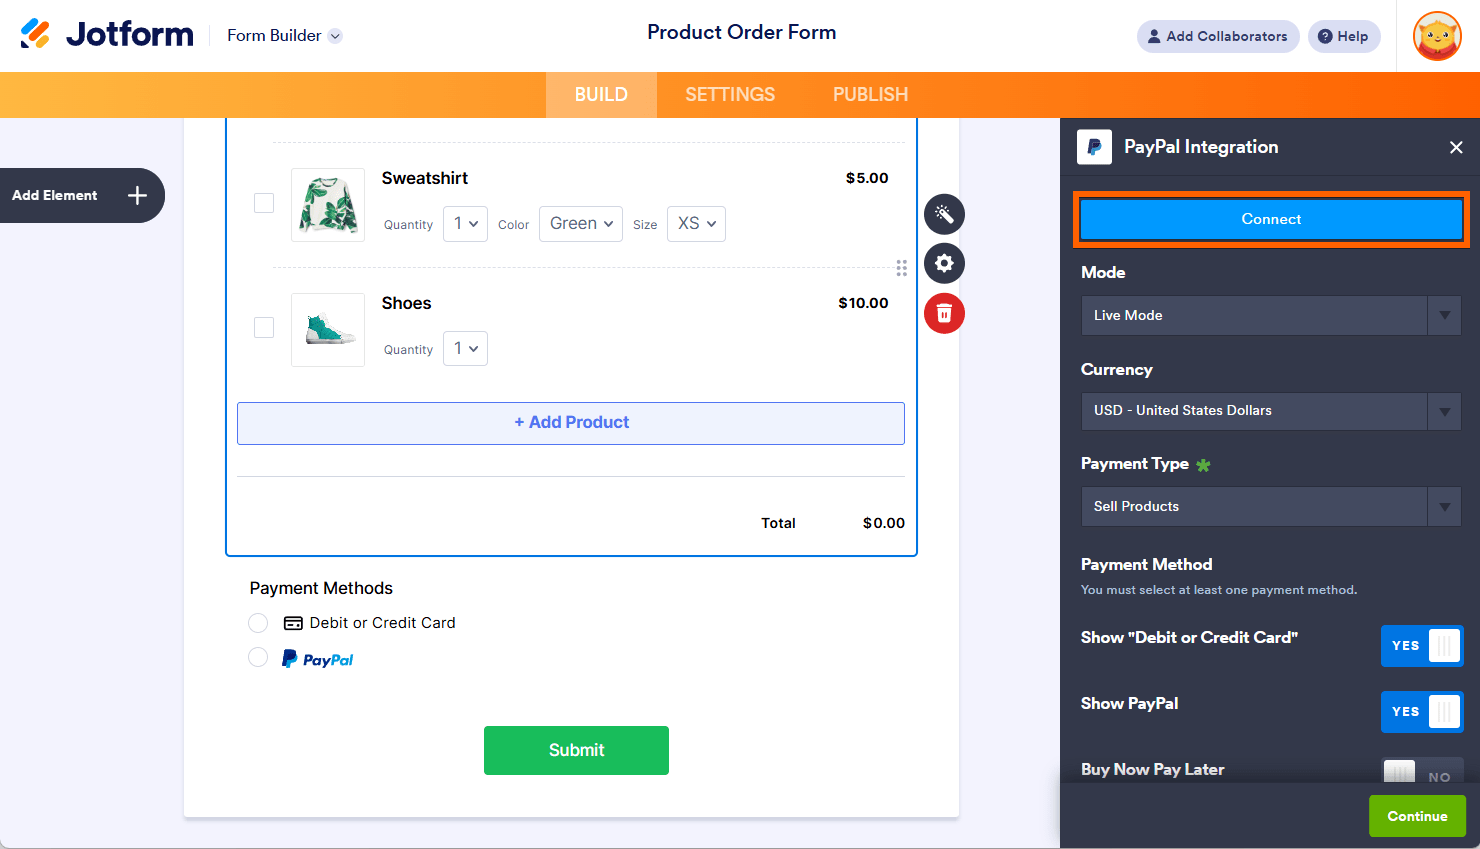
You will need to set up your account using the chosen new payment gateway. In the above example, we used PayPal. In this case, you will need to connect your account by clicking on the blue Connect button.

Send Comment: