ClickUp is a powerful cloud-based collaboration and project management tool suitable for businesses of all sizes and industries. Its features include communication and collaboration tools, task assignments and statuses, alerts, and integrations with popular third-party software.
Setting up the ClickUp Integration
To integrate ClickUp with Jotform
- In the Form Builder, go to the Settings tab.
- Select Integrations from the left panel.
- Search for and click ClickUp from the list.

- Choose an action. With ClickUp, you can do the following:
- Create Task
- Create Subtask
- Create Comment
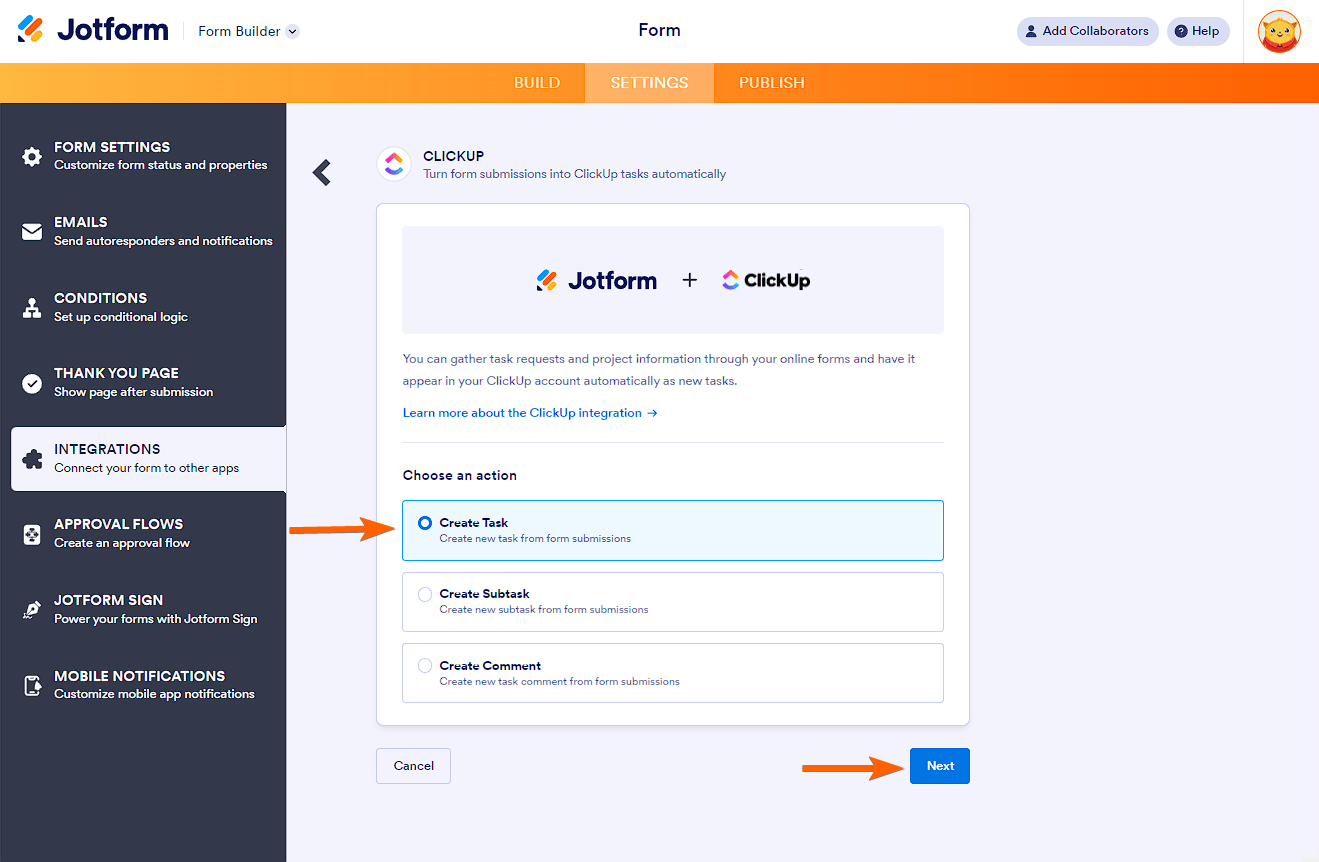
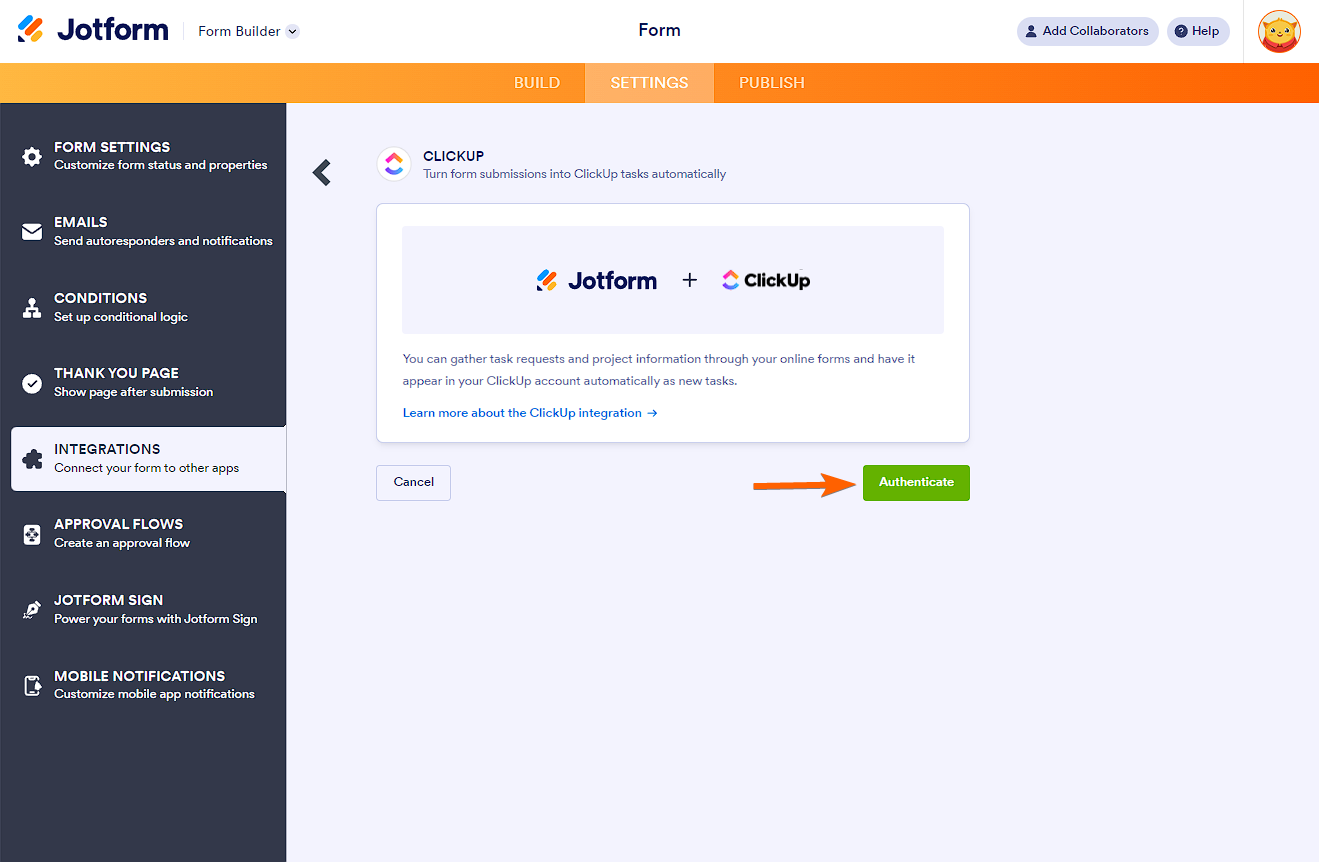
- Click the Authenticate button and ensure you grant access to Jotform to connect to your ClickUp account.
- After authenticating, set up the following dropdowns:
- Choose a Workspace
- Choose a Space
- Choose a Folder
- Chose a List
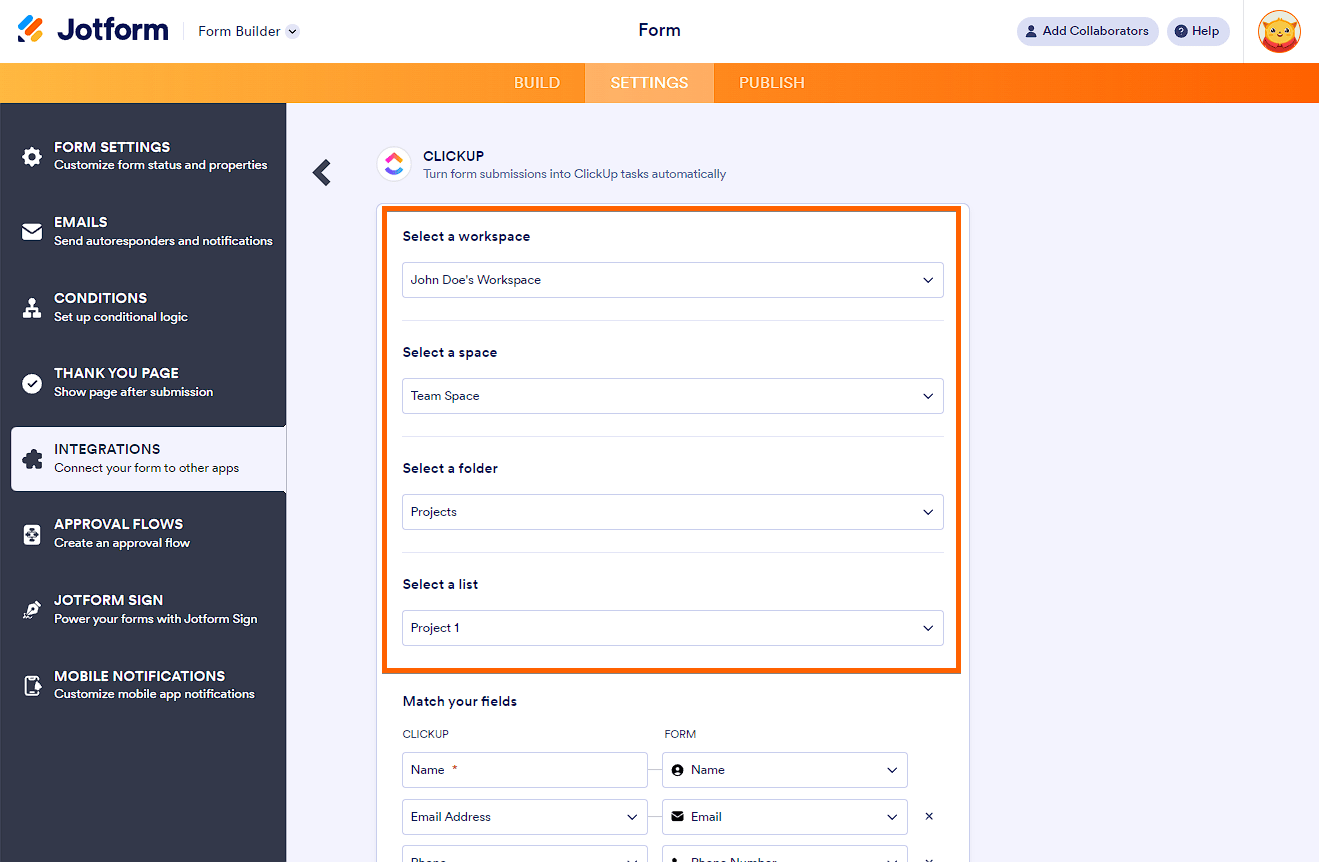
- Next, match your form fields accordingly. If present, you can also select to attach your file uploads in the form from the Send Uploaded Fileds to ClickUp dropdown.

- If everything’s set, click the Save button to complete the integration.
Adding New Action and Viewing Options
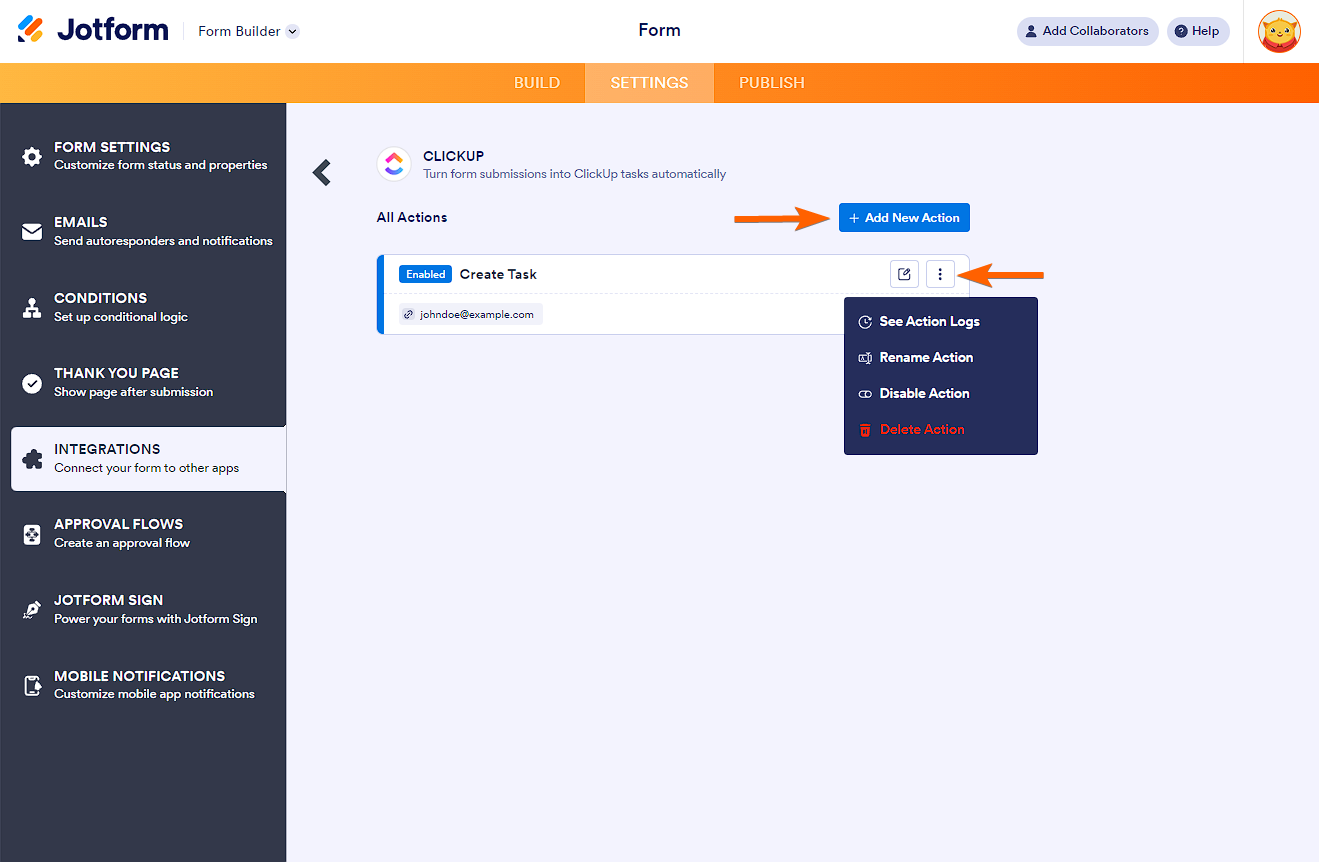
Once the integration is set up, you can see the Actions you created. Click the Add New Action button to set up additional action. If you hover your mouse over an action, the Edit Action (pencil icon) and the More (three vertical dots icon) options will appear to the right. The More option includes the following:
- See Action Logs — This option displays your ClickUp’s successful and failed runs. It’s useful when troubleshooting issues.
- Rename Action — Select this option if you want to personalize the action’s title.
- Disable Action — Use this option to temporarily stop the integration from sending data to ClickUp.
- Delete Action — Select this option if you want to remove the integration from your form.
Sending Data to ClickUp
When you set up your integration successfully, every form submission will automatically add the created action to your ClickUp dashboard. Here’s a short video of how the integration sends data to your ClickUp account:
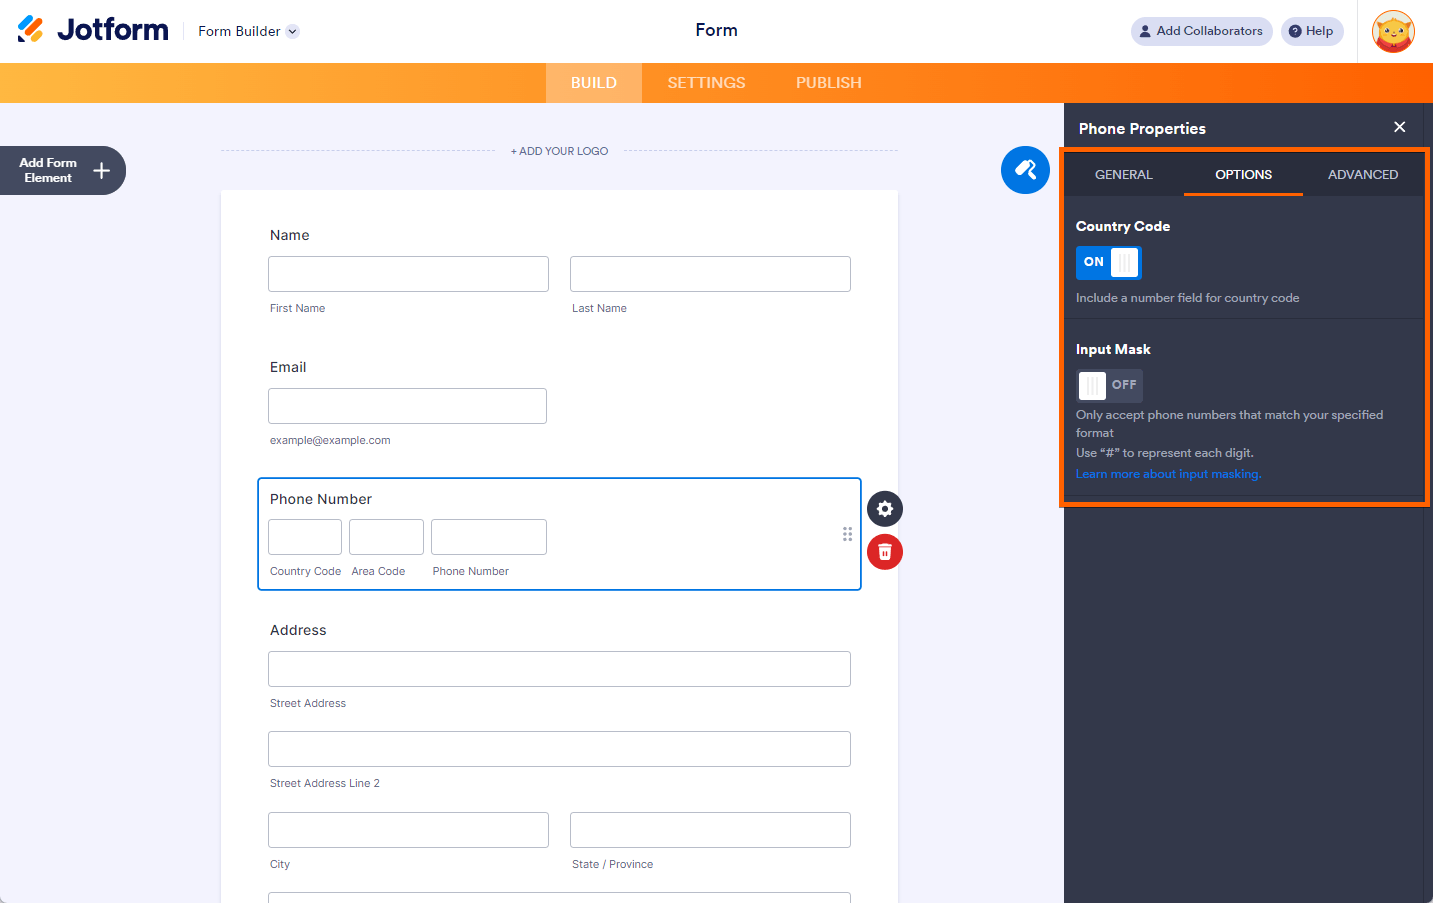
Setting up the Phone Number Field for ClickUp
ClickUp is forcing the phone number entered to have a country code. Thus, if the phone number in the Jotform form does not have the country code, it cannot be inserted into ClickUp. The Phone Number field in Jotform has to be set as follows:
Sending Form Data to ClickUp Through Jotform Tables
You can also send your form data to ClickUp through Jotform Tables by setting up an Action Button. Here’s how you can do it:
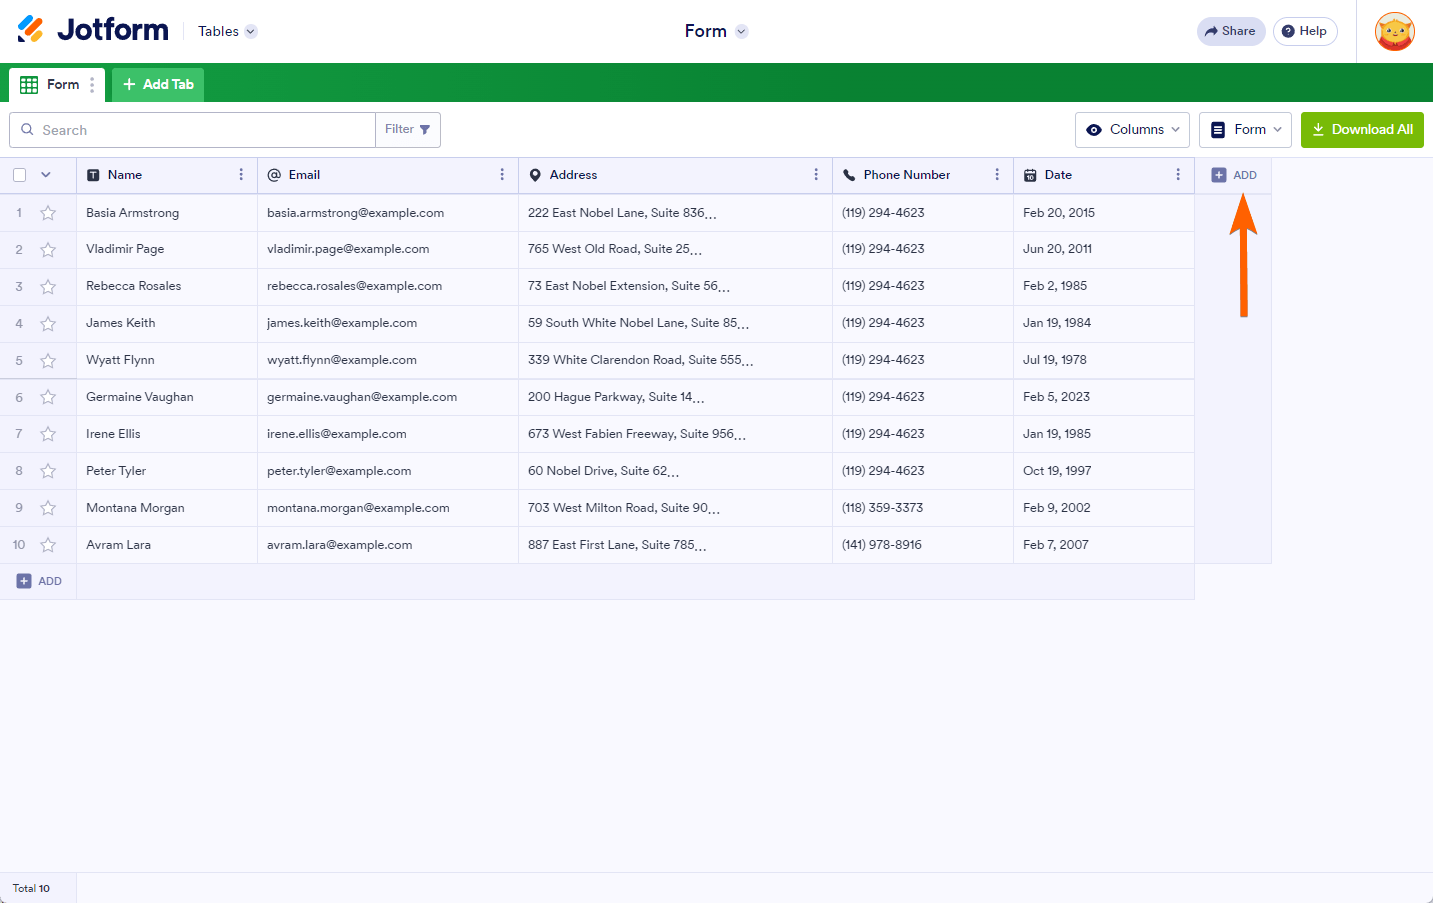
- Access the Jotform Tables from which you’d like to send the data.
- In Jotform Tables, click the Add button, which is located at the very end of the existing columns.
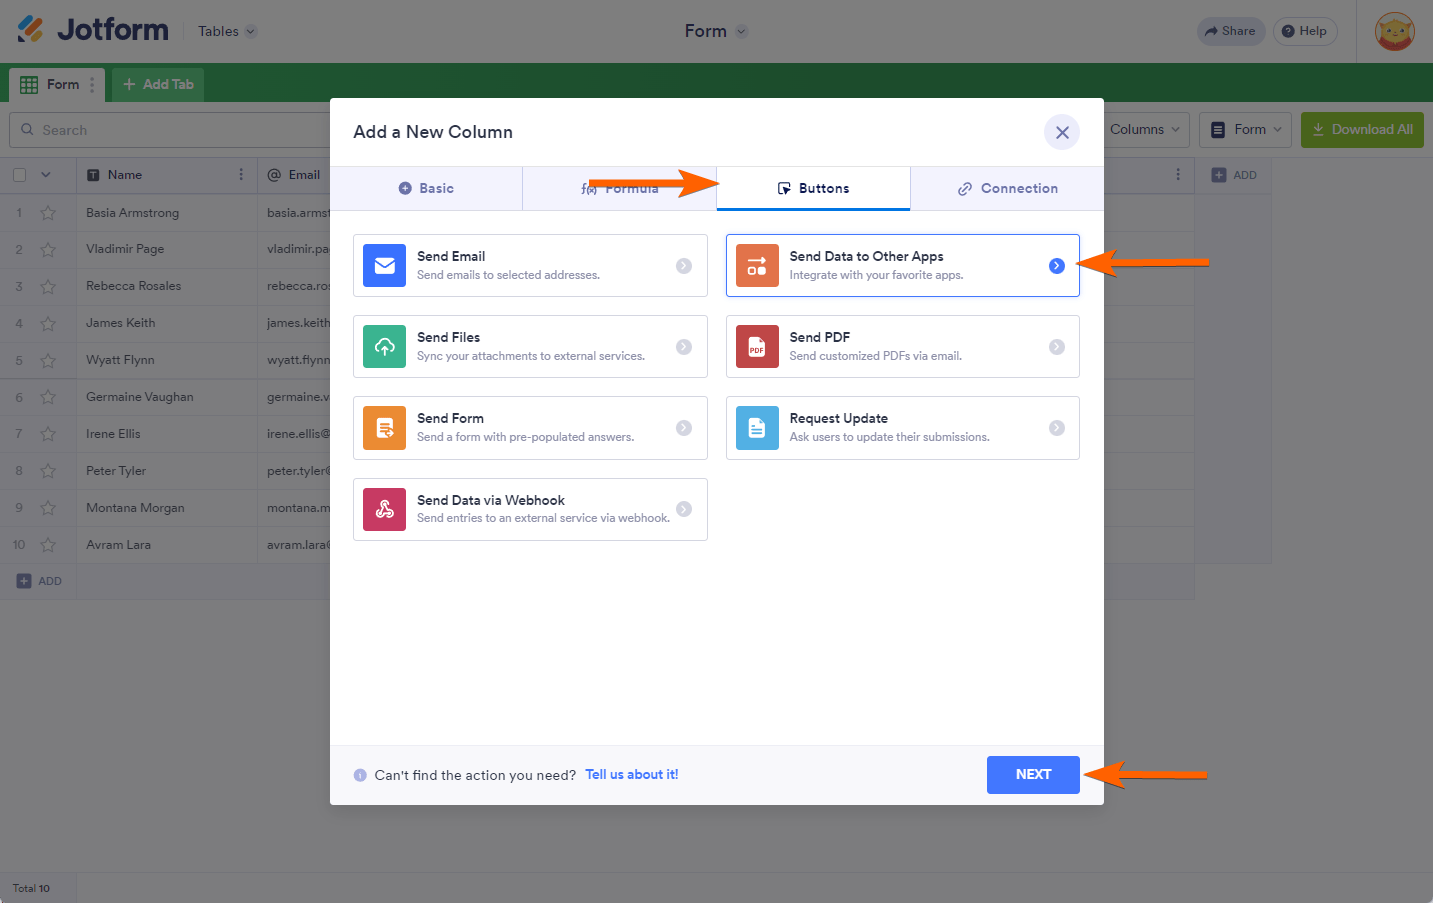
- Choose Buttons from the Add a New Column window.
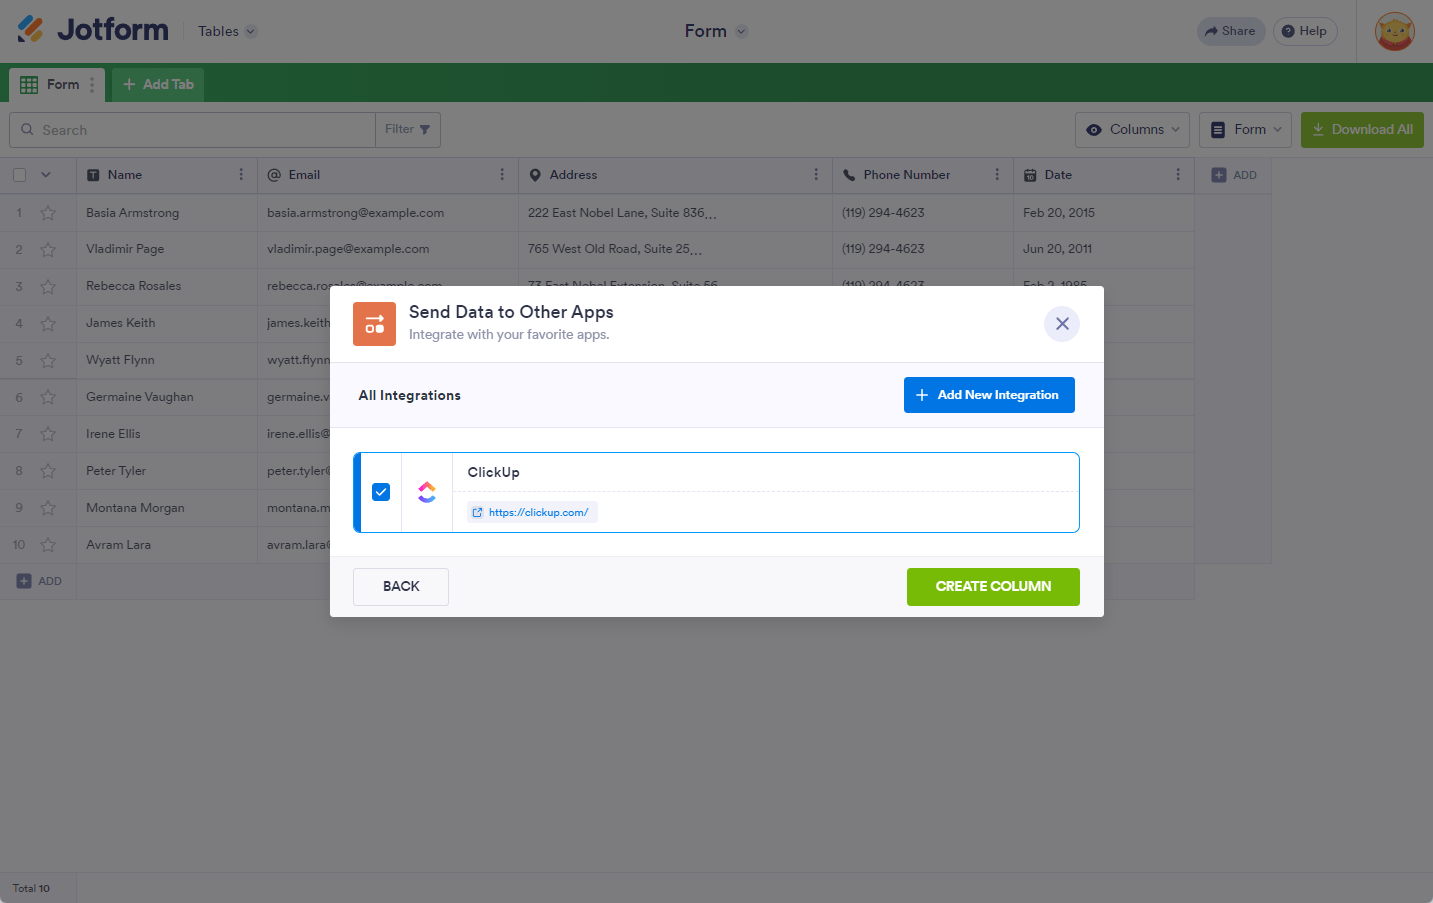
- Select Send Data to Other Apps from the list.
- Click the Next button.
- Give the new column a name.
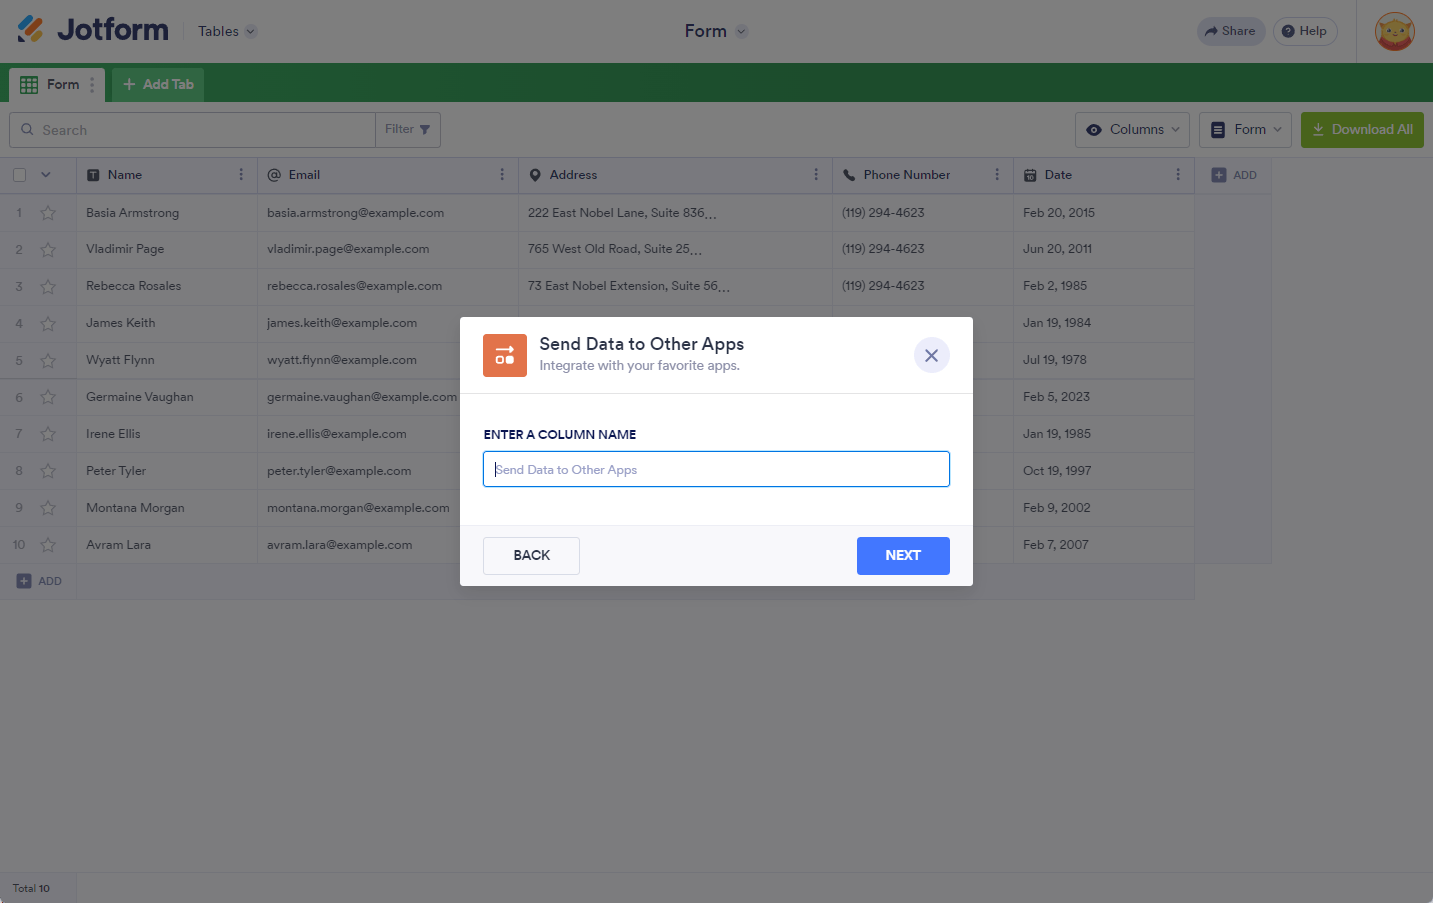
- Choose ClickUp from the existing integration.
- Finally, click the Create Column button.
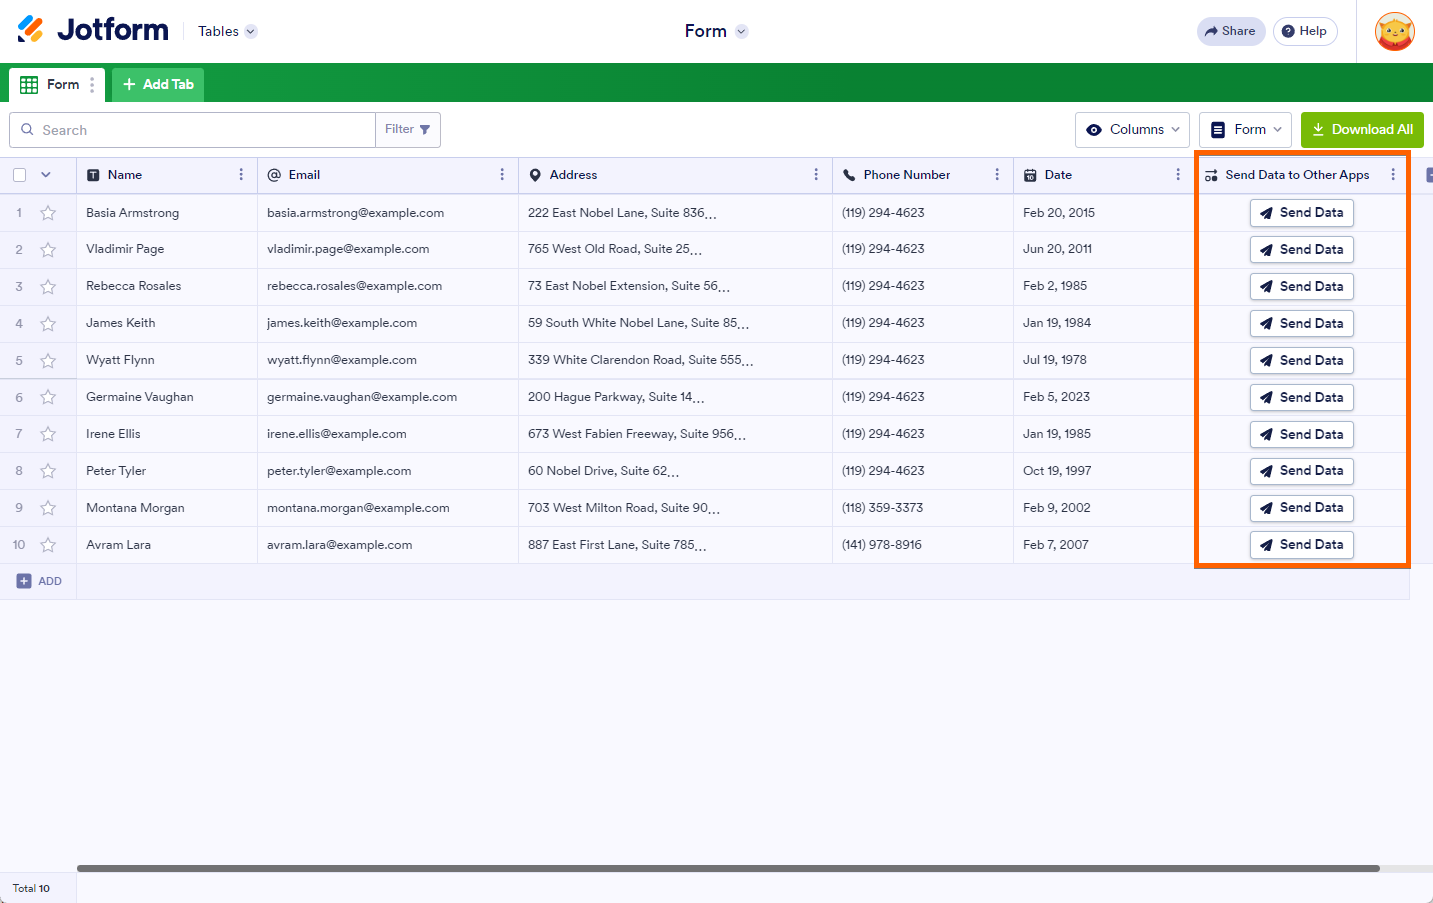
Once the column is created, you should see the Send Data buttons on each row of your form submissions. Click the button to send your form data to ClickUp.


Send Comment:
7 Comments:
256 days ago
How can I send products from a product list through to ClickUp now? It used to be a simple matching process but the product list table doesn't seem to appear any more
344 days ago
The form has been set up but it is not showing in click up when submitted. Any help will be great!
346 days ago
Is there a way to have all the submission info added to the task description rather than needing to create fields in ClickUp?
More than a year ago
I have a date & time field. Only date arrives at ClickUp, no time. Anything I need to adjust for both date and time to be transported from Jotform to ClickUp? Thanks
More than a year ago
How to remove background image in jotform.
How to use any tools?
Why isn't onClick button desktop in jotform.
More than a year ago
Would it be possible for the PDF template to be attached to the ClickUp task?
More than a year ago
This is a great addition.. spl with ClickUp's rise in popularity.. Please make the integration tighter.. many Jotform fields are currently not integrating as easy or in right form..