With Jotform’s No-Code App Builder, you can easily add external documents of various file types, like photos, videos, and documents, using the Document element. This allows people to access or download them within your Jotform Apps, making it great for sharing information such as terms and conditions, instructional videos, or other helpful resources. However, if you want users to review and sign documents, adding Sign Documents to your Apps is the way to go.
Jotform Sign offers a secure and simple way for users to sign your documents electronically. It also lets you conveniently gather digital signatures that meet encryption standards for waivers, contracts, or consent forms, streamlining processes for events, registrations, or agreements. By incorporating Jotform Sign within your Jotform Apps, you enhance the user experience by giving them access to everything they need in one place, making your Apps even more functional and user-friendly.
Note:
You can add Sign Documents with one signer role and a generated embed code to Jotform Apps. If a document requires more than one signer to complete or you haven’t created an embed code for its signer yet, it won’t be available for selection in the Sign Document element.
For information on how to generate embed code for your Sign Document, visit How to Use Jotform Sign.
Adding Sign Document
Follow these easy steps to add a Sign Document to your Jotform Apps:
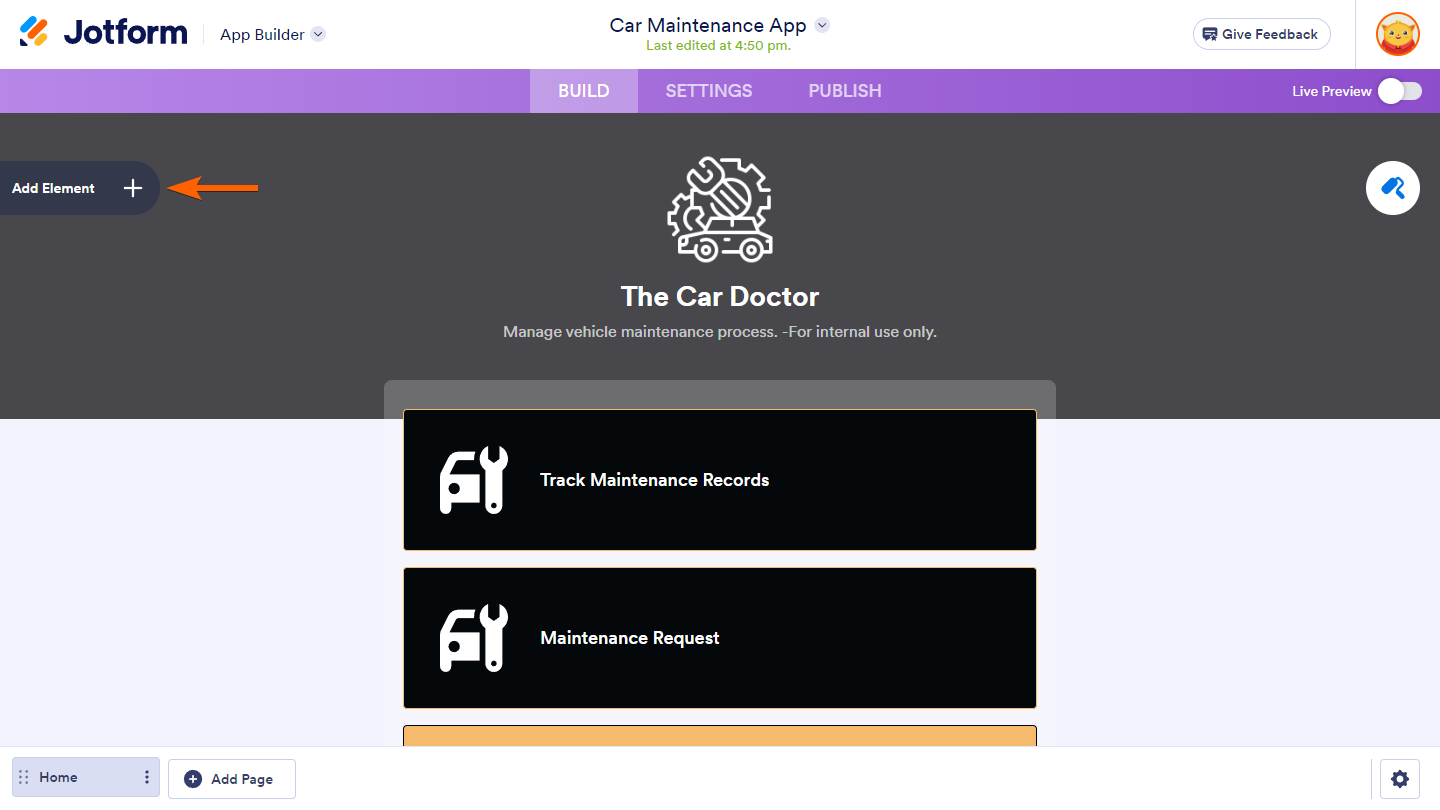
- In App Builder, click on Add Elements on the left.
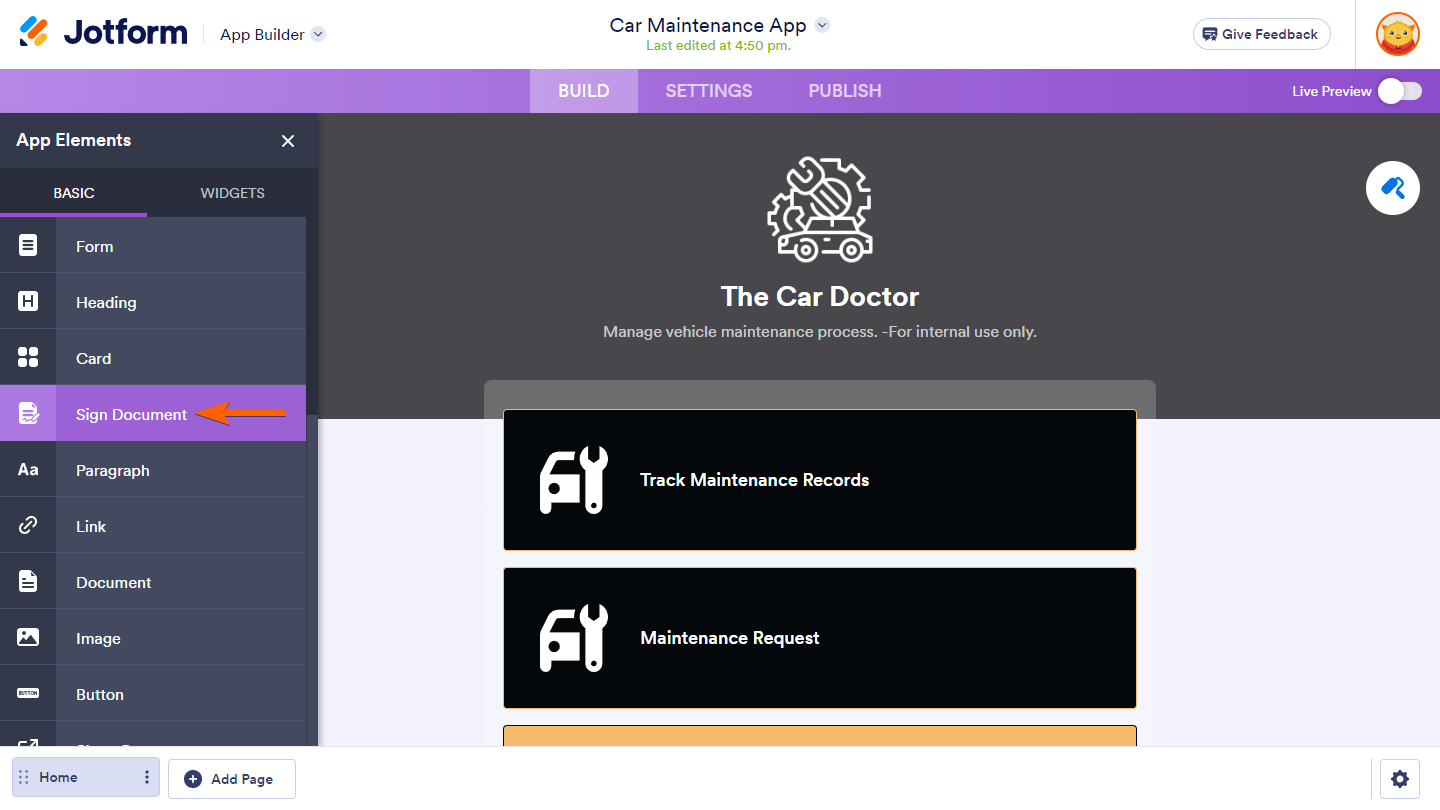
- Under the Basic tab, drag and drop a Sign Document element to your Jotform App.
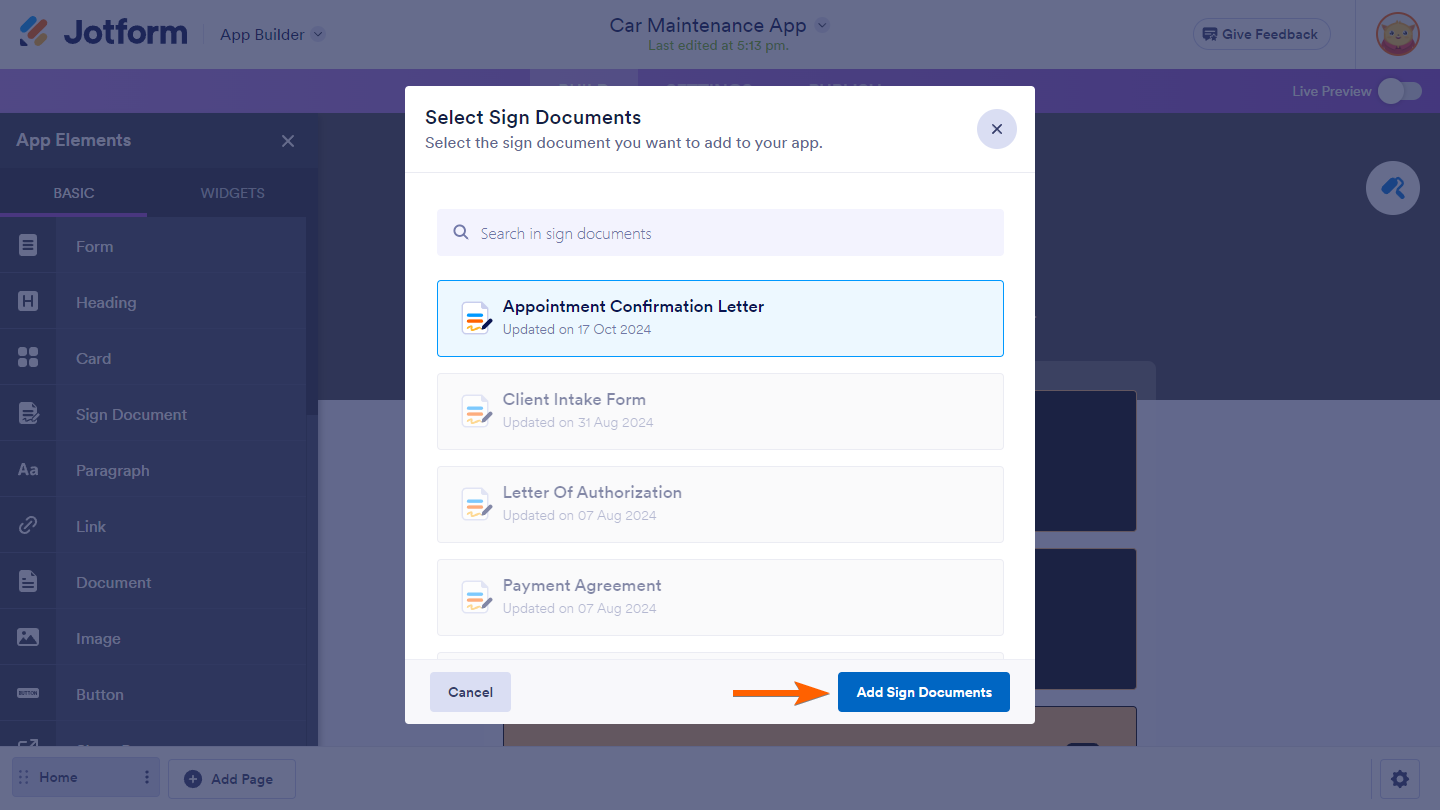
- In the Select Sign Documents window, search and select the Sign Document you want to add and click on the Add Sign Documents button.
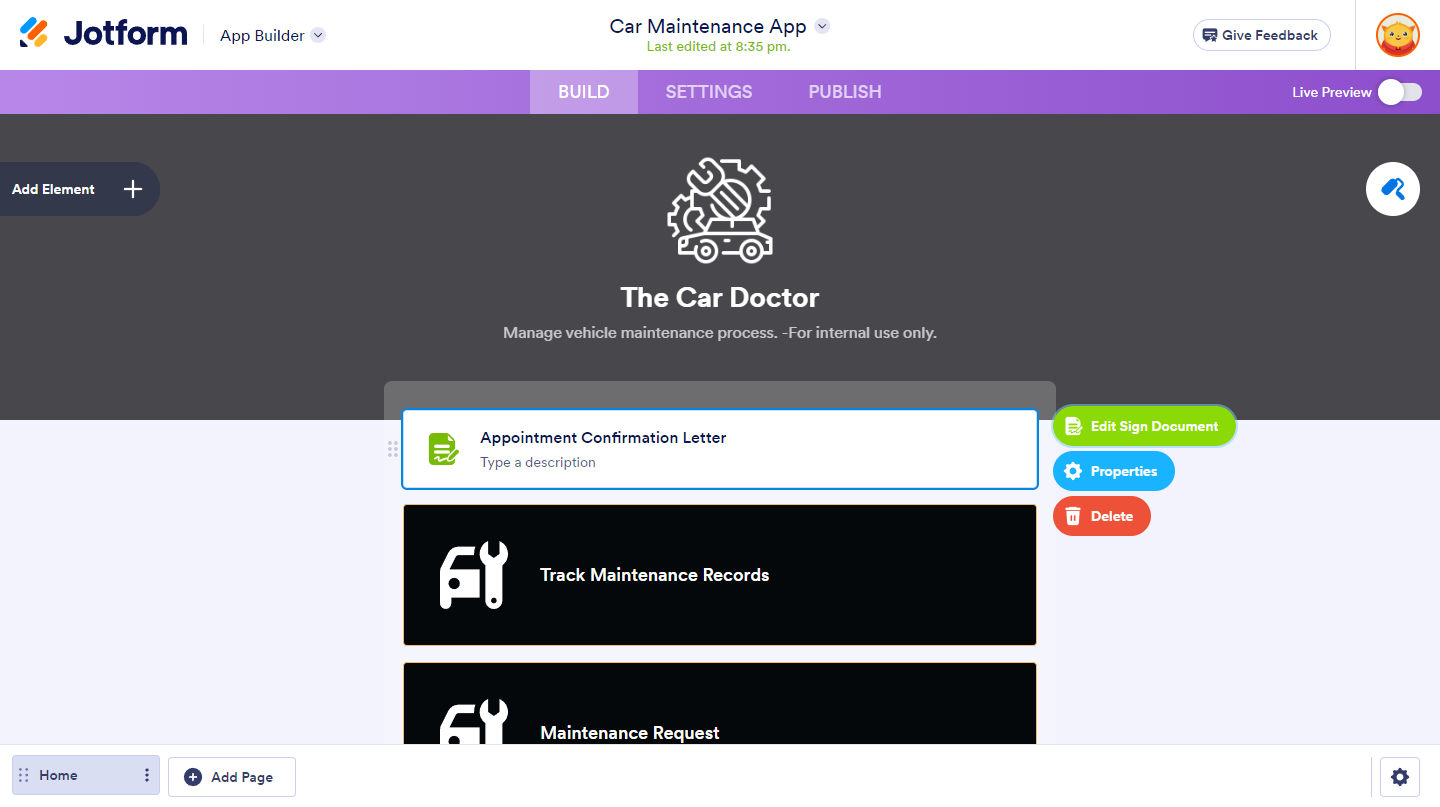
When you click on the Sign Document element in your app within the App Builder, three buttons will appear on its right side.
Here’s what each Sign Document element buttons are for:
- Edit Sign Document — This opens your Sign Document on the Sign Builder in another tab.
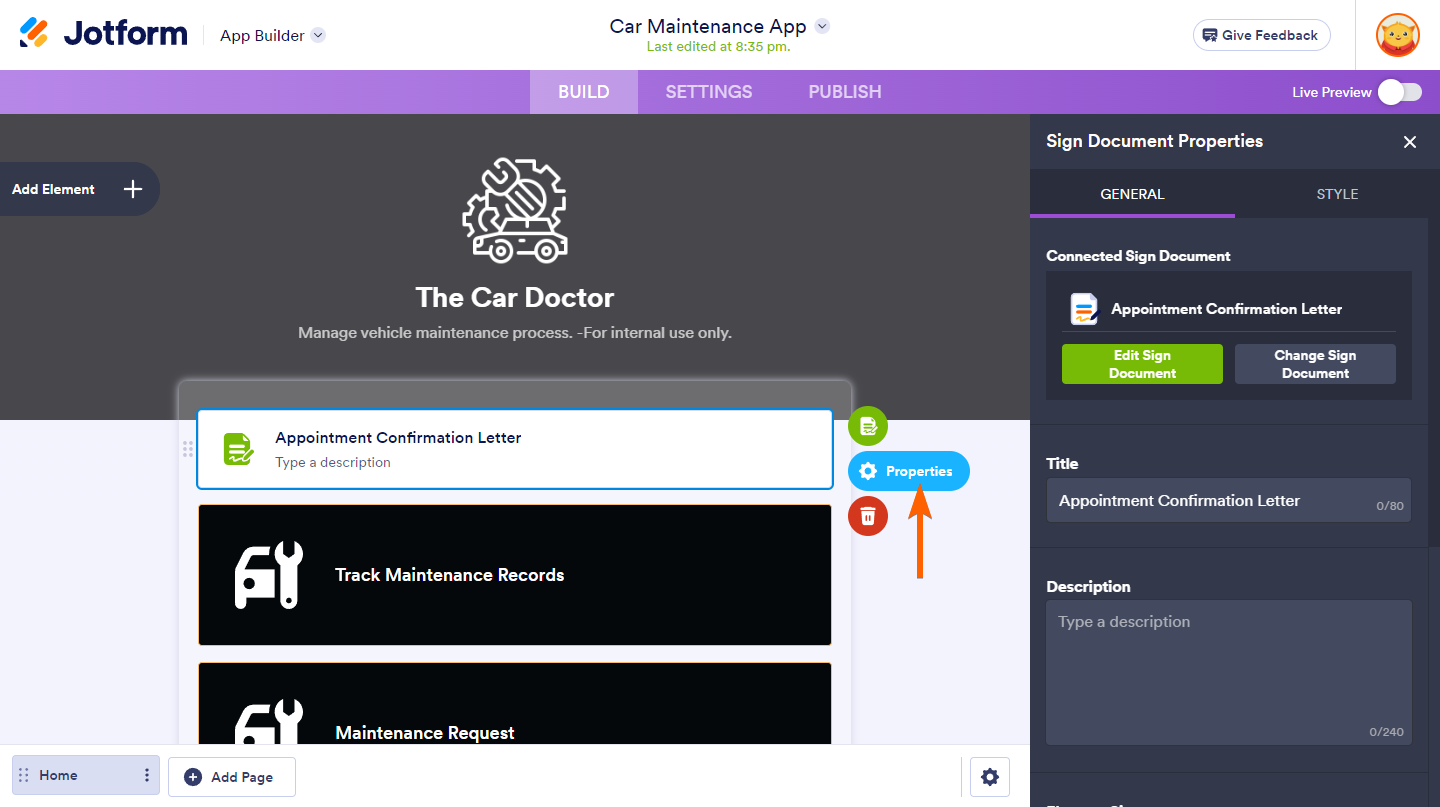
- Properties — This opens the Sign Document Properties on the right side of the App Builder, letting you configure various settings such as connected sign document, title, description, element size, and options like shrink, mark as required, mark as completed, and reset the completed marking.
- Delete — This allows you delete your Sign Document on the Jotform App. This does not delete the Sign Document on your account.
Configuring Sign Document Properties
In the Sign Document Properties section, you can control how your Sign Document element functions in your Jotform Apps. You can see which Sign Document you’ve connected and easily change or edit it in the Sign Builder. Here, you can update the title and description, adjust the size, and require users to complete the document. You can also manage the display and reset of completed markings. This section gives you all the tools you need to customize your Sign Document.
Here’s a summary of what each property for the Sign Document in the Jotform App does:
- Connected Sign Document — This shows which Sign Document you selected for your Sign Document element. It also gives you a convenient way to change it or edit it in the Sign Builder.
- Title — Here you can update the title of the Sign Document in your Jotform App. This won’t affect the title of the Sign Document in your account.
- Description — This box lets you add a brief description of the document you added to your Jotform App, making it clear what it’s for.
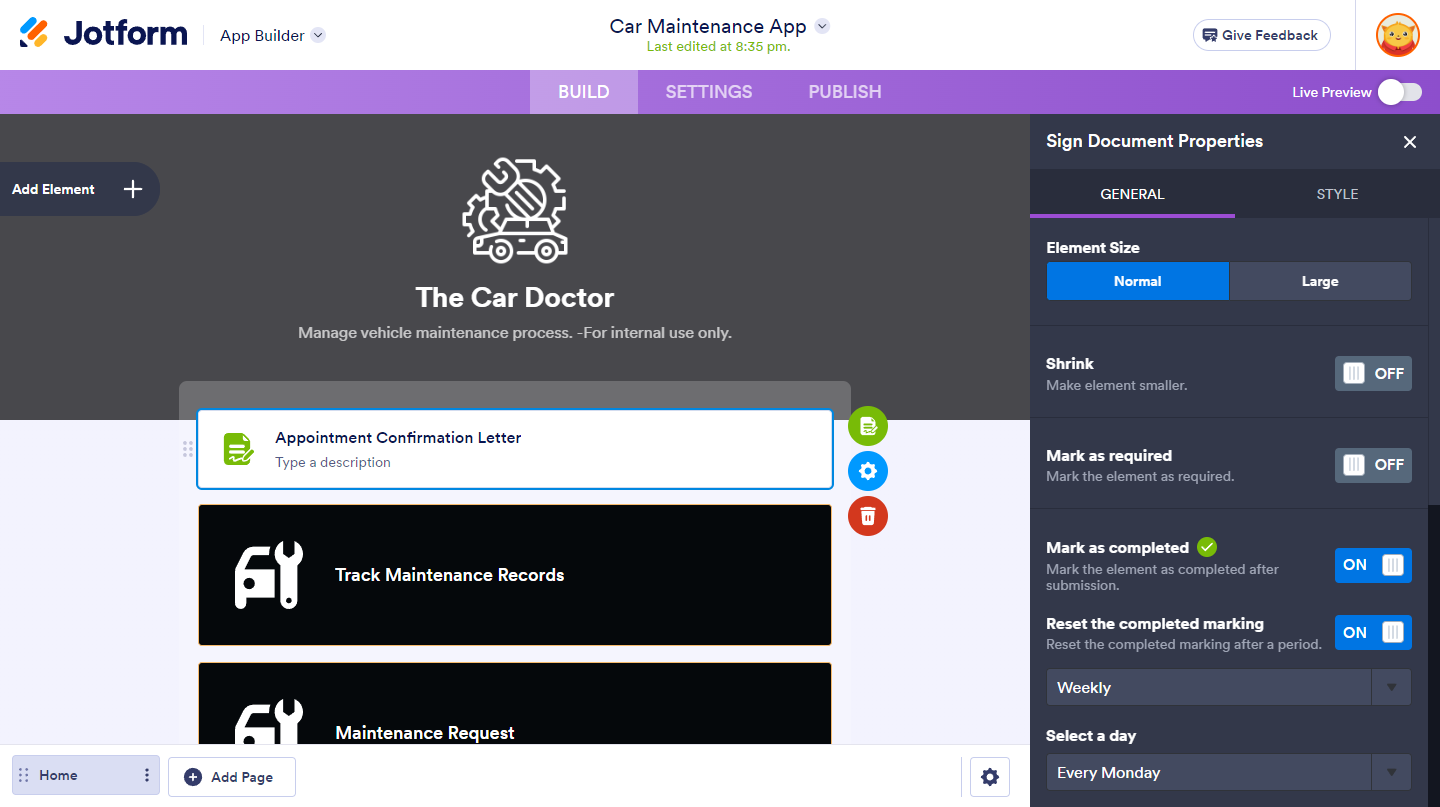
- Element Size — This lets you change the size of the Sign Document element in your Jotform App. You can choose between large and normal size.
- Shrink — When you toggle this to the On position, the Sign Document element’s size will be half its normal size. This can be useful for displaying the element in columns in your Jotform App.
- Mark as Required — Toggle this to the On position to require users to review and complete the Sign Document in the Jotform App.
- Mark as Completed — When you toggle this to the On position, it marks the Sign Document as completed on the Jotform App after users submit it, displaying a Completed marking on the document.
- Reset the Completed Marking — This automatically resets the Completed marking after a period. Toggling this allows you to choose either to reset it daily or weekly, and if you select weekly, you can specify which day of the week to reset it.

Send Comment: