GetResponse enables you to create a valuable marketing list of prospects, partners, and clients, so you can develop relationships with them and build a responsive and profitable customer base. GetResponse includes all the capabilities you need for creating effective email campaigns.
Jotform integrates with GetResponse. If you want to send your form contacts to your GetResponse list, follow the simple steps below.
Integrating GetResponse to your Form
The process of integrating GetResponse with your form is easy and hassle-free. Let’s do it!
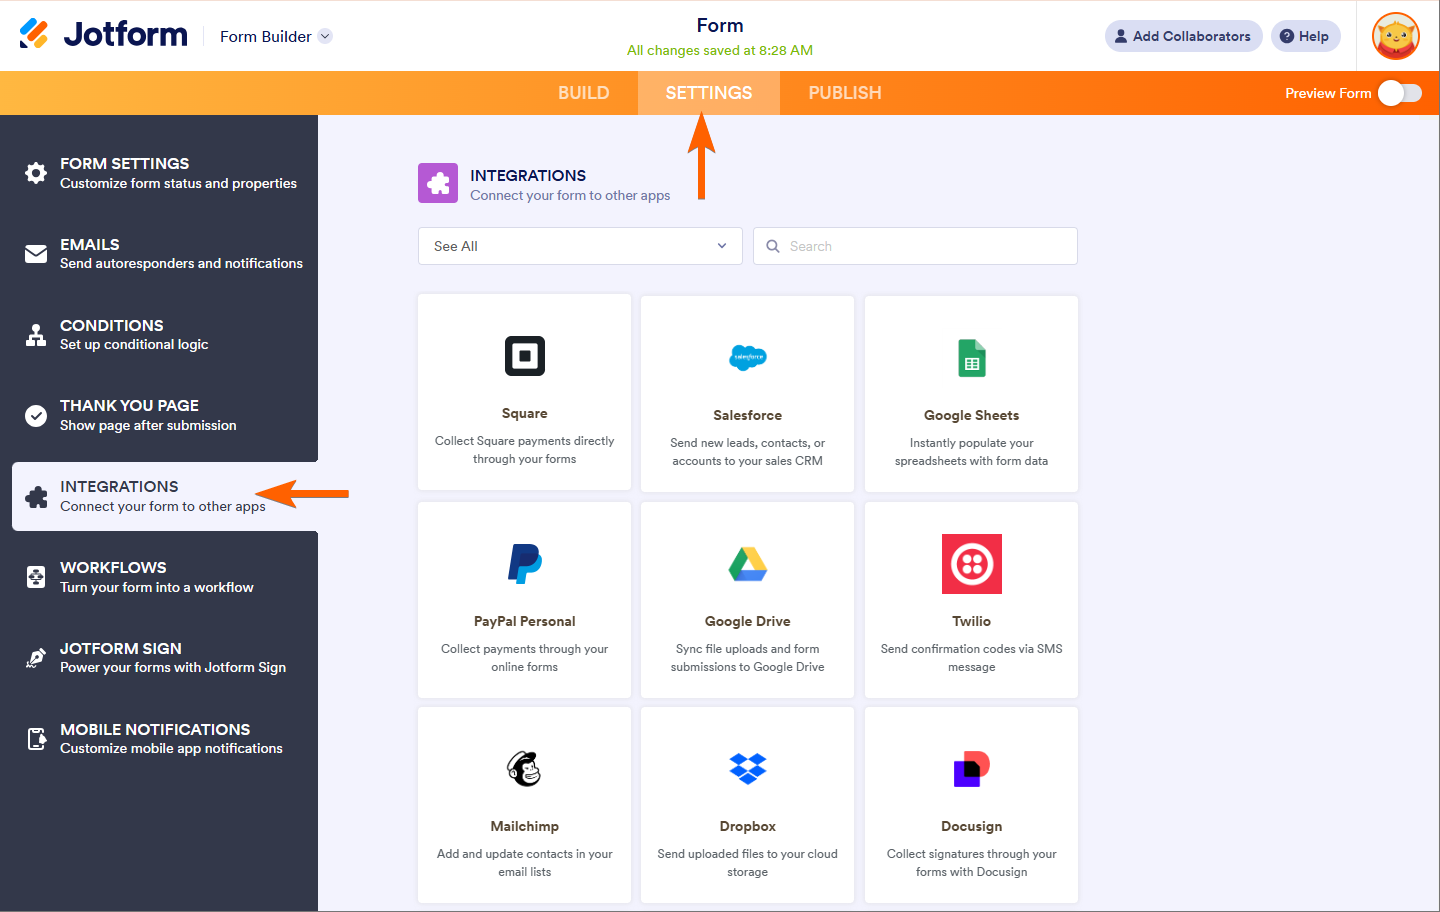
- In the Form Builder, navigate to the Settings tab at the top middle of the page.
- Select Integrations on the left panel.
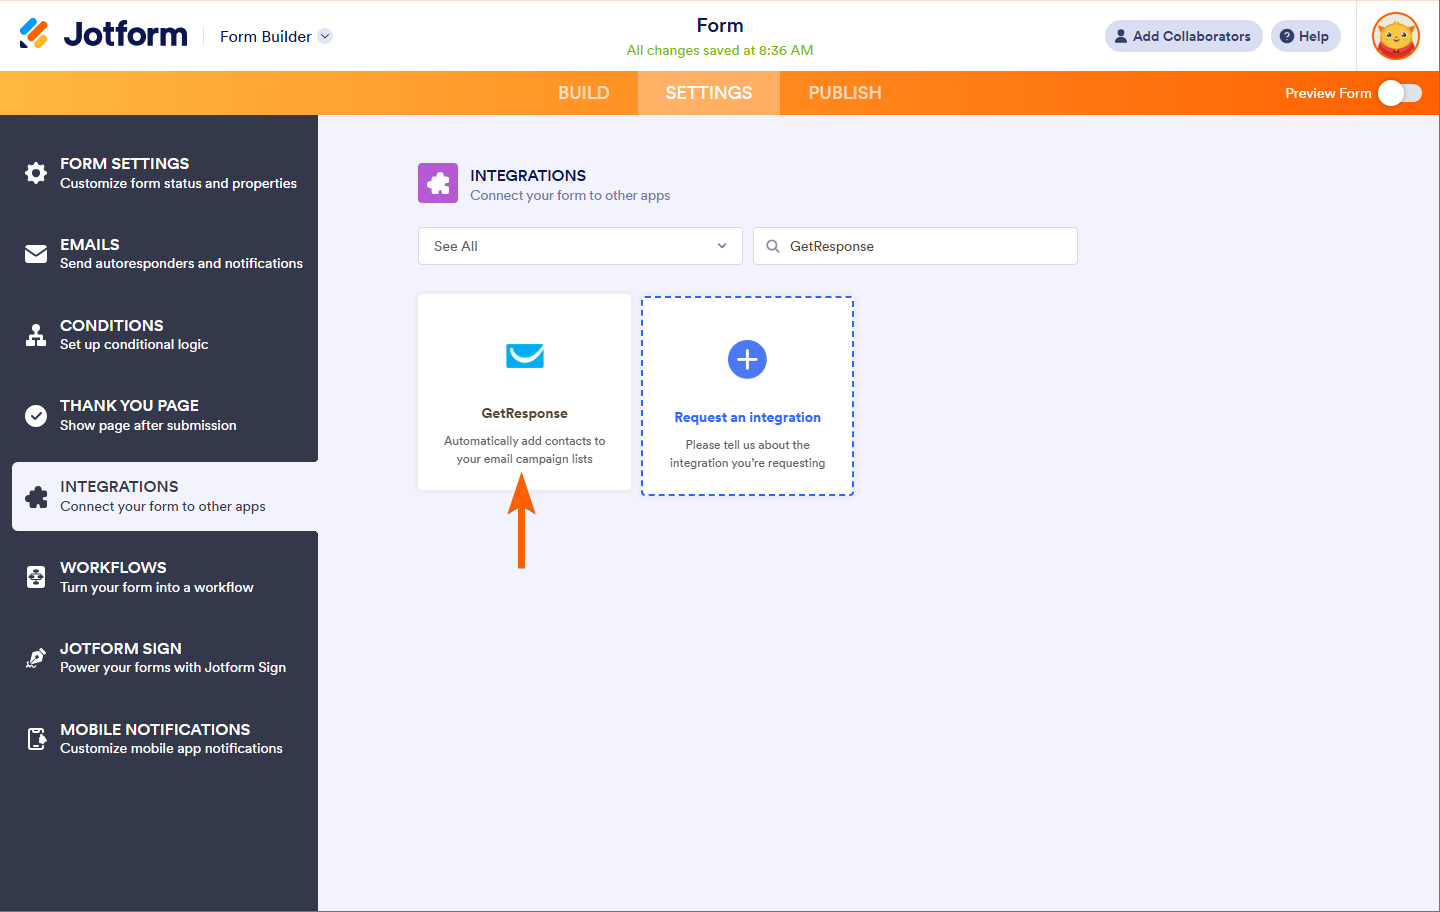
- Search for and click GetResponse from the list.
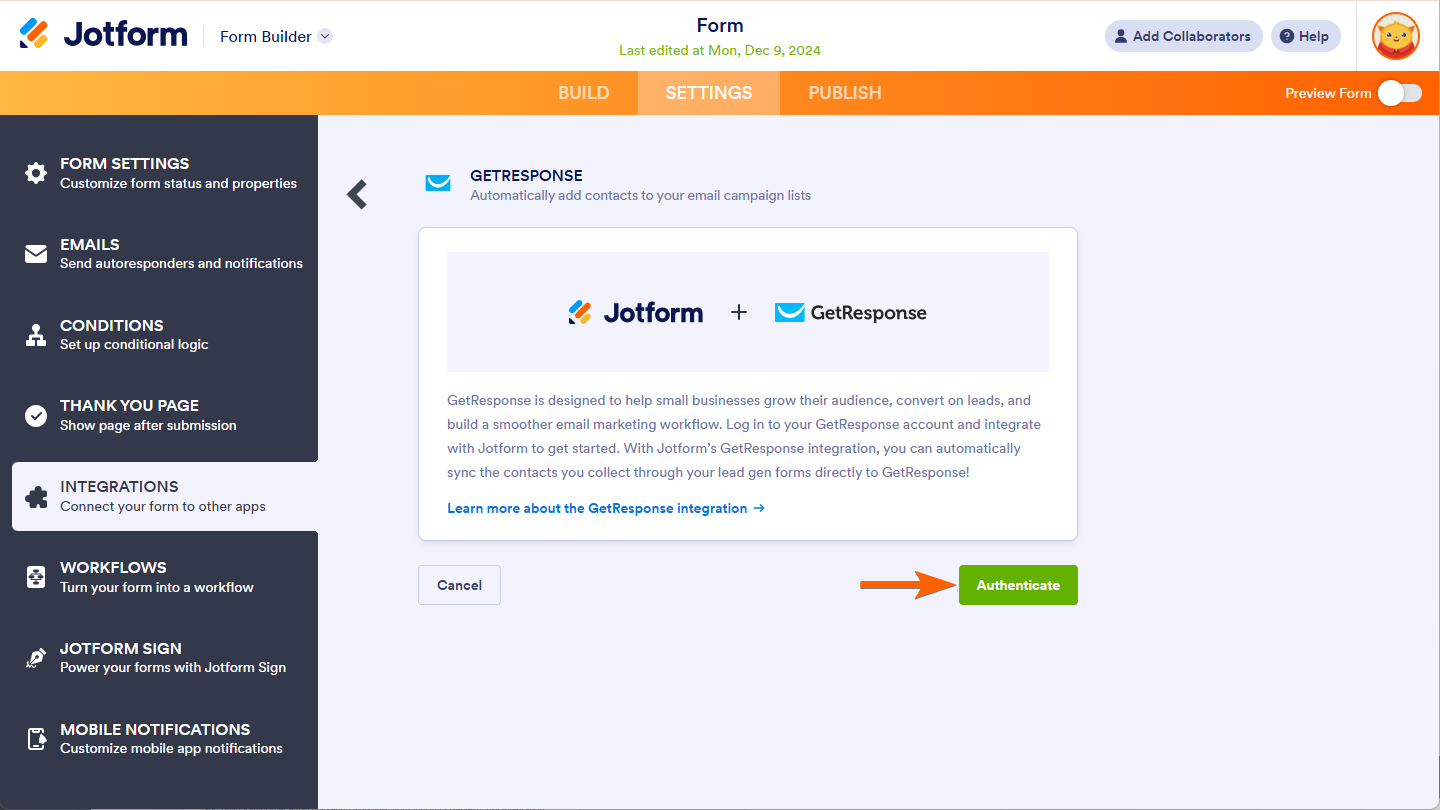
- Click on Authorize button to connect your GetResponse Account.
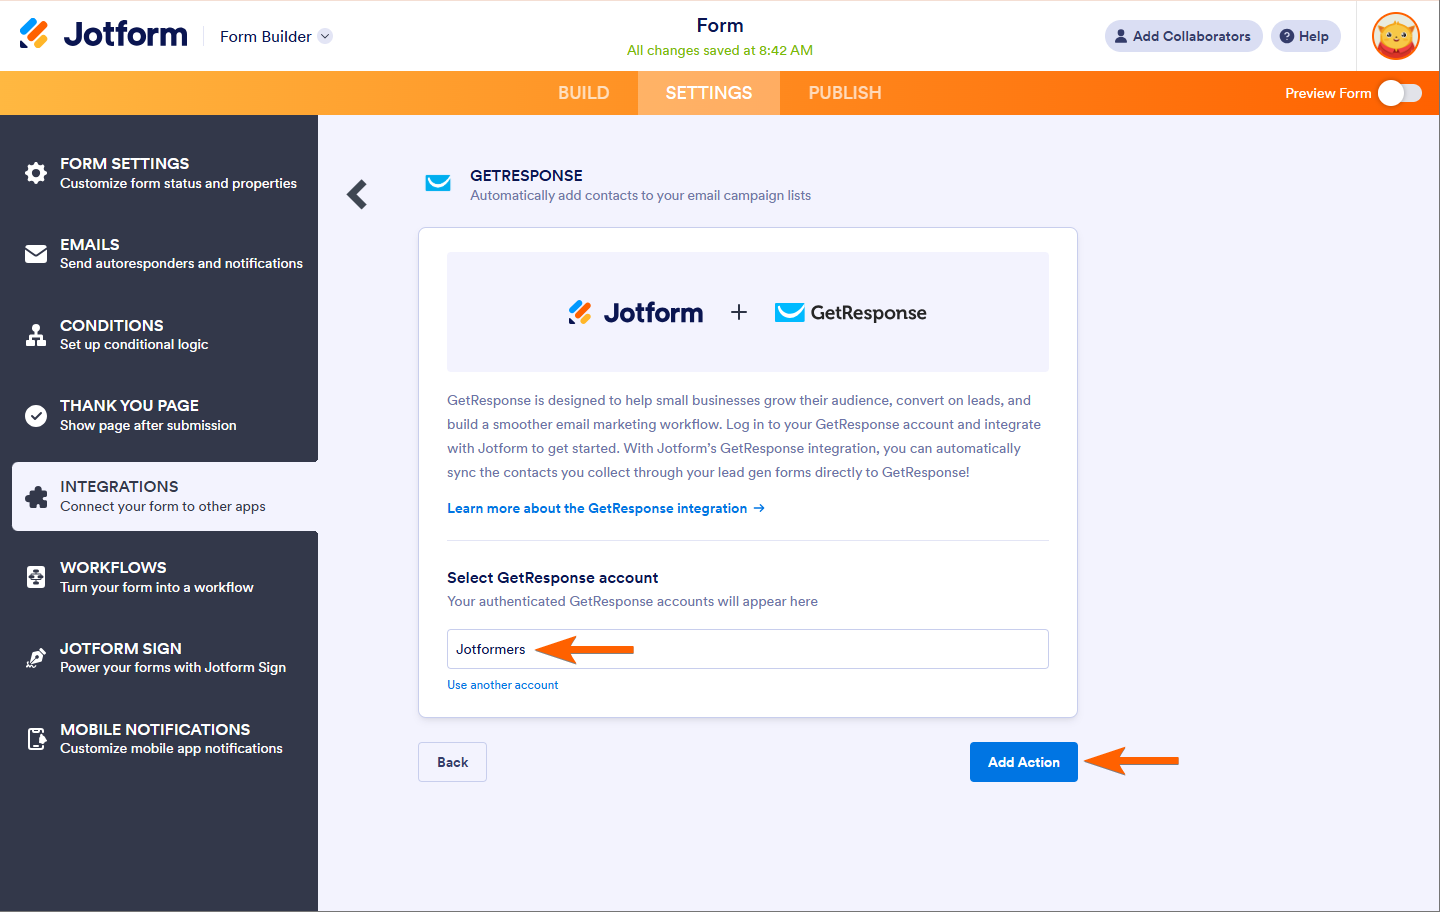
For previously authenticated accounts, choose the account to use, then click the Add Action button.
- Now set up your integrations accordingly:
- Select a list — Choose the list where you want to send your form submissions.
- Match your Fields — Map your form fields to the corresponding fields in your GetResponse list to ensure the data is transferred correctly.
- Select Cycle Day — Choose the cycle day for your email campaign to specify when the contact should be added to the campaign sequence.
Note
In the GetResponse integration window, you can click Add Field to map another field.
- Finally, click the Save button to complete the integration.
GetResponse support the following fields:
- Full Name
- Company
- Birth Date
- Gender
- Address (in separate fields: Street, City, State, Country, Postal Code).
- Phone
- Home Phone
- Work Phone
- Mobile Phone
- Fax
- URL
- HTTP Referrer
- Reference
- Comment
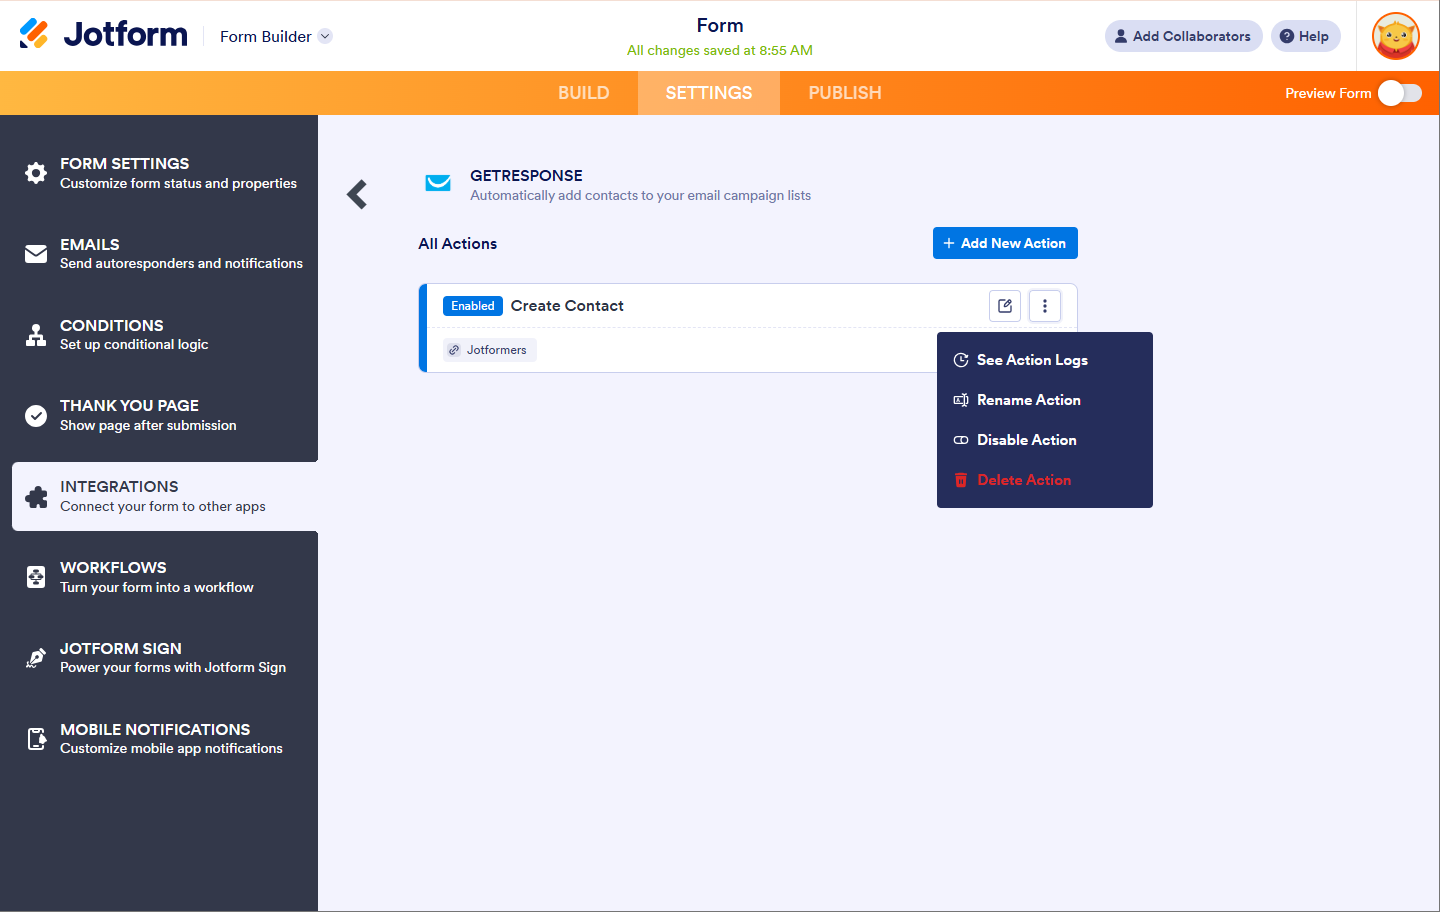
After saving the integration, you can see the list of actions you created and the Add New Action button on the main page. If you hover your mouse over the created action, you’ll see the Edit Action (pencil icon) and the More (thee-dotted vertical icon) options to the right. The More option includes the following:
- See Action Logs — This section will display your GetResponse successful and failed runs. It’s useful when troubleshooting issues.
- Rename Action — If you want to personalize the action’s title.
- Disable Action — This option is useful to temporarily stop the integration from sending data.
- Delete Action — If you want to delete the action/integration from your form.
Note
By default, GetResponse has double opt-in confirmation enabled. This means subscribers must click the confirmation link in the follow-up email sent by GetResponse before being added to your list.

Send Comment:
1 Comment:
More than a year ago
Hola dstoy viendo como puedo utilizar jotform con getresponse pero necesito 4 cosas:
1) basado en zip codes de una zona poder controlar desde donde me piden producto y solo que acepte los que se validen que estan dados de alta en la mi base de datos de la zona.
2) poder manejar inventarios de diferentes tiendas en difere tes zonas. Tienda 1 tienes 10 frutas. Tienda 2 tiene 20 frutas. Y que solo pueda aceptar pedidos validados en su zona de zip codes.
3) poder poner un mapa en donde salga la tienda/automobil con los inventarios.
Quien me.puedd ayudar con esto?
Saludos