
Steps to use Form Ranger in Google Forms
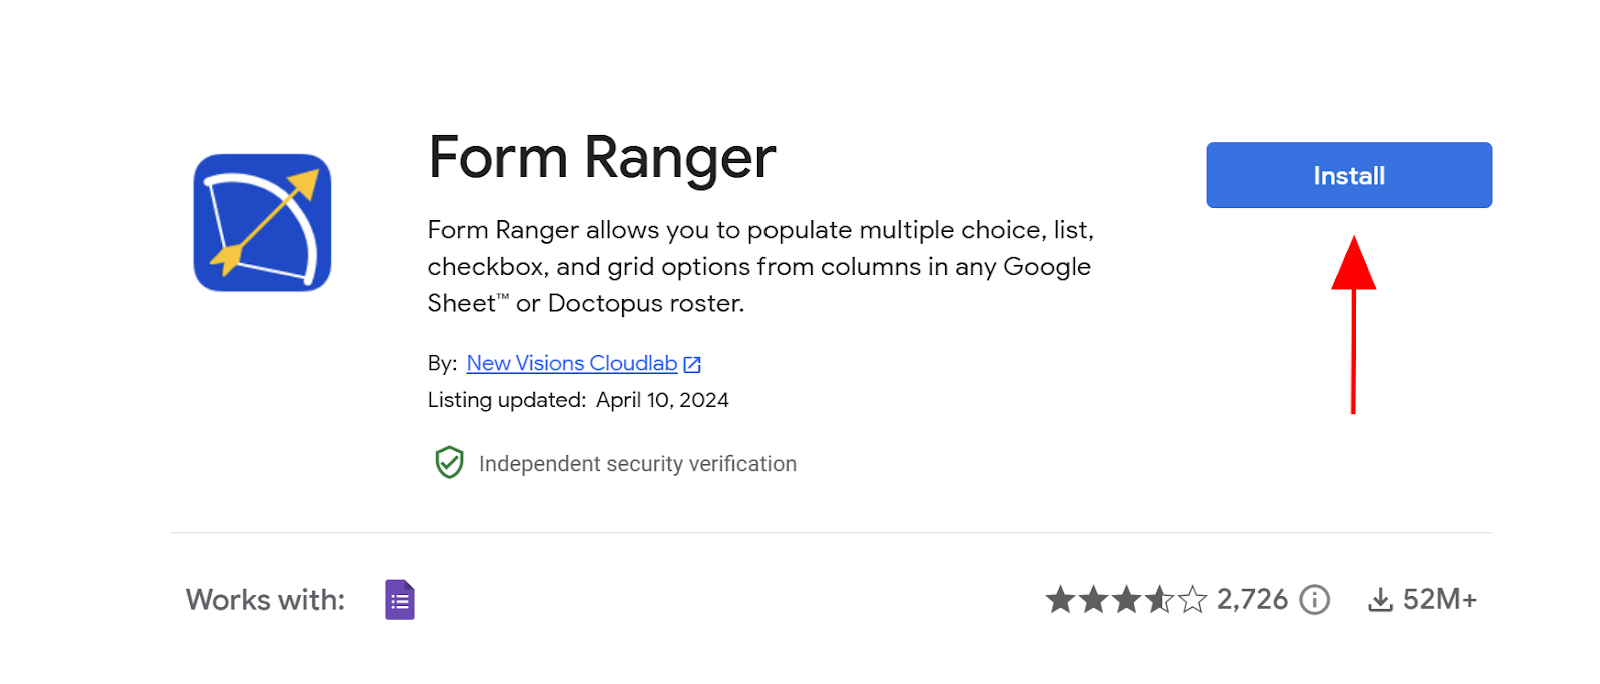
- Go to the Google Workspace Marketplace page for Form Ranger.
- Click the Install button.
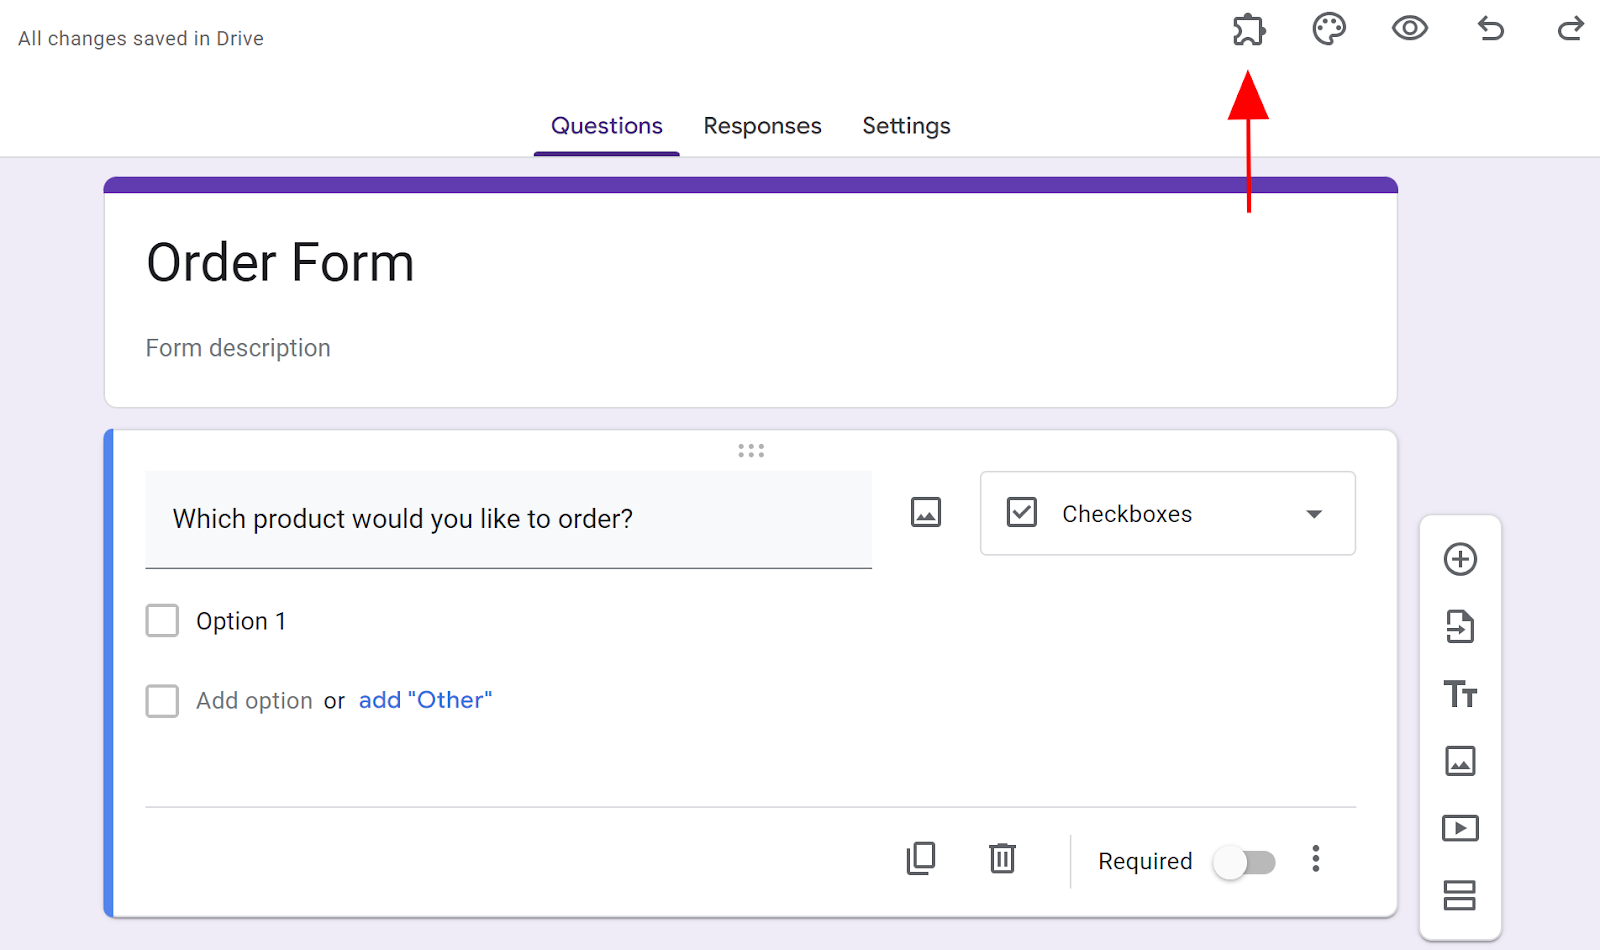
- Open your Google Form and click on the puzzle piece button.
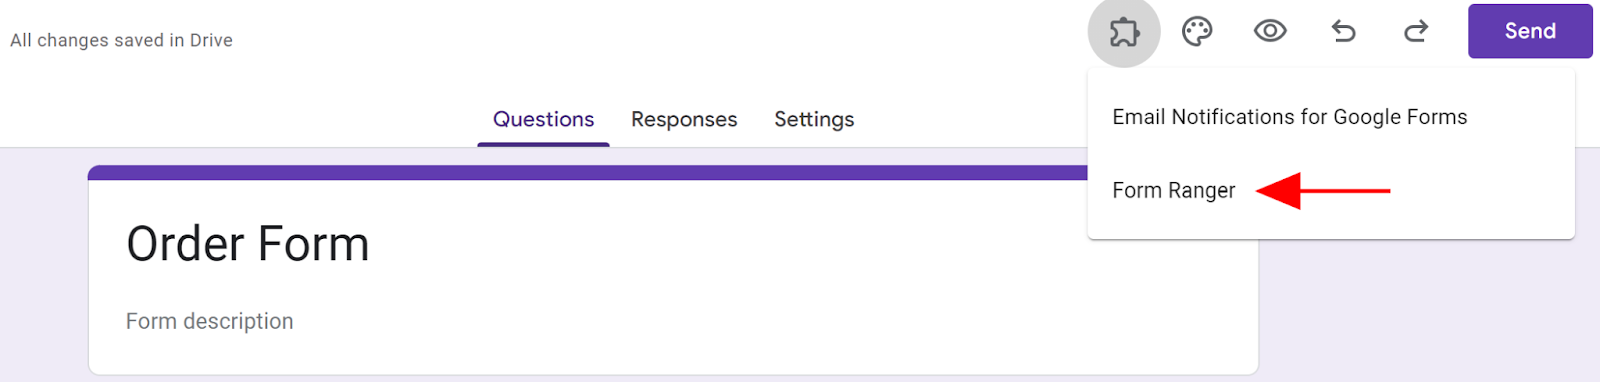
- Click on the Form Ranger option.
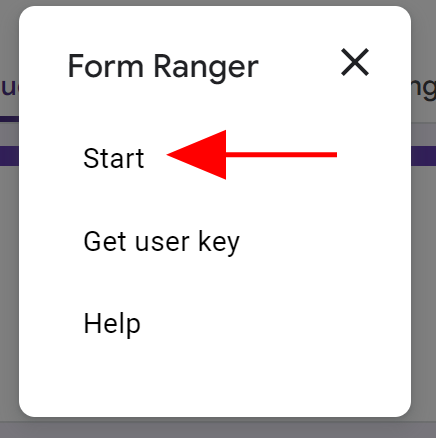
- Click Start to begin using Form Ranger.
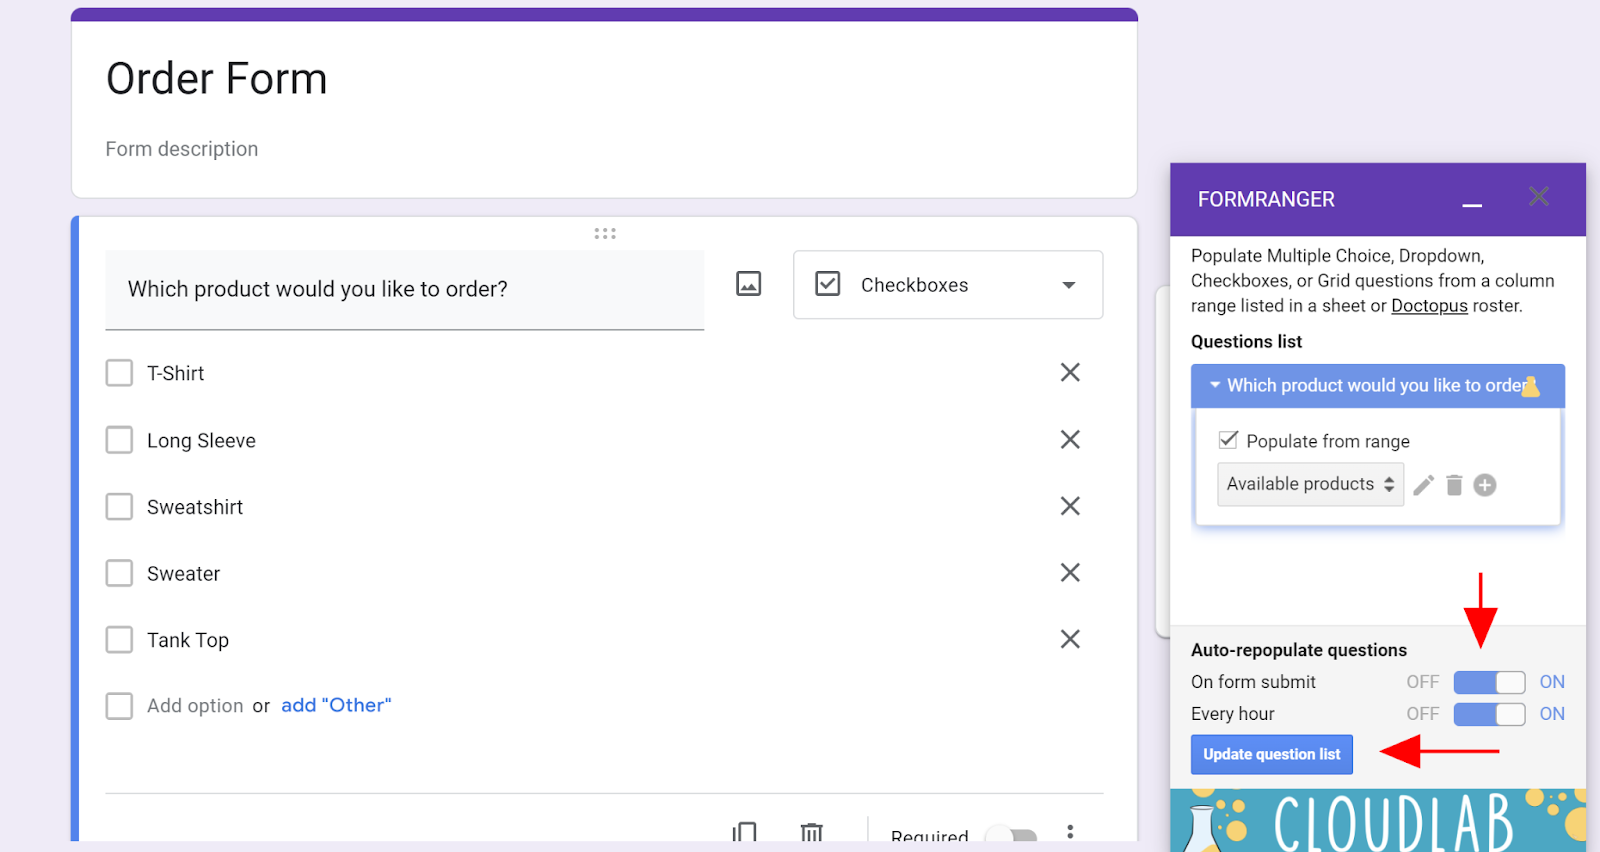
- Find the question you’d like to populate with spreadsheet data.
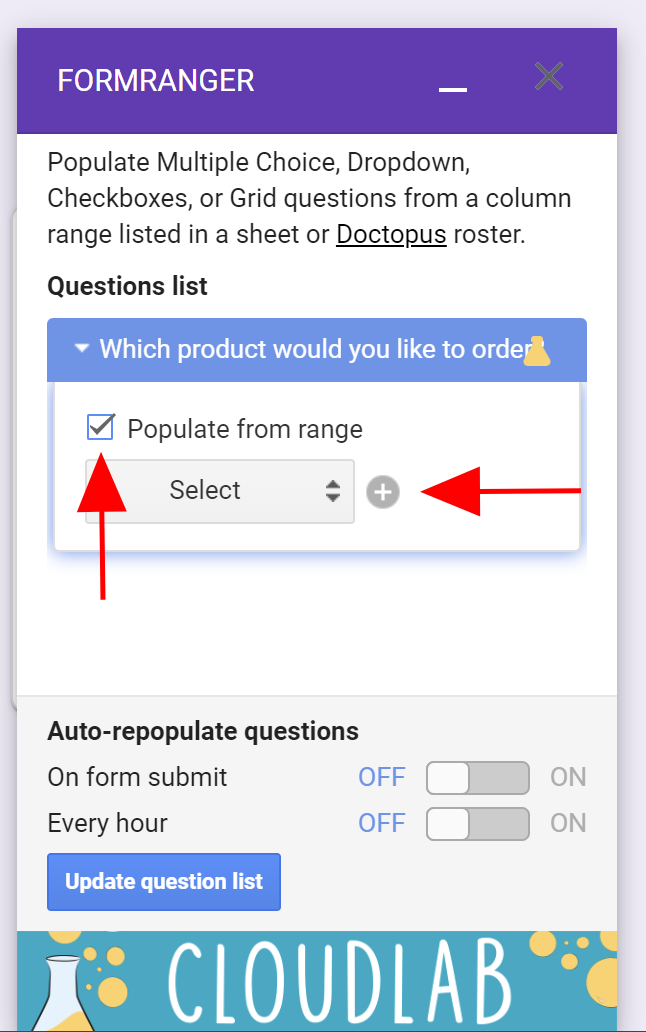
- Check the box marked Populate from range.
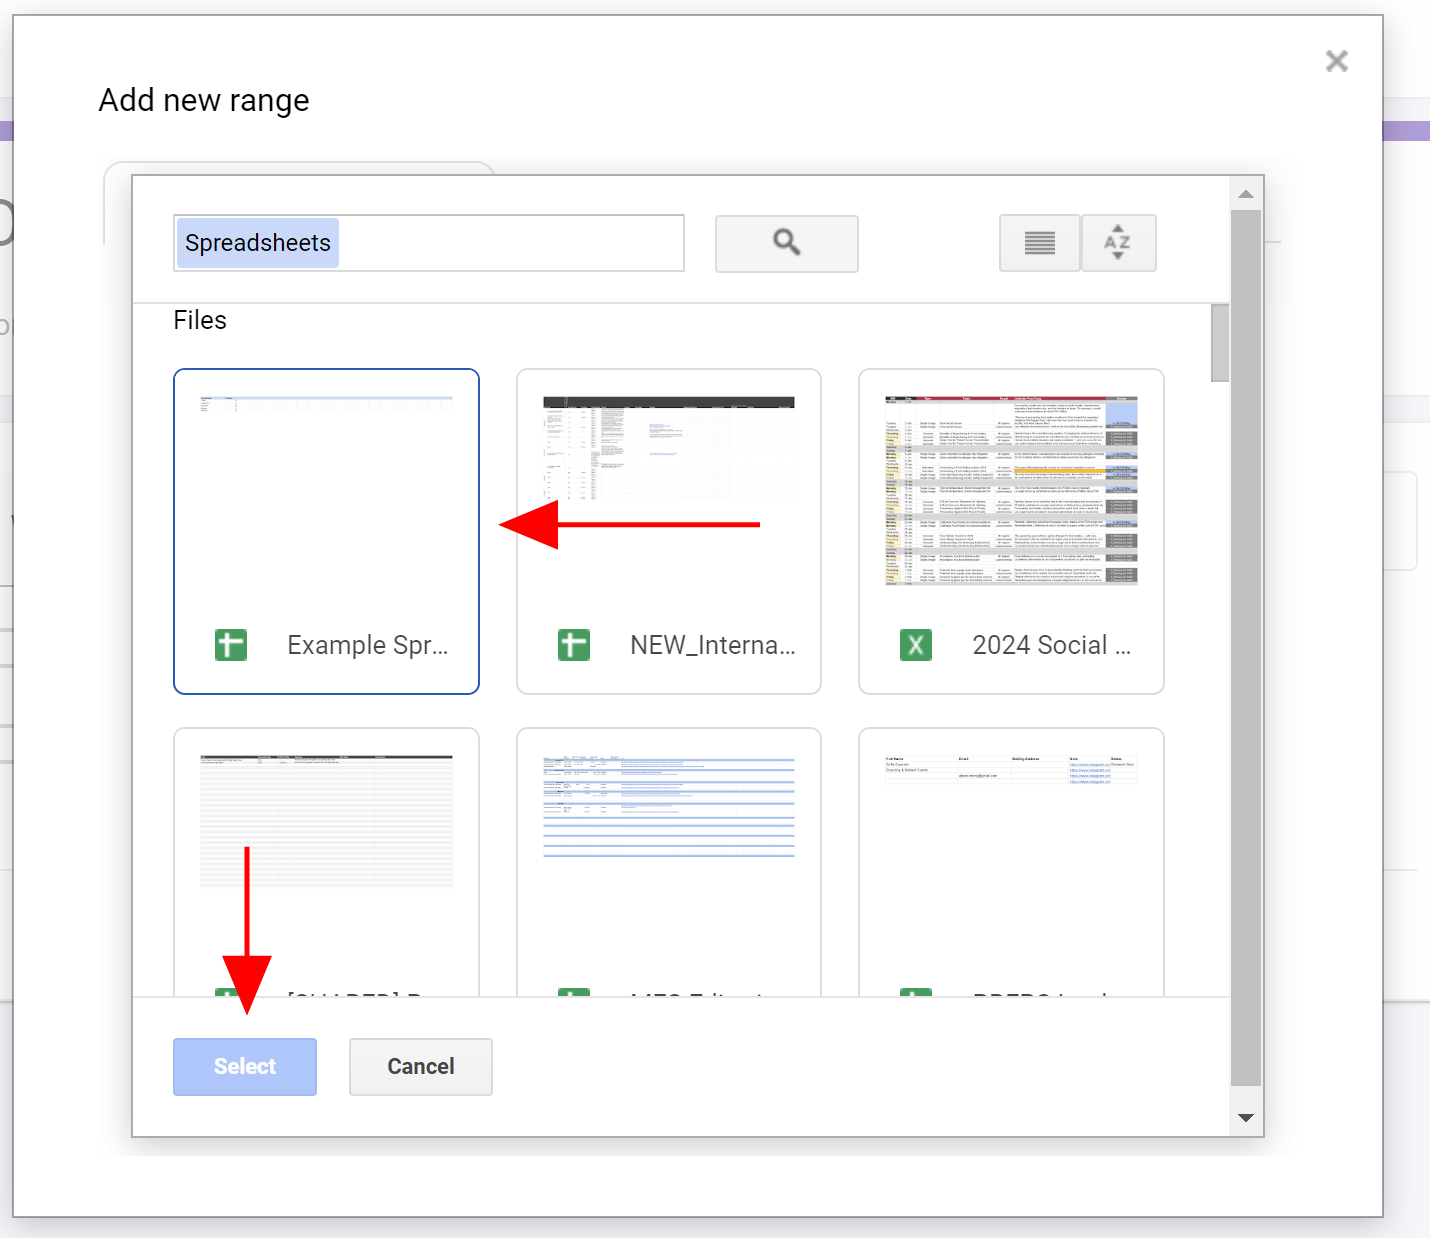
- Select the spreadsheet you want to pull data from.
- Click the Select button.
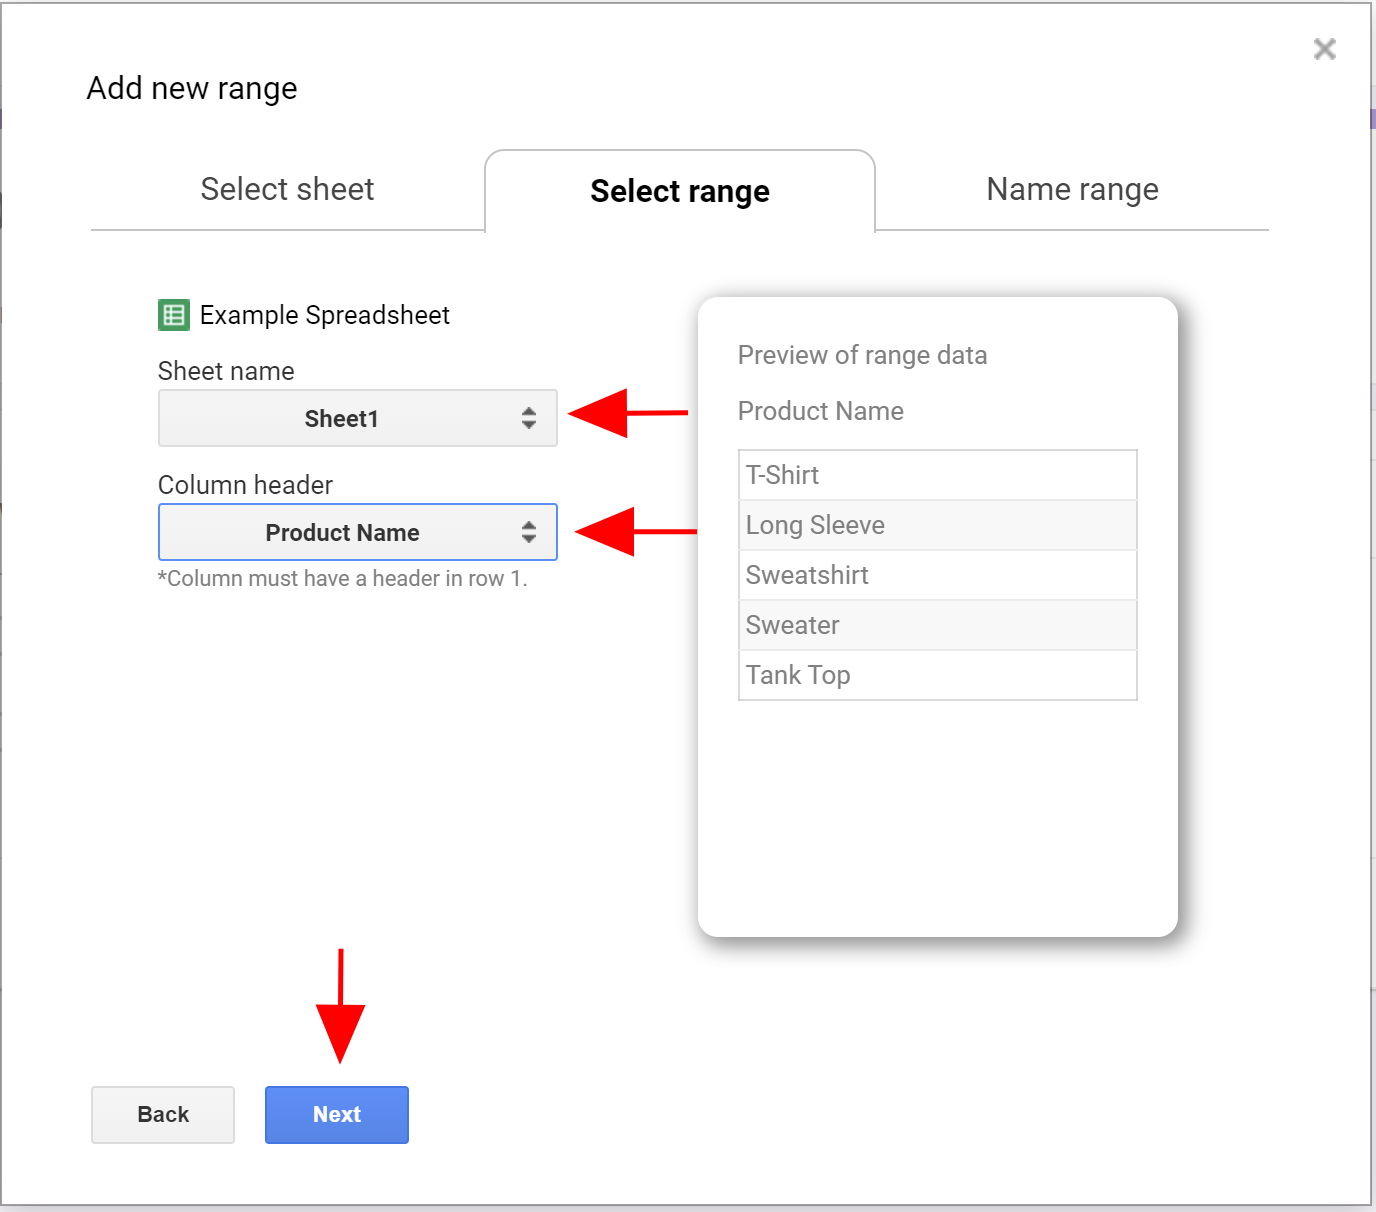
- Select the sheet that holds data under Sheet Name, and the column you want to use under Column header.
- Click on Next.
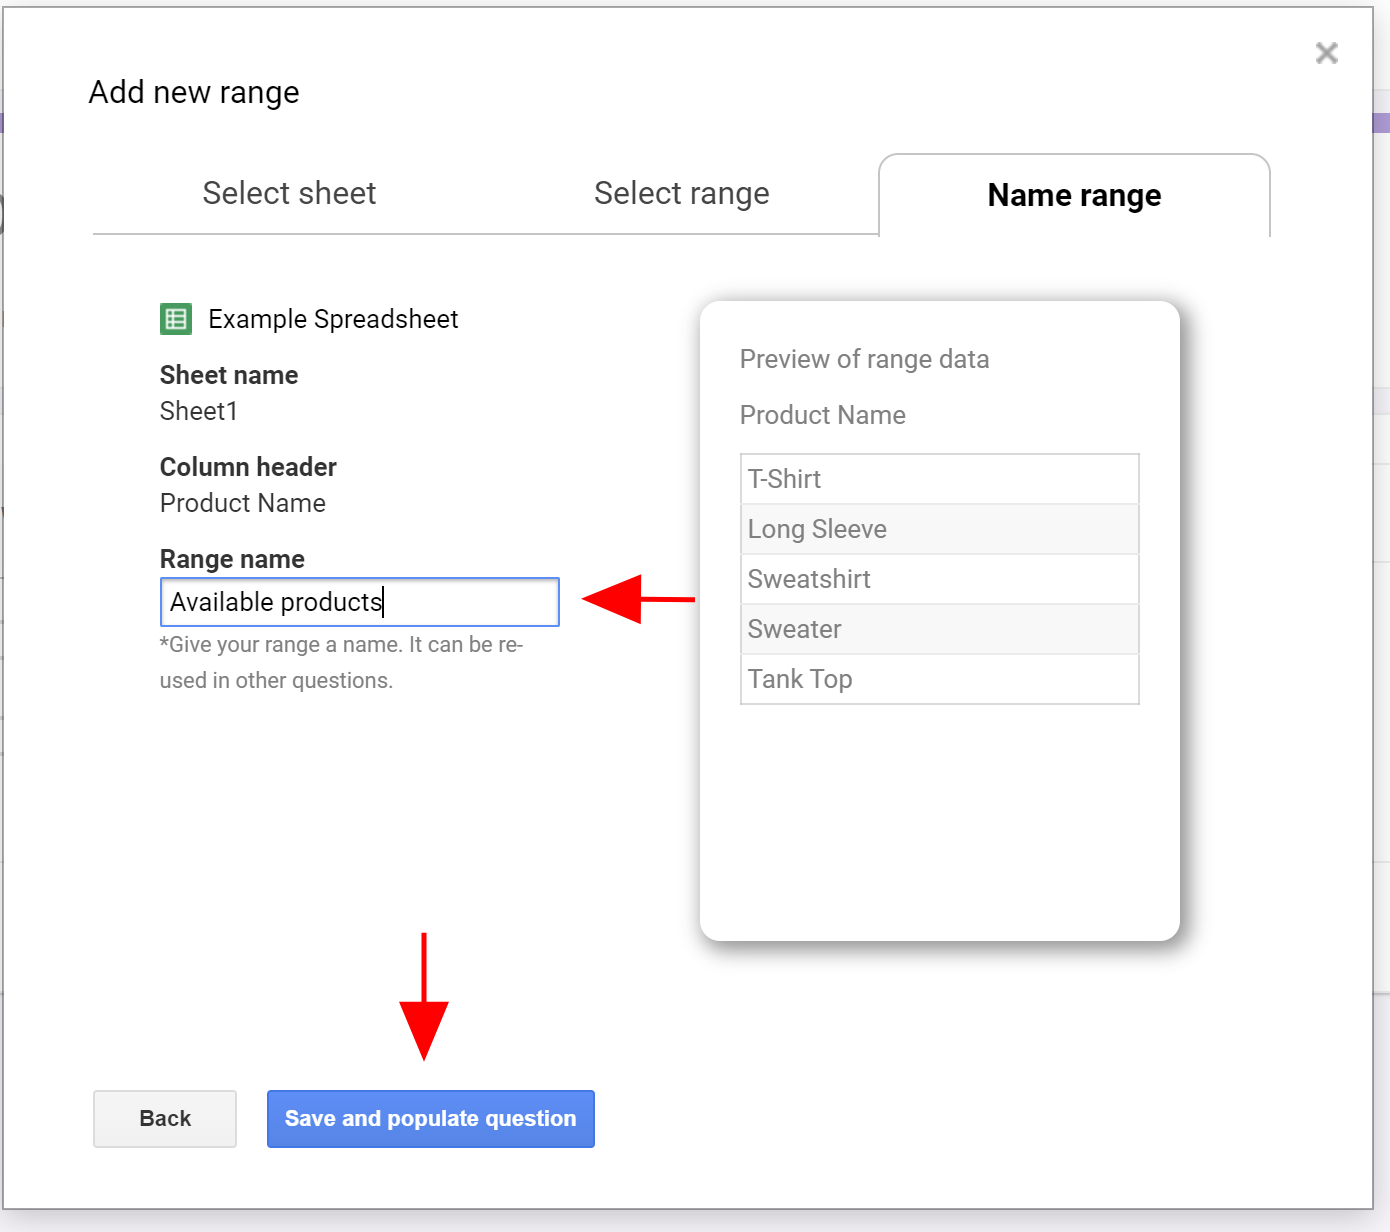
- Fill in the name of this data range under Range name.
- Click Save and populate question.
- Repeat this process for each applicable question.
- To update regularly with new data, select the frequency by switching either the On form submit or Every hour slider to On.
- Click the Update question list button to finalize.
Interactive step-by-step tutorial
Manually setting up online forms can lead to data entry mistakes, which can confuse respondents and lead to inaccurate answers. That’s why it’s helpful to have a tool that can automatically transfer data from spreadsheets into your forms when you set them up. For Google Forms users, this functionality is available through the Form Ranger add-on.
While Form Ranger is free to use, it takes time to set it up to run properly. In this post, we’ll break down the step-by-step process of setting up the add-on so you can use it in Google Forms effectively. Plus, we’ll introduce you to an alternative way to connect spreadsheets to online forms.

What is Google Forms?
Google Forms is a web-based form creator offered as a part of Google Workspace’s suite of products. This form creator is free for anyone with a Google account, and it allows users to create a variety of forms, such as applications, surveys, and quizzes. While many users prefer this solution because learning how to use Google Forms is easy, its functionality and features are somewhat basic without the help of add-ons.
What is Form Ranger?
Form Ranger is a Google Forms add-on designed to assist users with importing form question options using data from Google Sheets.
With Form Ranger, you can easily fill in answer options for multiple-choice, dropdown list, or checkbox questions in Google Forms with information from Google Sheets. The add-on connects to your sheets to automatically transfer data, saving you time and preventing errors associated with manual data entry.
You can even add formulas to Google Sheets that allow the app to change the multiple-choice options in your form. For example, if you have an event with multiple time slots that each have their own attendance limits, you can set up Form Ranger to eliminate time slots from your form as they reach capacity.
You can also set up Form Ranger to expand the list of response options for multiple-choice or checkbox questions as users fill out your form. Say a respondent adds an answer to a question in an “other” open-ended response box. You can set up Form Ranger to add that option to the form for future respondents to select as well.
When to use Form Ranger
You can use Form Ranger to maintain accurate data across your spreadsheets and forms in various circumstances, including
- Matching order forms with current inventory
- Coordinating event registration forms with expected attendees
- Populating the names of students or employees in rosters
- Scheduling events and tracking attendance limits
While Form Ranger can be a useful addition to Google Forms, it’s also somewhat complicated to set up. You’ll need to have a solid understanding of how to use Form Ranger in Google Forms to ensure your data is transferring correctly.
How to use Form Ranger in Google Forms
Form Ranger is an add-on, which means you’ll need to find it in Google Marketplace and install it to Google Forms. Then, you’ll need to carefully set it up to create an accurate flow of data.
Follow along as we break down how to use Form Ranger in Google Forms in these steps.
- Go to the Google Workspace Marketplace page for Form Ranger and click the Install button.
- Open your Google Form and click on the puzzle piece icon (which opens the add-ons menu) in the top navigation.
- Click on the Form Ranger option to open Form Ranger.
- In the dialog box that opens, click Start to begin using Form Ranger.
- In Form Ranger, find the question you’d like to populate with spreadsheet data and check the box marked Populate from range. Click on the + button to add a new range.
- Select the spreadsheet you want to pull data from, then click the Select button.
- Under Sheet name, select the sheet that holds the data you need in your spreadsheet. Under Column header, select the column you want to use to populate your questions. Form Ranger will show you a preview so you can be sure you’re using the correct data. Then, click the Next button at the bottom of the page.
- Fill in the name of this data range in the text box under Range name and click Save and populate question to update your question.
- Repeat this process for each applicable question. If you want questions to update regularly with new data, select the frequency you prefer by switching either the On form submit or Every hour slider to On in the Auto-repopulate questions menu at the bottom of Form Ranger. Click the Update question list button to finalize your choice.
Using Jotform to autofill online forms
Form Ranger is only compatible with Google Sheets and Doctupus spreadsheets. This limitation, along with the time it takes to set up the add-on, are reasons why you may consider using a more straightforward Google Forms alternative.
Jotform allows you to populate forms from spreadsheets without setting up an additional plug-in. With Jotform, you can use spreadsheets to autopopulate certain fields for respondents, saving them time and ensuring more accurate results. It also offers a lot of additional benefits, including
- More than 500 built-in widgets, including the Spreadsheet to Form widget
- Web-based data storage through Jotform Tables
- Data analysis and reporting with Jotform Report Builder
Jotform also allows you to upload any XLS spreadsheet to connect to your forms — saving you time and hassle. Getting started is easy and only requires a few simple steps.
How to use the Spreadsheet to Form widget in Jotform
You can auto-populate your forms with data from a spreadsheet in minutes with Jotform’s Spreadsheet to Form widget. Follow these steps to learn how to use the Spreadsheet to Form widget and streamline the form-filling experience.
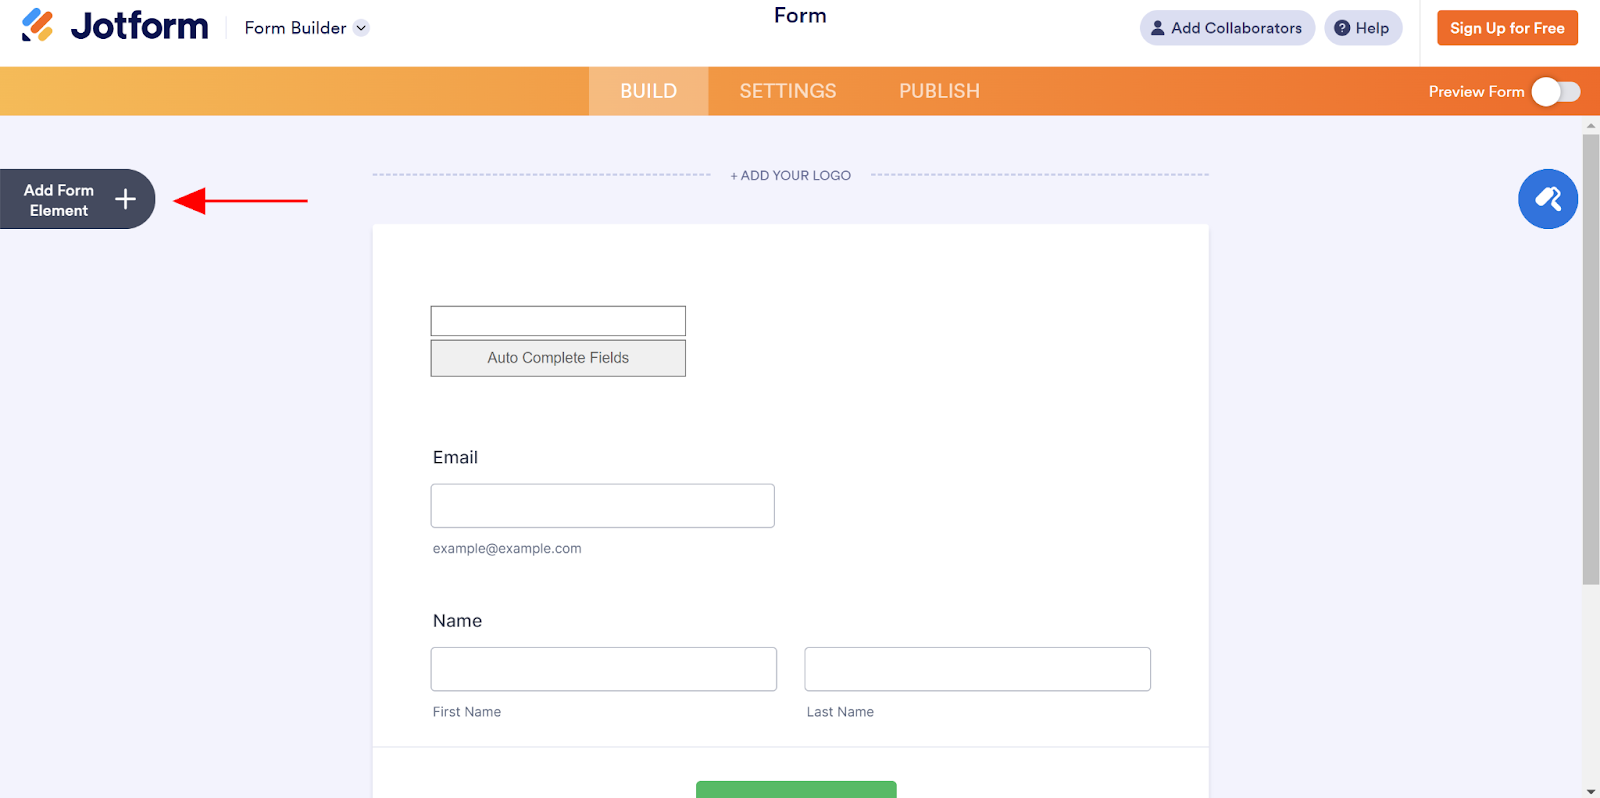
- Click on the Add Form Element button on the left side of the Jotform Form Builder.
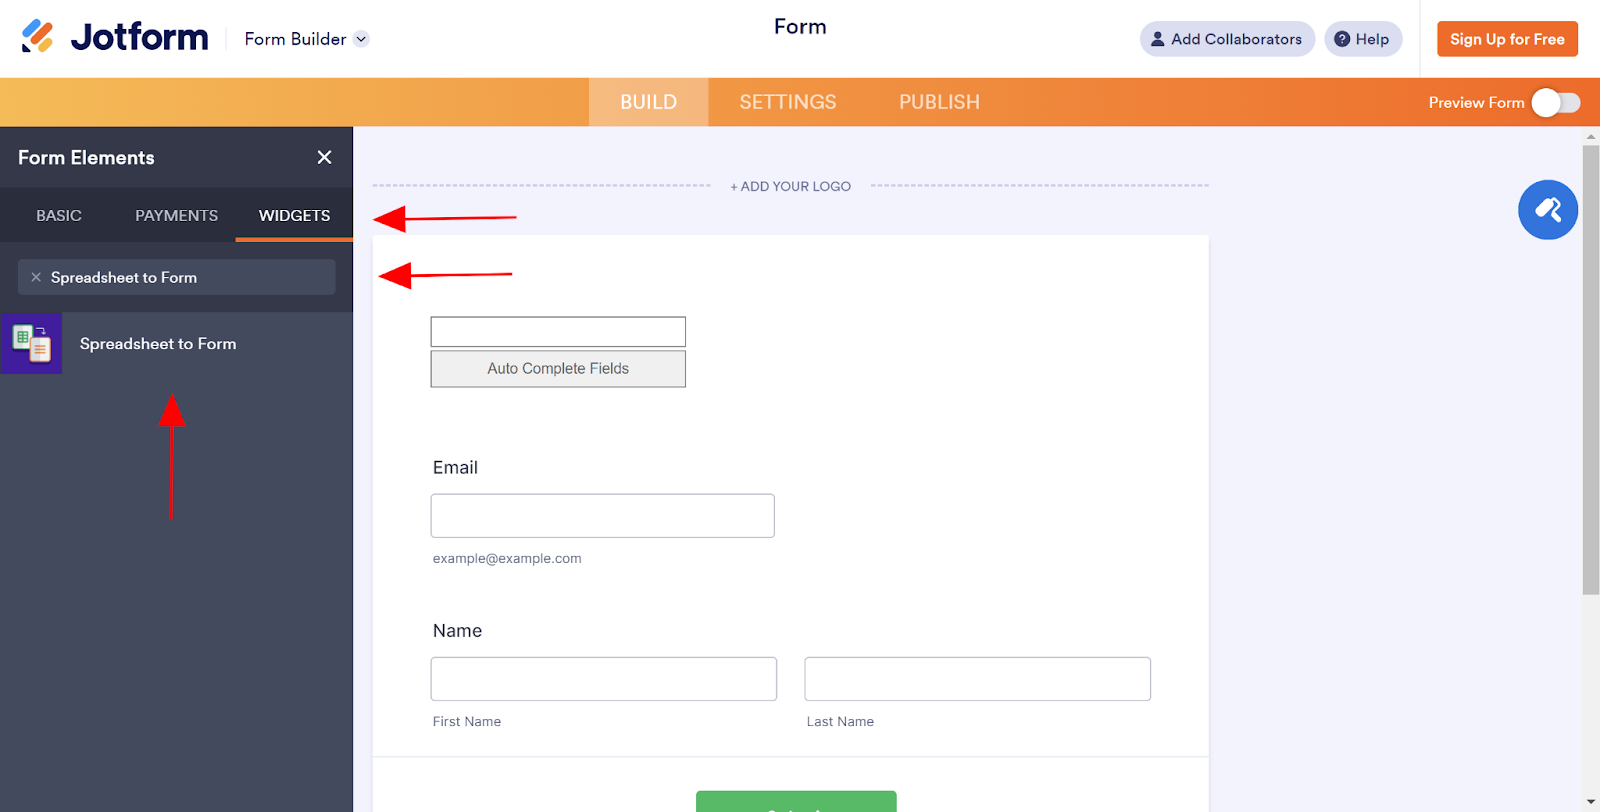
- Select the Widgets tab under the Form Elements menu. Search for the Spreadsheet to Form widget and select it from the dropdown.
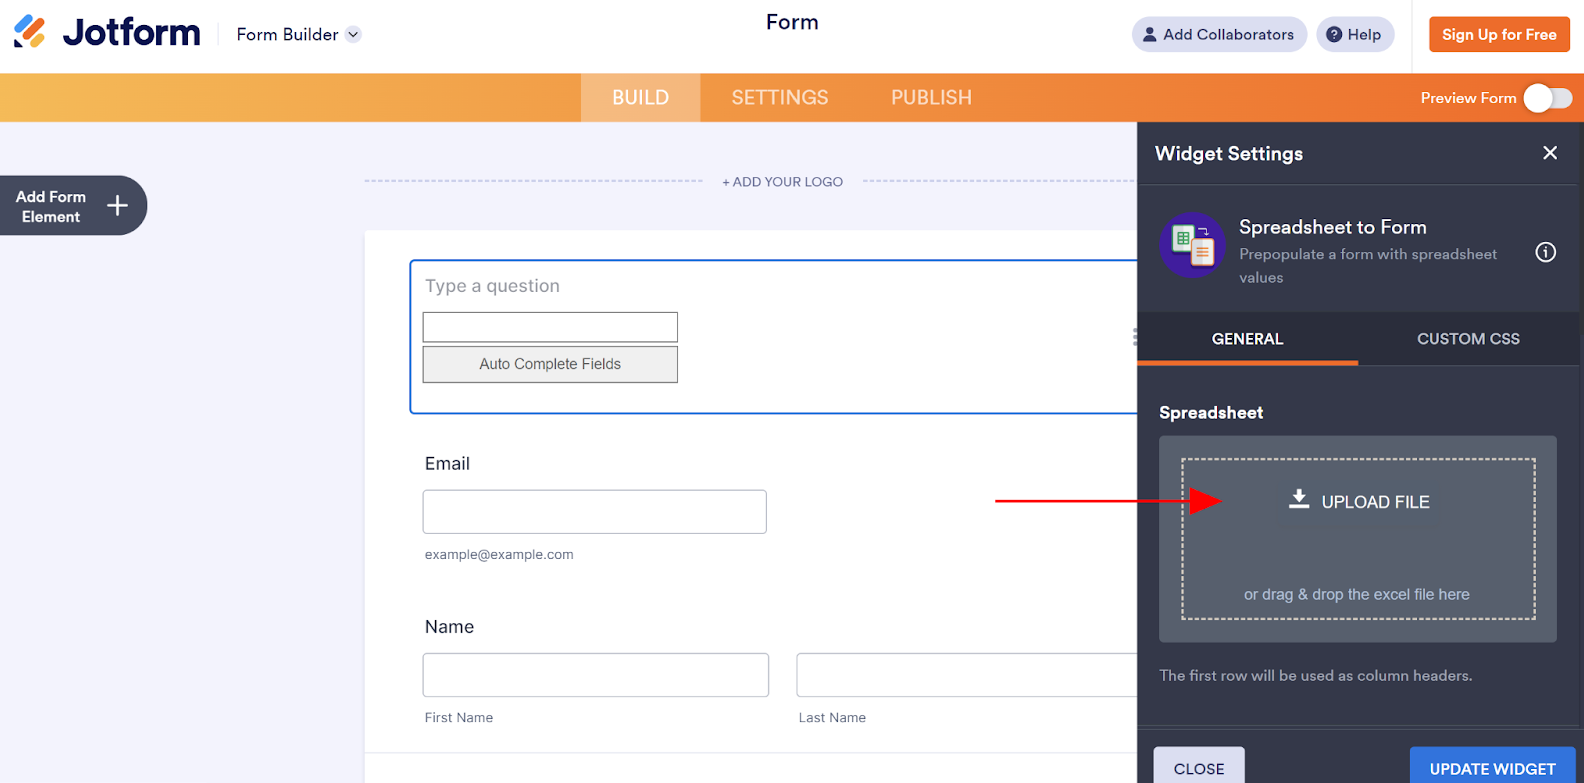
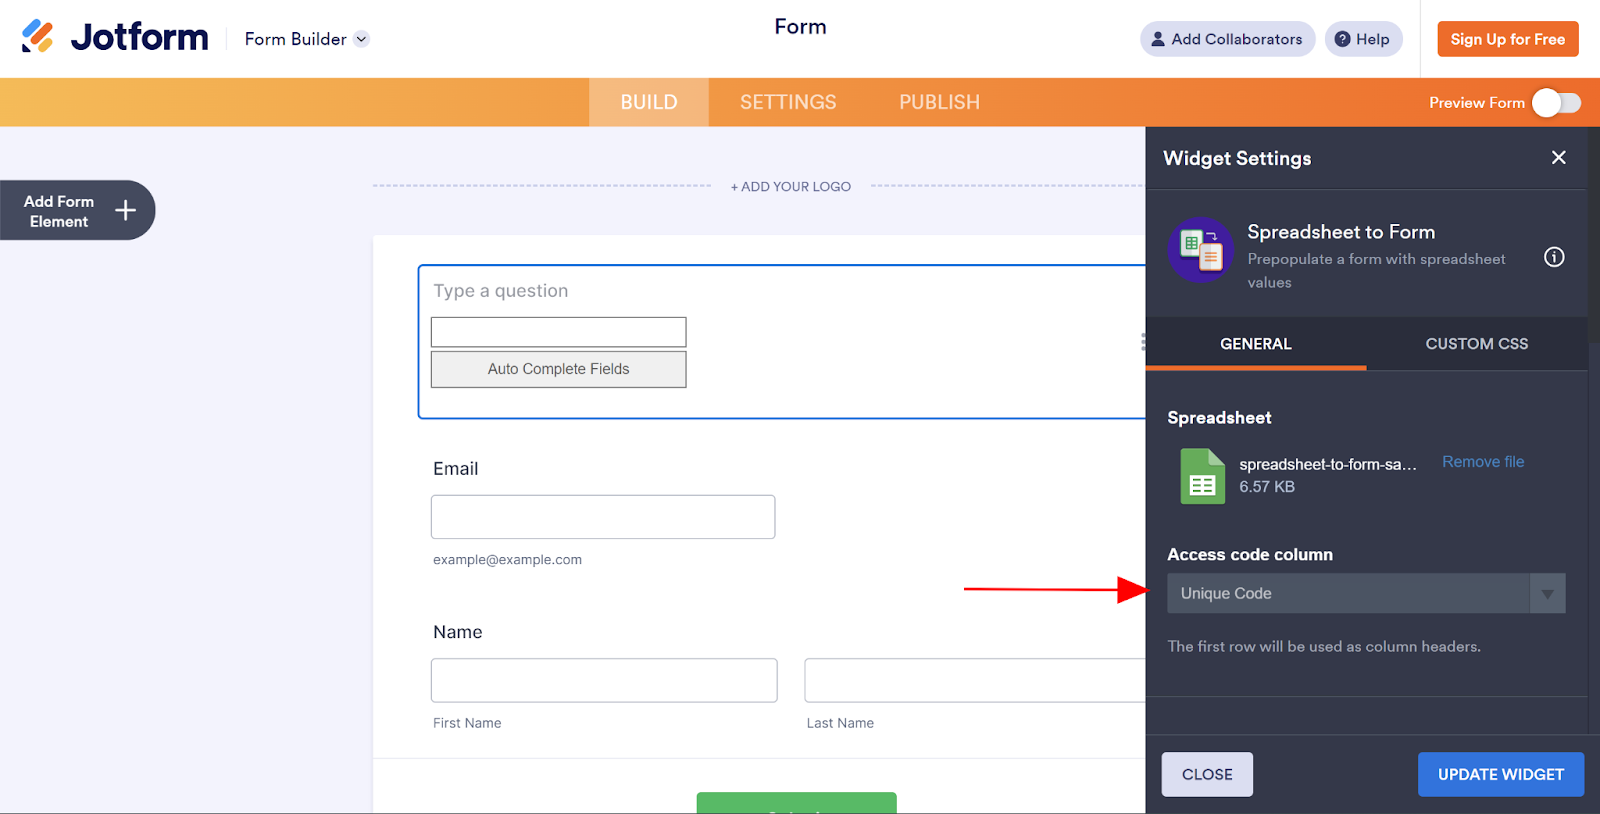
- Click on the Upload File area in the Widget Settings panel to upload your spreadsheet, or drag and drop your file in. If your spreadsheet has multiple sheets, you’ll need to select the appropriate sheet name.
- Click the Access code column dropdown to choose the column through which data will be imported to your form. For example, if you want to allow employees to autofill information in a form using their employee ID number, assign the ID number column as the access code column.
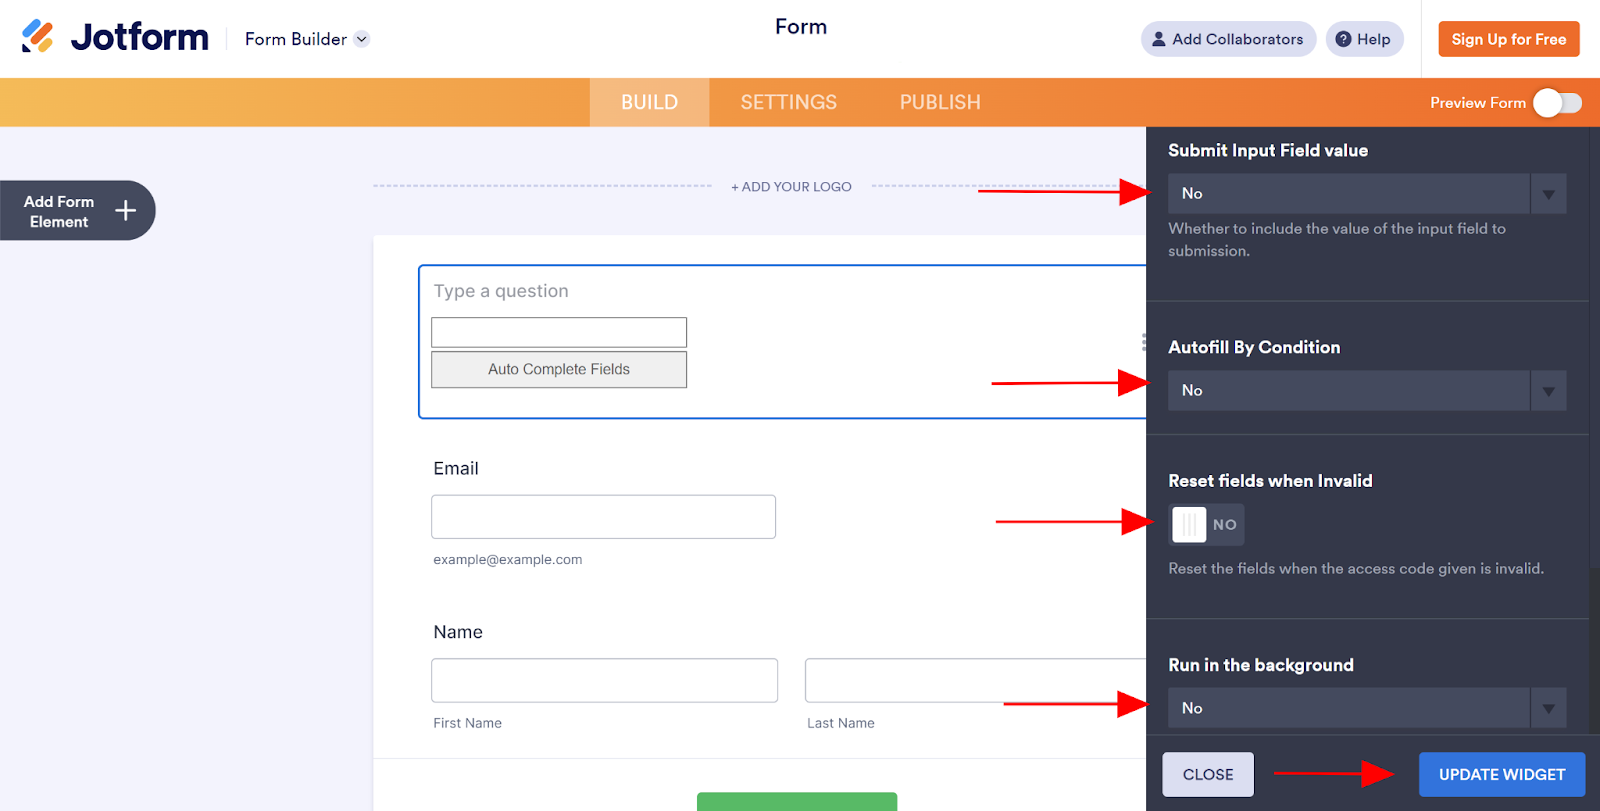
- Update any other options you want to include, such as Submit input field value, Autofill by condition, Reset fields when invalid, and Run in the background. Then, click the Update Widget button at the bottom to finish the setup.
Why not make form-building more efficient overall with Jotform?
Don’t spend time manually setting up your online forms. With Jotform, you don’t need add-ons to extend the functionality of your forms. You’ll be able access an array of advanced tools and widgets as part of the platform. You can also take advantage of its 10,000-plus form templates to make form-building even easier.
Get started today by signing up for free, or learn more about the power of Jotform on our blog.
Photo by Vitaly Gariev on Unsplash


")


Send Comment: