
Steps to create a shirt order form
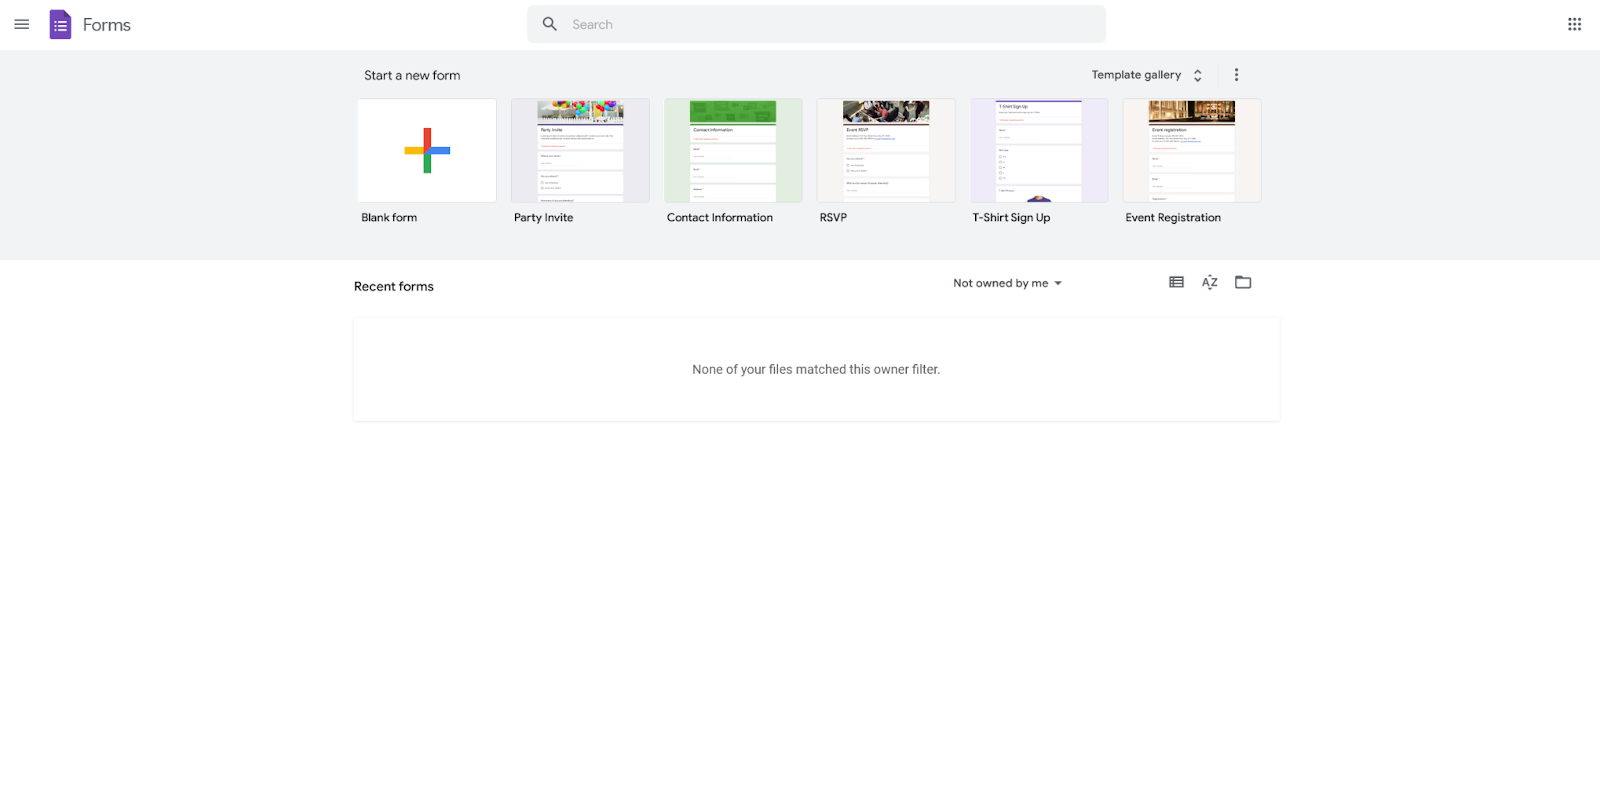
- From Google Forms landing page, click on Blank form.
- Give your form a title and a description.
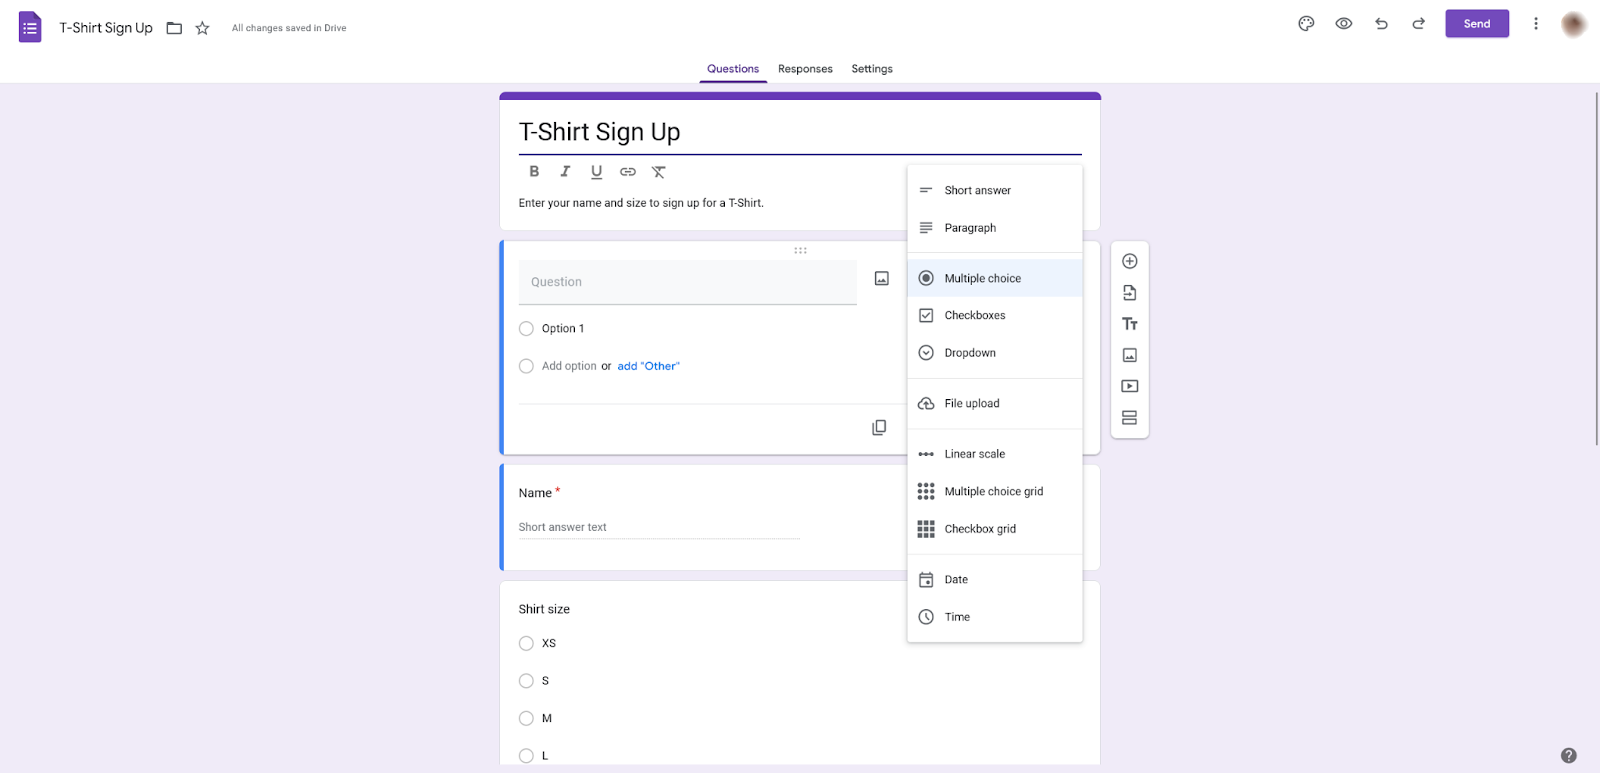
- Add questions by clicking on the + icon.
- To mark your question Required, toggle on the switch at the bottom right.
- (Optional) Upload a photo of the shirt you’re offering.
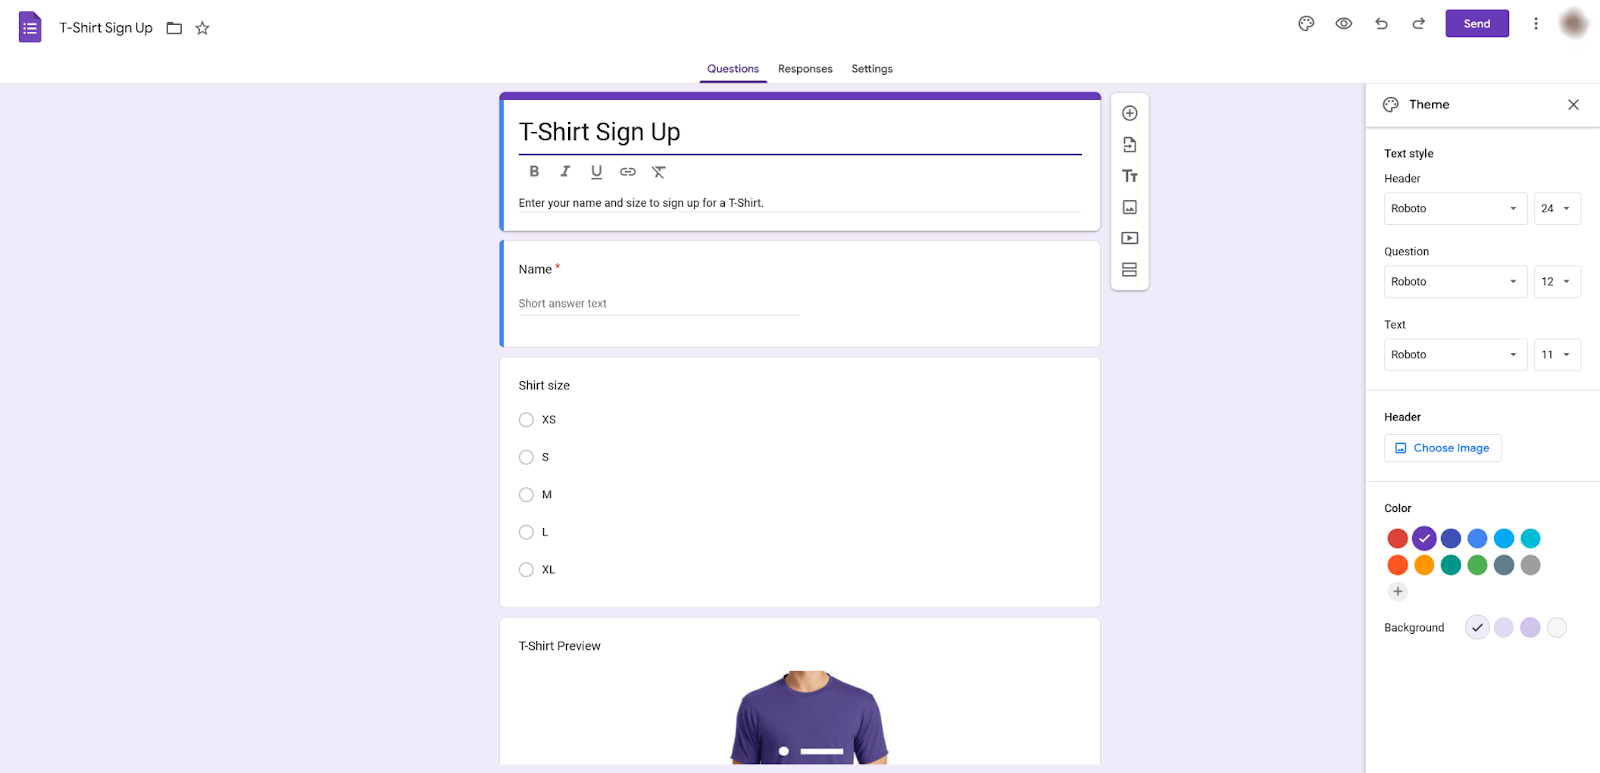
- Customize your form’s theme by clicking on the paint palette icon.
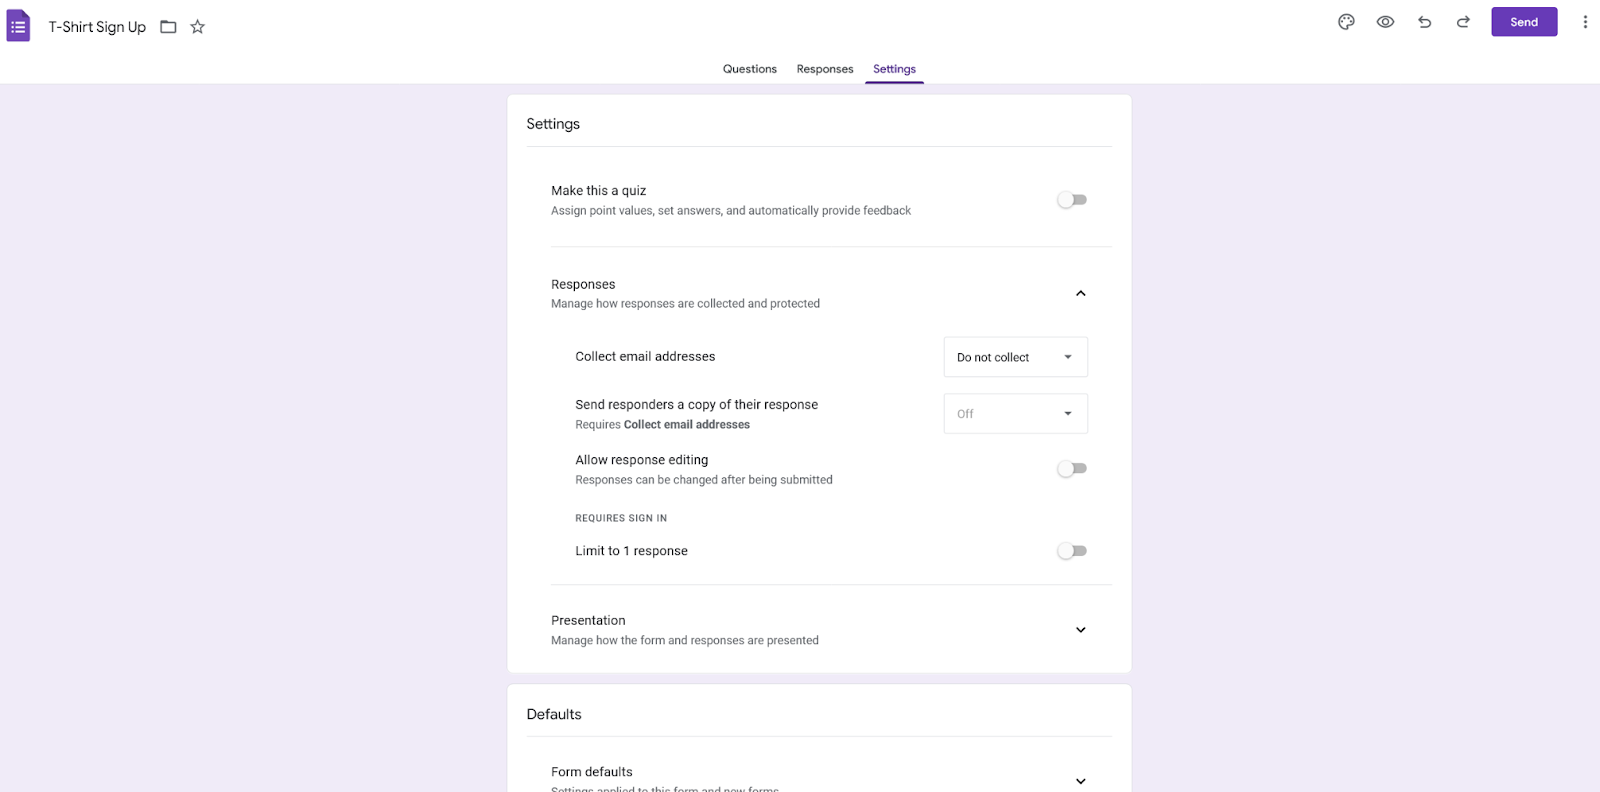
- Adjust your form settings.
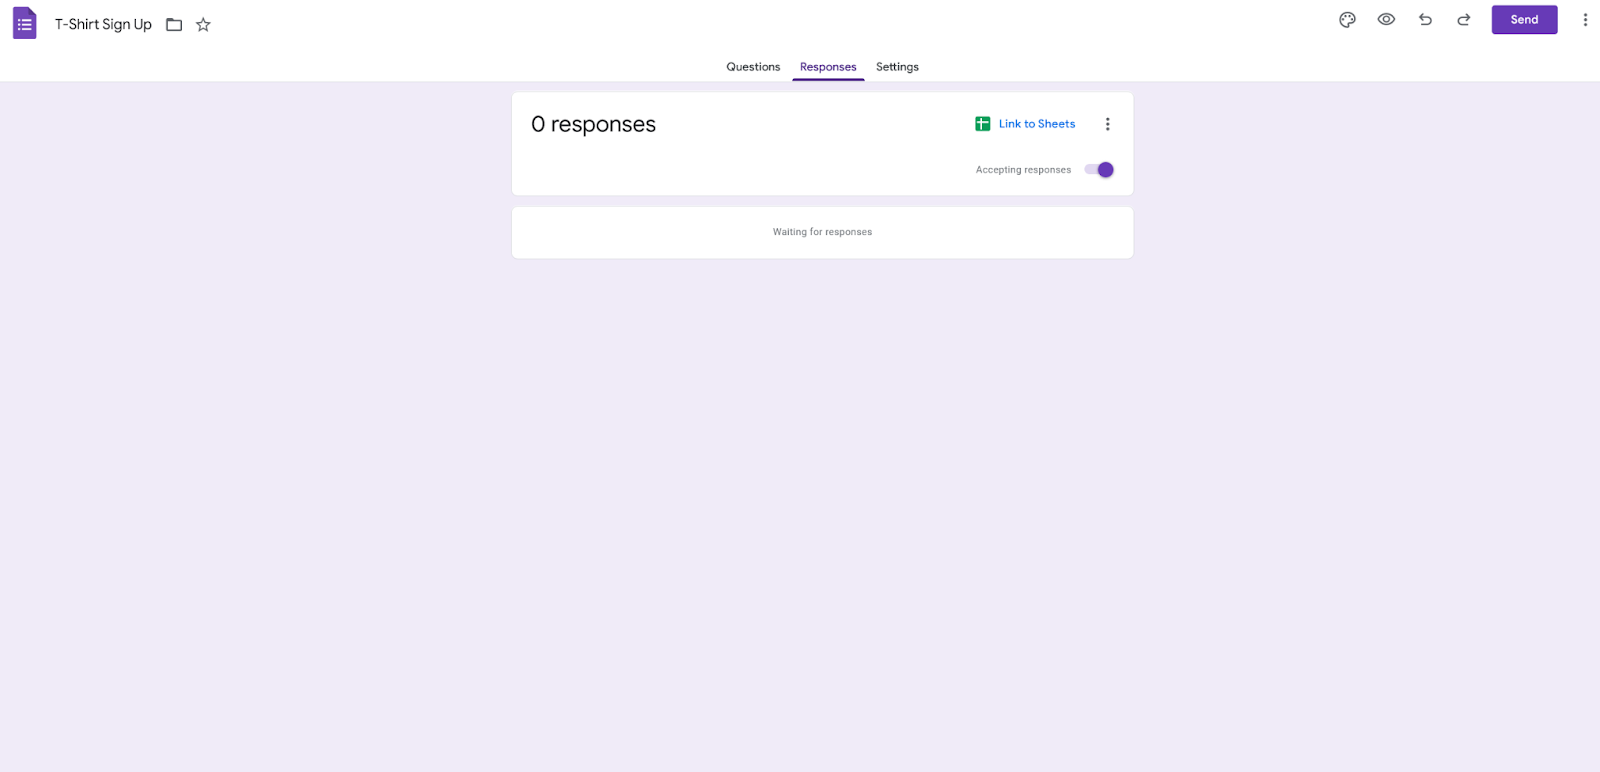
- Click on the Responses tab.
Interactive step-by-step tutorial
What do event organizers, local sports team managers, and small business owners all have in common? They often need to order T-shirts for a lot of people, and they might need them fast.
The key to efficiently collecting shirt orders is to use a versatile tool that will get the job done without much thought and effort on the part of your customers. If you’re thinking about starting a shirt business, you may have already looked into how to create an online shirt order form. One option worth researching is Google Forms.
Google Forms is a versatile tool used for creating surveys, quizzes, and forms. It allows users to design forms with different question types, including multiple choice, short answer, and dropdowns. Responses are automatically collected in Google Sheets, making data analysis and organization seamless. With its user-friendly interface and integration with other Google services, Google Forms is widely used for gathering information, conducting assessments, and collecting feedback.
When might you need a shirt order form?
There are a number of reasons why someone might need to order shirts, and the most convenient way to do so is through an online form. Ordering various sizes and colors — and even customizable print is easy in a web form with dropdowns and text boxes.
Here are a few specific instances when you might use a shirt order form.
Pre-ordering shirts for events or occasions
Google Forms is handy for gathering shirt orders ahead of events or special occasions. It allows organizers to efficiently collect details such as sizes, styles, and quantities from participants, streamlining the ordering process and ensuring everyone gets the shirts they need on time.
Outfitting sports teams
Matching uniforms are essential for fostering team spirit and identity. Organizers can use Google Forms to collect shirt orders from team members, coaches, and supporters, enabling them to coordinate sizes, jersey numbers, and any customizations required for players or fans.
Collecting information for customization
When you need to customize shirts with names, logos, or specific designs, Google Forms can help. It allows you to collect personalized information from individuals, ensuring that each shirt is tailored to the wearer’s preferences and requirements.
Managing large order volumes
Whether it’s a fundraiser, corporate event, or group outing, managing a large volume of shirt orders can be daunting. Google Forms simplifies this process by automating data collection and organization. Responses are automatically recorded in a Google Sheets spreadsheet, making it easy to track orders, manage inventory, and communicate with suppliers effectively.
How to create a shirt order form with Google Forms
1. From your Google Forms landing page, click on Blank form.
2. Give your form a title and a description of your choice. For example:
T-Shirt Order Form
Use this form to order T-shirts in various sizes, colors, and quantities.
3. Add questions by clicking on the + icon in the floating menu on the right side of your form.
Your form fields will be unique to your own T-shirt ordering needs, but here are some question types you might add:
- Short answer. This question type allows customers to enter their name, email address, etc.
- Paragraph. This question type is useful if your customers need to enter their address or a longer explanation about the T-shirt they are ordering.
- Multiple choice. This type of question lets customers choose options like color, size, shirt type, etc. Remember, users are limited to one choice with this question type.
- Checkboxes. Use this option if you need your customer to select more than one answer to the question — for example, to select size and material.
- Dropdown. This option is great for giving your customer multiple choices while keeping your form more compact.
4. To mark your question Required, toggle on the switch at the bottom right of the question box. Toggling the switch on turns it the color of your form’s theme. This means the user must answer the question in order to submit the form. Off means the question is not mandatory.
5. (Optional) Upload a photo of the shirt you’re offering by clicking the Add image icon, which looks like a square with a mountain symbol in it.
6. Customize your form’s theme by clicking on the paint palette icon in the upper right corner of your screen. Here, you can change the font style and size of your header, questions, and text. You can also upload a Google Form header image, which according to the Google Support Forum should be 1600 pixels long by 400 pixels high at an aspect ratio of 4:1. You can also change the form’s colors either by choosing from the available colors or clicking + to choose your own color.
7. Adjust your form settings by clicking on the Settings tab at the top of your form. This is where you’ll find options like requiring your participants to sign in to their Google account to fill out the form. This feature allows you to limit responses to one per person.
8. Click on the Responses tab, then the three dot icon on the right side of the screen. Here, you can choose whether you’d like to get email notifications for responses and select where you’d like your responses to be stored. If you don’t select a specific destination, a new Google Sheet will be created for you.
Using Jotform as a shirt order form alternative to Google Forms
If Google Forms doesn’t quite meet your needs, take a look at Jotform. Jotform offers a comprehensive range of ready-made online T-shirt order form templates, so you can easily find a suitable option to streamline the shirt ordering process. Whether it’s for events, sports teams, fundraisers, or custom designs, Jotform’s templates offer flexibility and convenience.
For instance, the blank T-shirt order form template provides a versatile foundation for users to customize according to their specific needs, allowing them to add fields for sizes, colors, quantities, and any other pertinent fields. The screen printing order form template is tailored for collecting orders for customized T-shirts, enabling users to gather information such as design preferences, artwork specifications, and printing instructions.
How to create a T-shirt order form with Jotform
If you’d like to create a new order form for your T-shirts from scratch, you can easily do so with Jotform’s Form Builder. Here are the steps you’ll take:
- Sign in to Jotform or sign up for a free account.
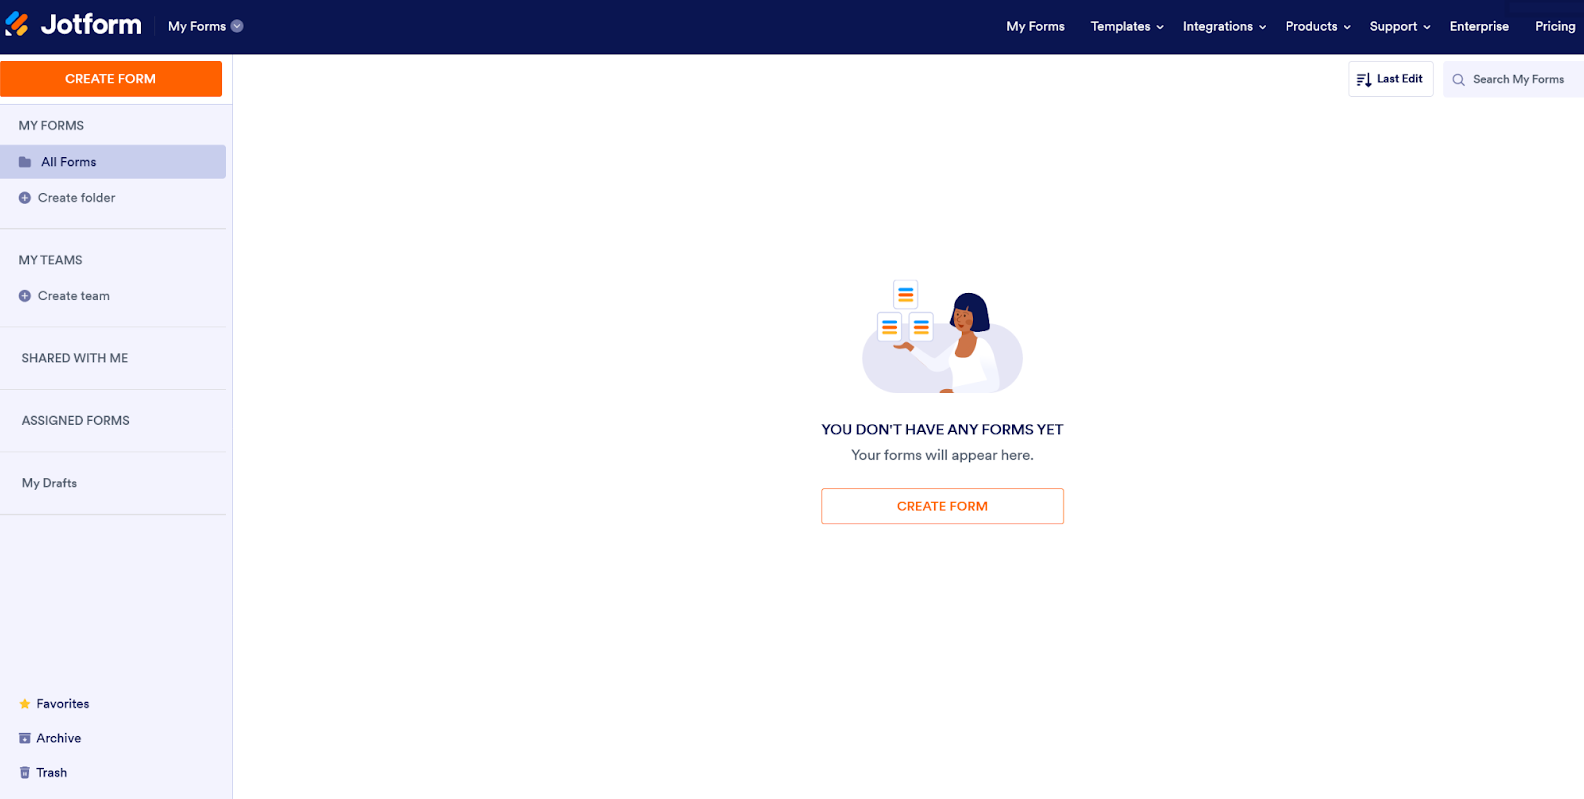
- Once you’re signed in, click on the Create form button in the My forms screen.
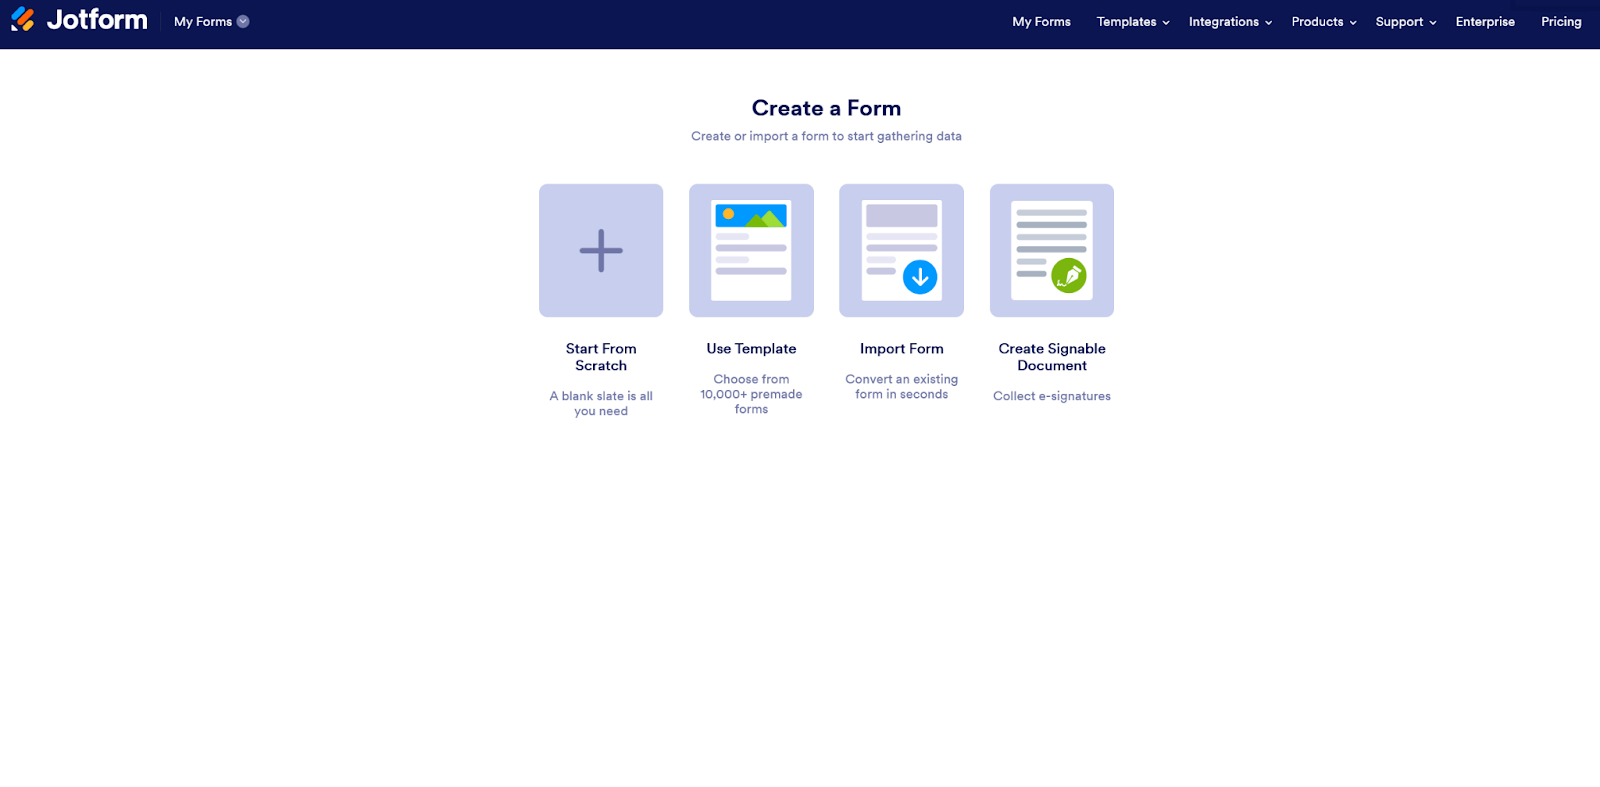
- Choose Start From Scratch to create a new form.
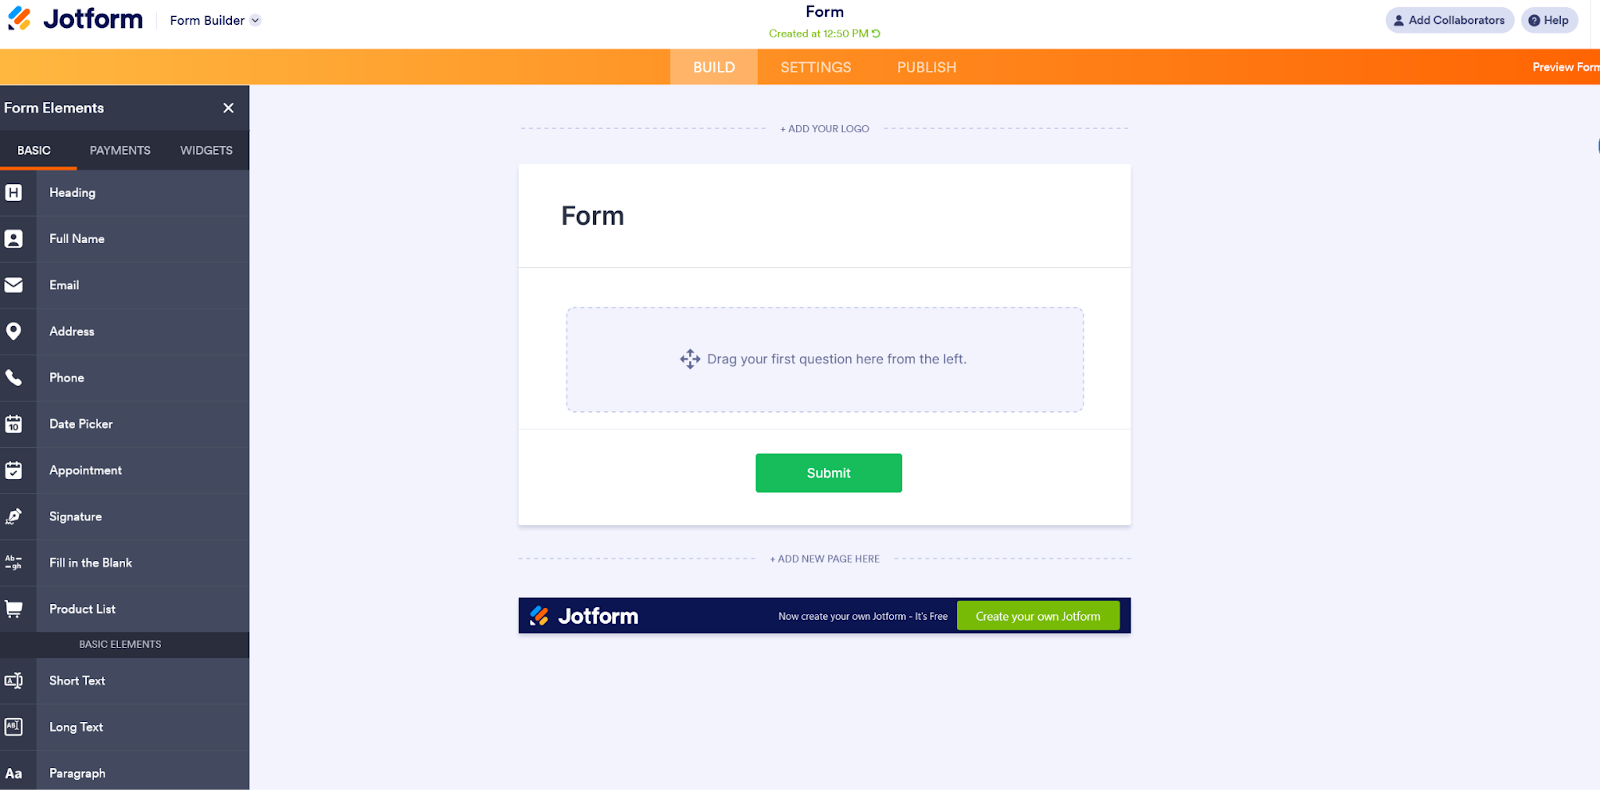
- Choose a form layout by selecting Classic Form for a single-page form or Card Form for a multistep form experience.

- Click on the form title area at the top and enter a title like “T-Shirt Order Form.” If you want, add a brief description explaining the purpose of the form.
- Click on the Add Form Element button on the left to open the list of form elements.
- Drag and drop the following fields into your form:
- Name: Use the Full Name element to collect the customer’s name.
- Email: Use the Email element to collect the customer’s email address.
- Phone Number: Use the Phone element for contact details.
- Drag and drop the following fields into your form:
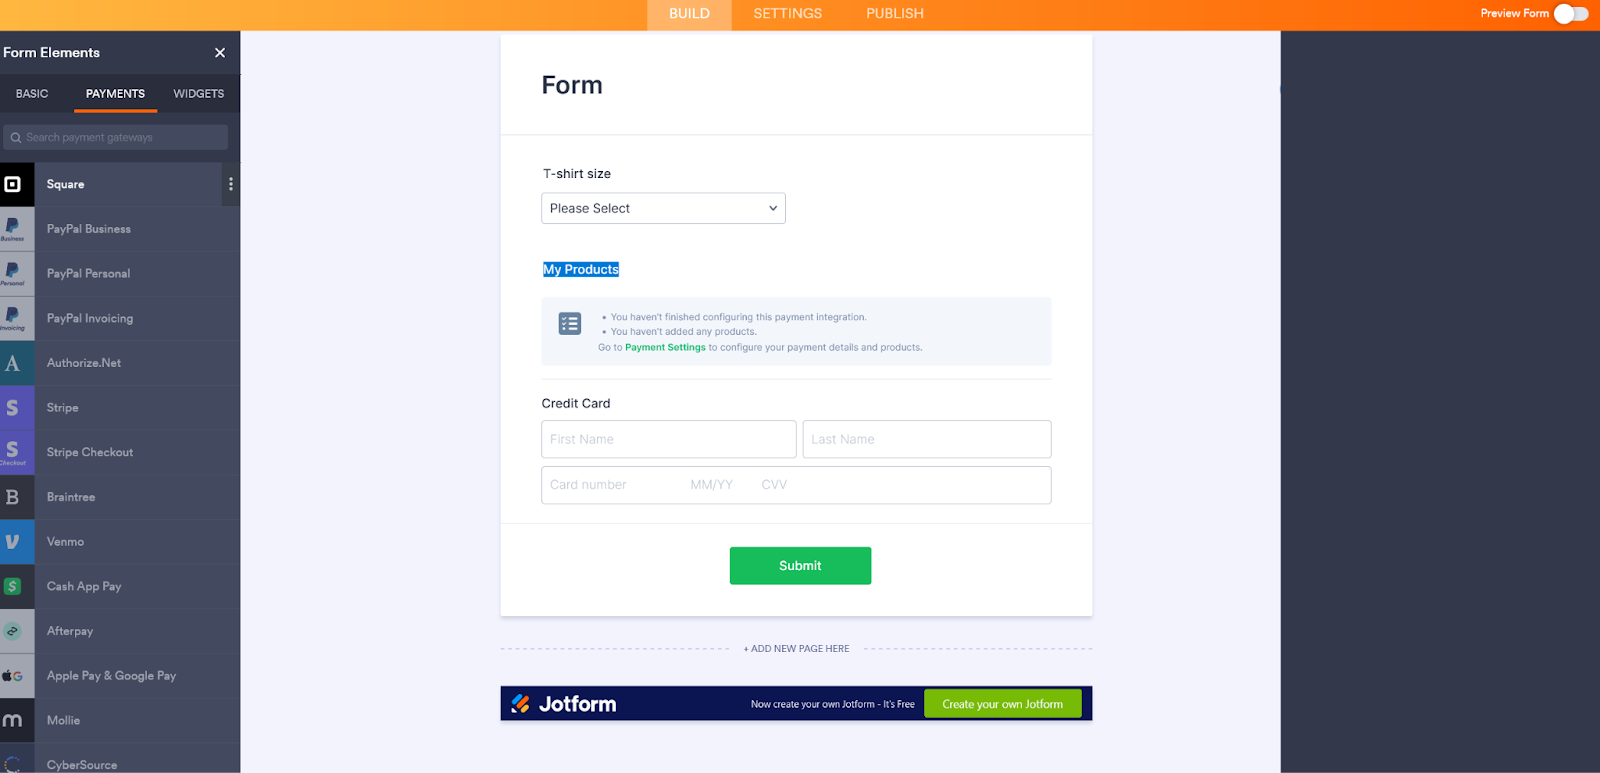
- Add T-shirt order details
- Size: Use the Dropdown or Single Choice element to list available sizes (e.g., Small, Medium, Large).
- Color: Use another Dropdown or Single Choice element to list available colors.
- Quantity: Use the Number element to allow customers to specify the quantity of T-shirts.

- Add a payment integration (optional): If you want to accept payments for orders directly through the form, click on the Payments tab in the form elements menu. Select your preferred payment gateway (e.g., Square, PayPal, Stripe) and follow the prompts to set up the integration.
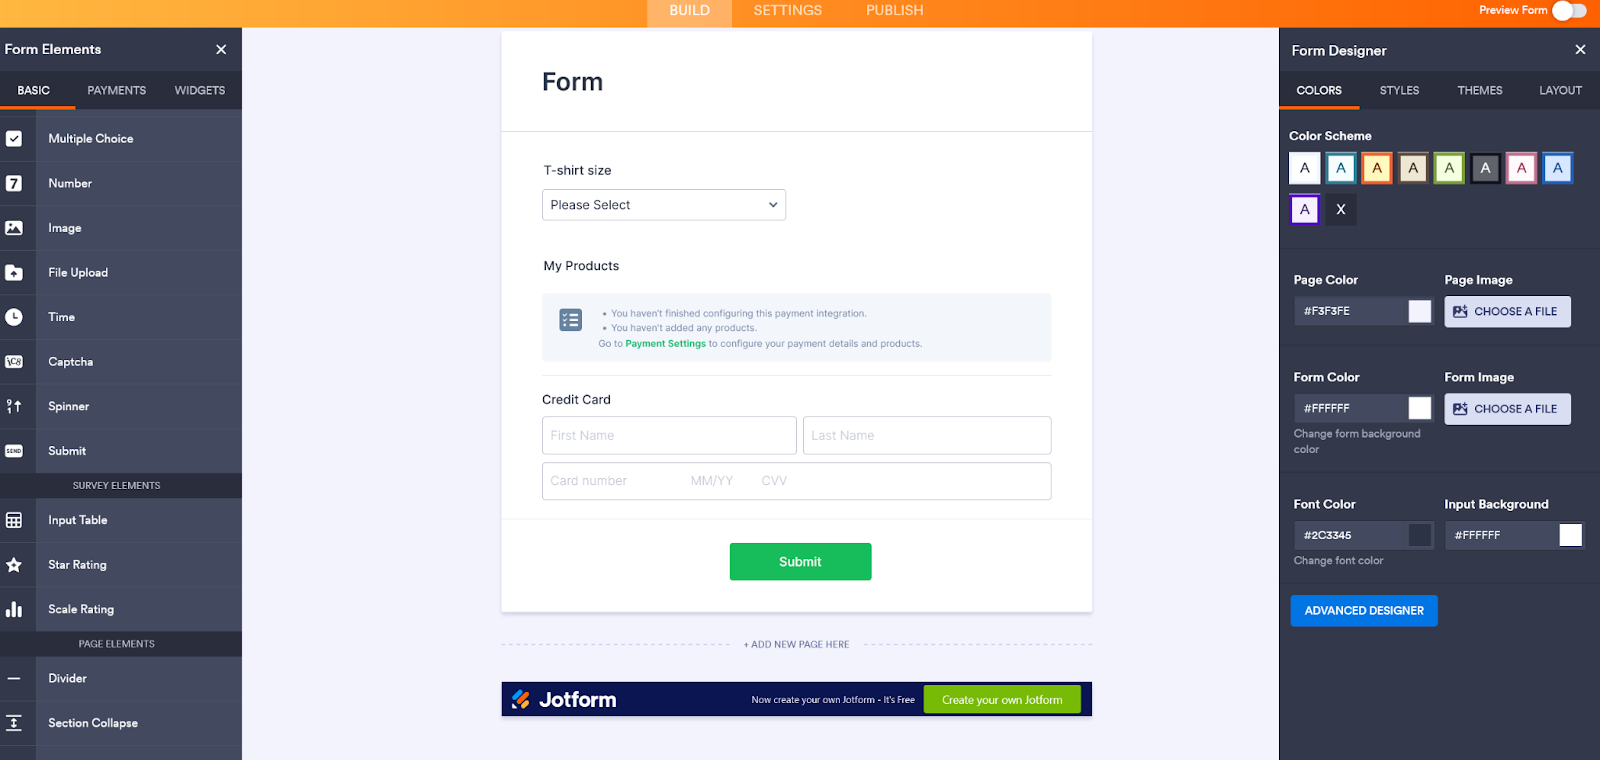
- Customize your form’s design by clicking on the Form Designer icon (the paint roller) on the right side. You can adjust colors, fonts, and layout to match your branding exactly.
- Preview and test your form by clicking on the Preview Form slider button in the top right to see how your form will look to users. Test the form by filling it out to ensure everything works as expected.
- To share your form, click the Publish tab at the top of the screen. Copy the form link to share it via email or social media, or click on Embed on the left to get a code snippet to embed the form on your website.

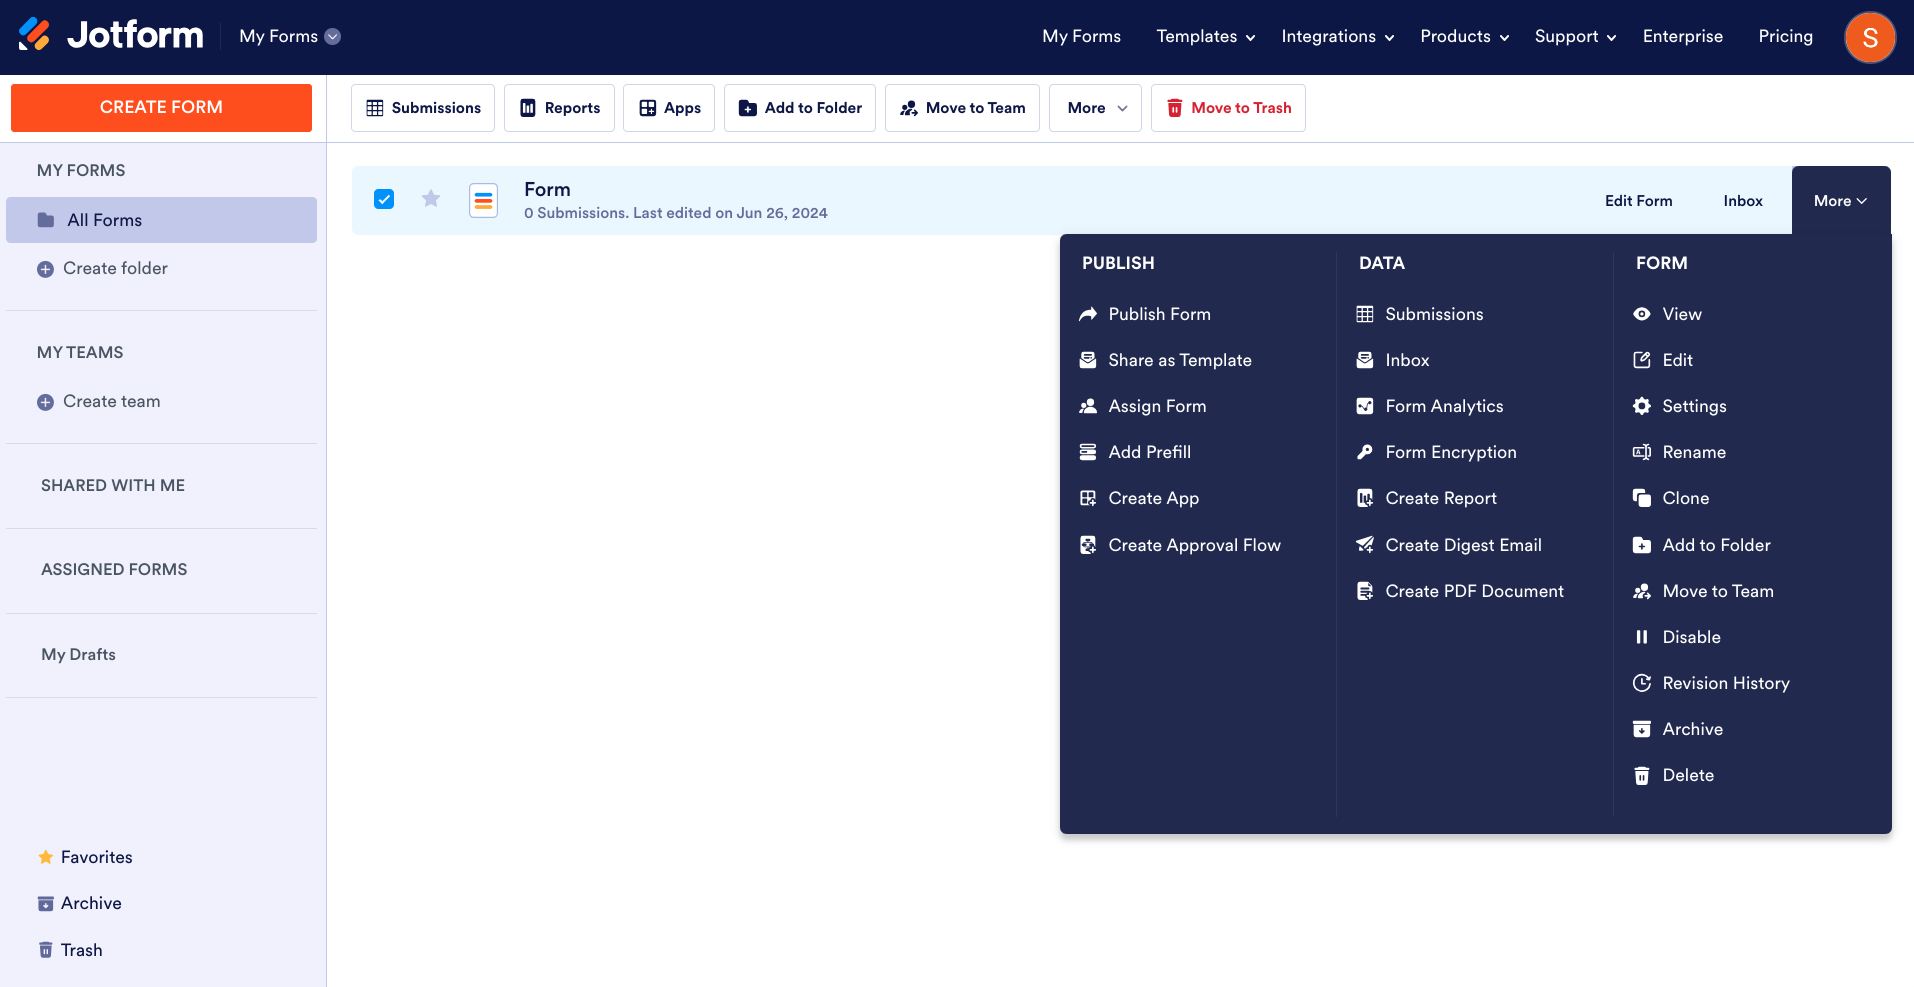
- Collect and manage your form responses through Jotform Tables. You can monitor form submissions from your Jotform dashboard by clicking on your form and then selecting More > Data > Submissions. This will bring up all of your submissions in one easy-to-manage table.
Once you have collected your orders, you can use Jotform Report Builder to create charts and graphs to help you identify any trends. Jotform’s collaboration tools allow multiple team members to access your orders at once, and real-time updates ensure everyone who accesses your data will have the most current information. You can also check out Jotform’s integration with third-party tools like Google Sheets and Excel to further enhance analysis and reporting capabilities.
Photo by Kampus Production


Send Comment: