Steps to create a Google form
- Access Google Forms
- Start a new form
- Add questions to your form
- Customize form appearance
- Share your form
- Analyze form submission data
Have you ever needed to collect information from a group of people? Google Forms is one of the answers. This tool allows you to create custom forms for various purposes, such as making surveys, collecting feedback, facilitating event registrations, or even creating quizzes. In this blog post, we will guide you through the process of how to create a Google Form, customizing its appearance, and analyzing the results.

Looking for the best alternative to Google Forms?
Jotform’s full-featured form-building solution is mobile-friendly and has the most integrations in the industry. Use it to collect payments, automate workflows, gather leads, and more.
Accessing Google Forms
Accessing Google Forms is a breeze. As a part of Google Workspace, you can find it within your Google Drive, along with Google Docs, or by visiting the dedicated Google Forms website at forms.google.com. Once you arrive at the site, simply sign in using your Google account, and you’ll be ready to create a Google form.
Starting a New Form
When you’re ready to create a form, you have two options for crafting a new form: choose from a variety of templates or start from scratch. Both approaches offer a solid foundation for your custom form, allowing you to tailor it to your specific needs.
Choose a Template
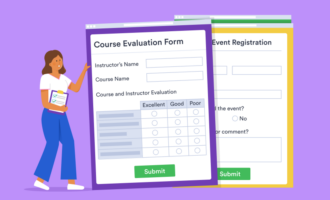
For those who want a jumpstart, Google Forms provides a wide range of templates, including job application forms, event registration forms, and customer feedback forms, among others. To access the Template Gallery, click on the “Template Gallery” button located at the top right corner of the page. Once you find the template that fits your needs, click on it, and don’t forget to customize the form as needed.
Start from Scratch
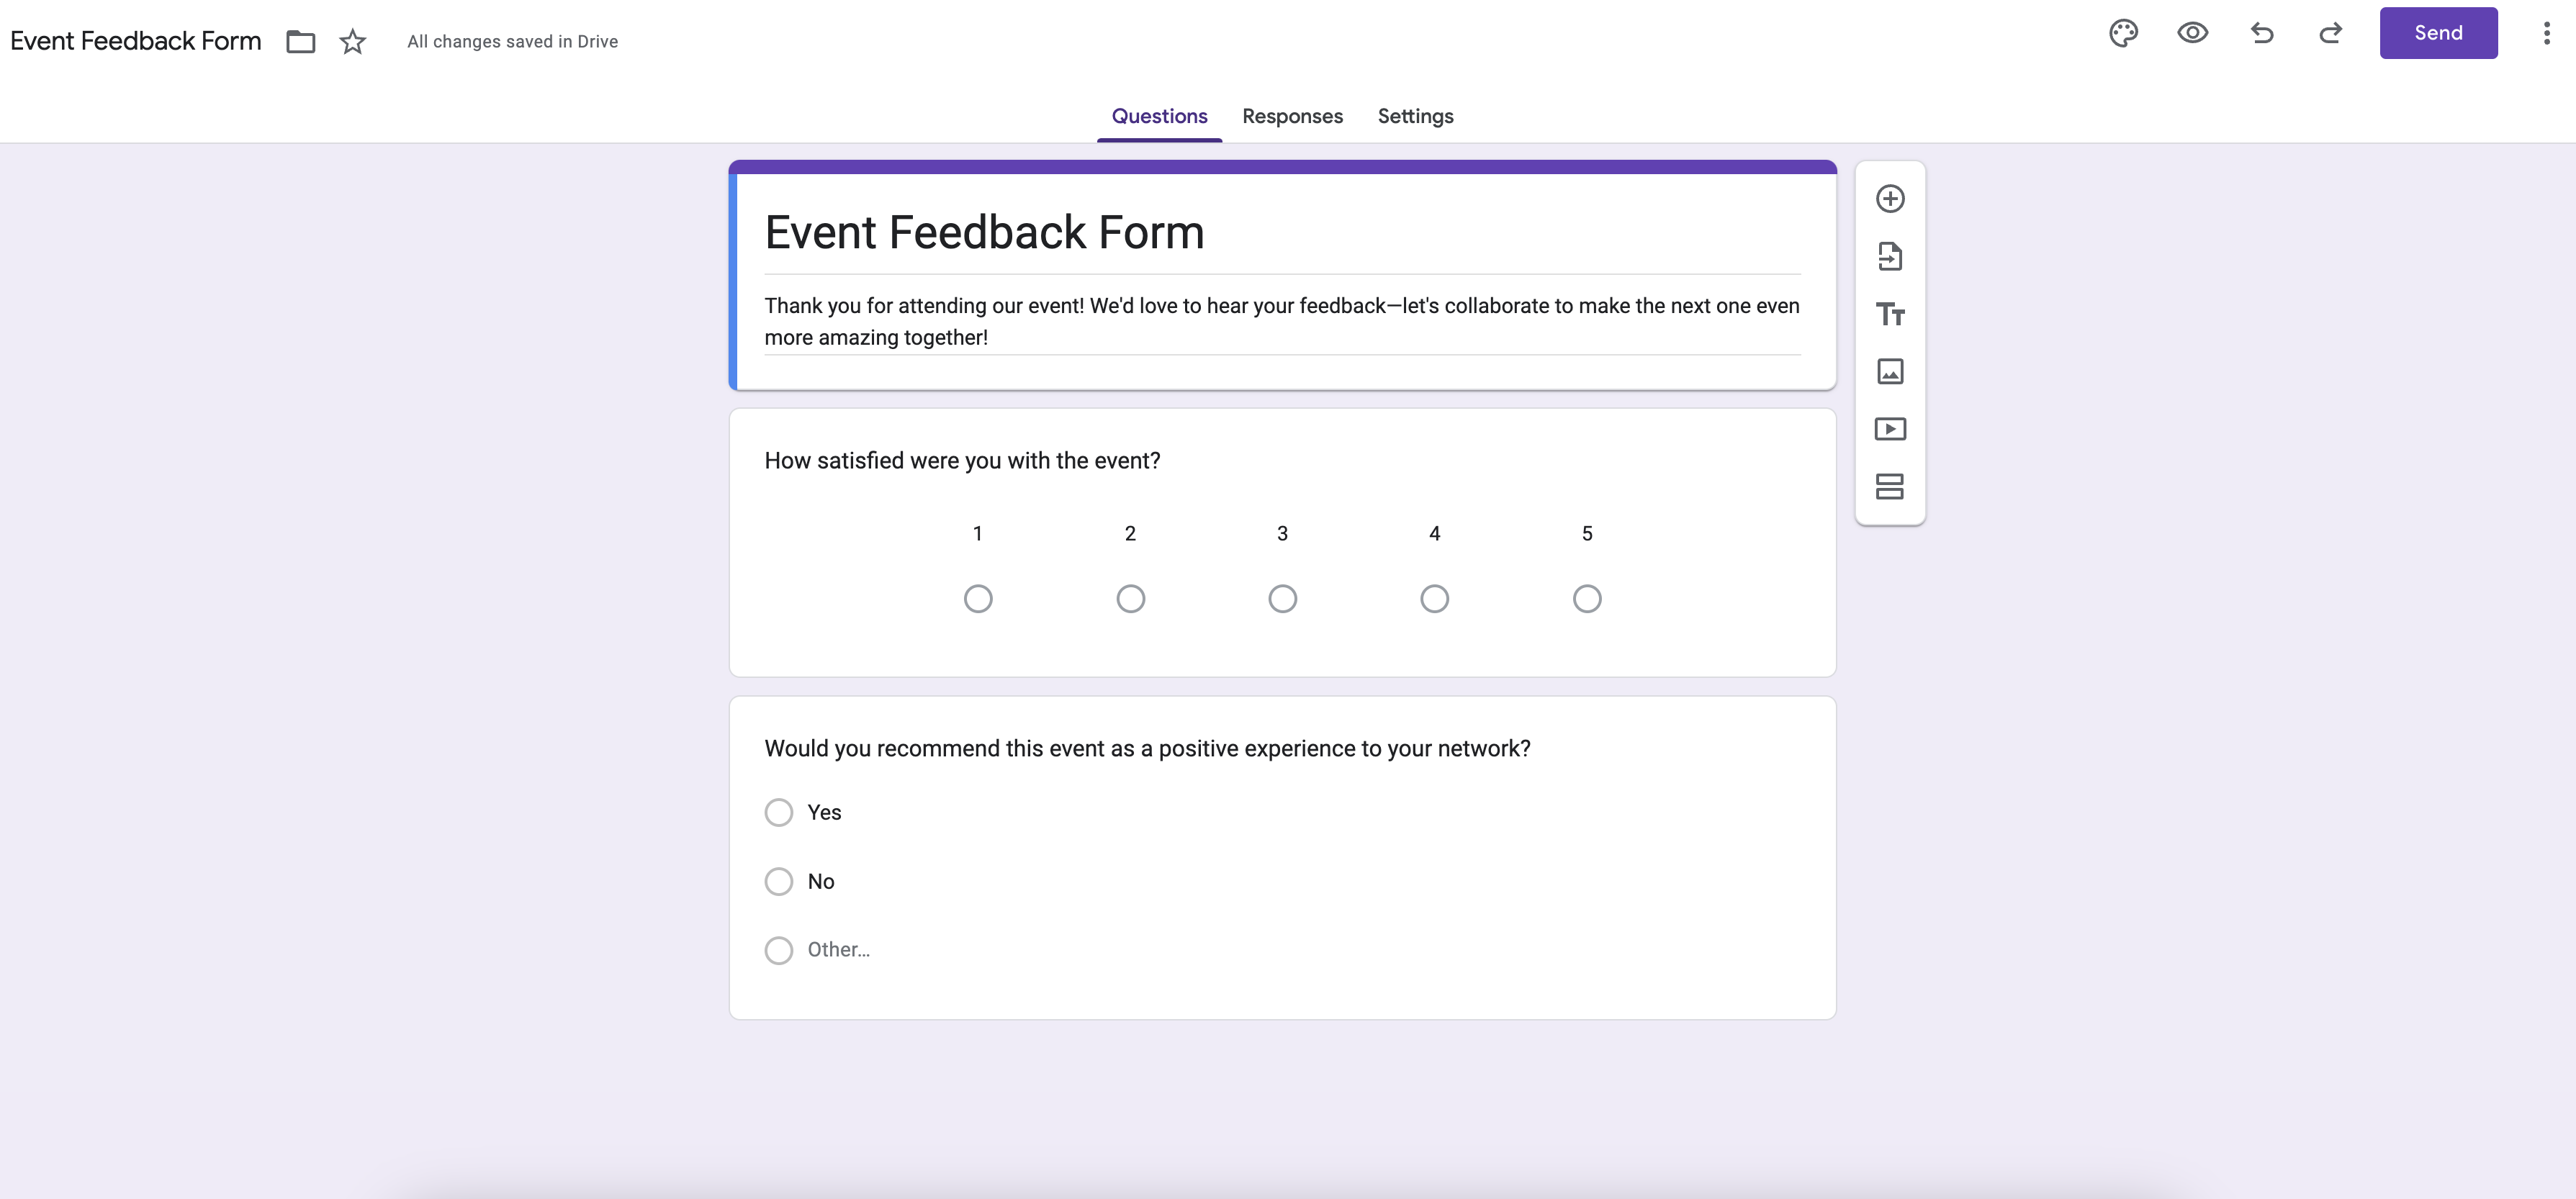
Starting from scratch gives you full control over your form’s design and content. To create a custom form from scratch, follow these steps:
- Access Google Forms homepage through forms.google.com or Google Drive.
- Click on the “Blank form” option.
- Modify the title of the form.
- Add questions based on your needs.
- Incorporate any additional fields or sections as needed.
This approach allows you to create a completely personalized form tailored to your specific requirements, even if it starts as an untitled form.
Adding Questions to Your Form
The process of adding questions to your form is straightforward. Google Forms offers a variety of question types, such as:
- Multiple choice
- Short answer
- Paragraph
- Checkboxes
- Dropdown
- Linear scale
- Multiple choice grid
- Checkbox grid
- Date
- Time
- File upload
These question types allow you to gather the necessary information for your form.
Multiple Choice Questions
Multiple choice questions are a popular choice for many forms, as they allow users to select one option from a list of choices. This question type is perfect for gathering preferences, opinions, or any other information that can be easily categorized. Remember to provide clear and concise options to guarantee accurate responses.
Pro Tip
Check out How to add a multiple-choice grid in Google Forms to learn more about enhancing your surveys with flexible question formats.
Text Questions
Text questions enable users to provide short or long text responses. In Google Forms, you can choose between short answer and paragraph as text input options. Text questions are ideal for collecting open-ended feedback, opinions, or any other information that requires a more detailed response.
Checkboxes and Other Question Types
Checkboxes and other question types offer additional flexibility in collecting data. Google Forms provides a variety of question types, including checkbox, dropdown, and linear scale, to ensure you gather the precise information you need.
Remember to consider the purpose of your form and the type of data you wish to collect when selecting your question types, as this will help you effectively collect data.
Pro Tip
Enhance your Google Forms by utilizing the checkbox grid feature for more dynamic and interactive options, as detailed in this blog post: Checkbox Grid in Google Forms.
Customizing Form Appearance
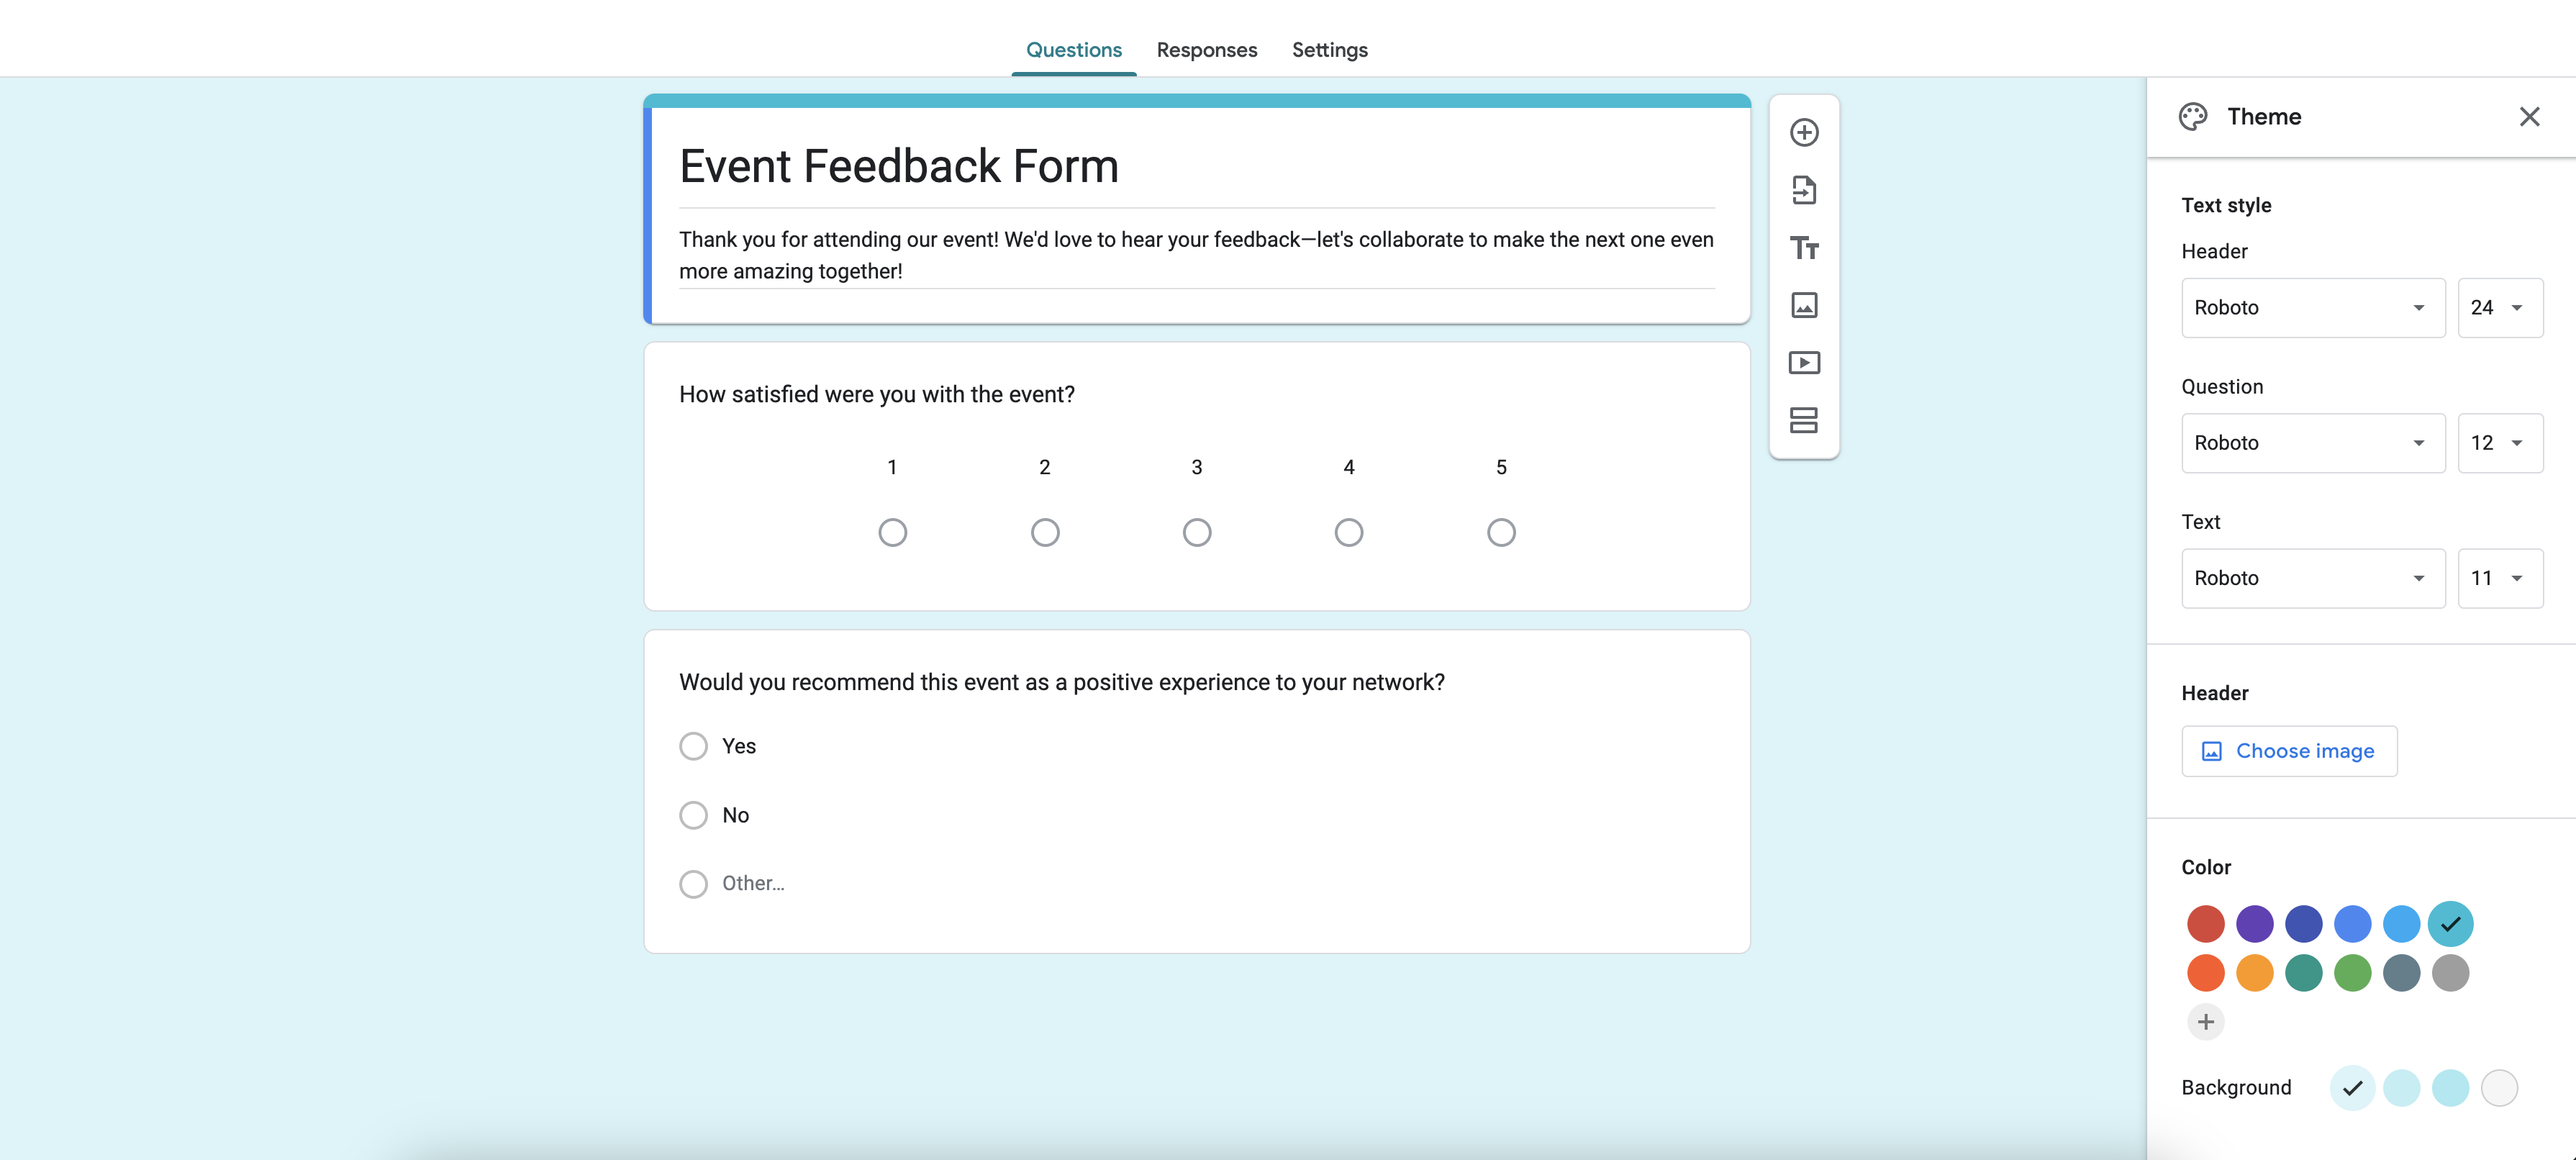
An attractive form not only looks professional but also encourages people to complete it. Customizing the appearance of your Google Form is a straightforward process that includes changing the color theme, adding images, and adjusting font styles.
Here are a few popular customization options of Google Forms.
Selecting a Theme
Setting the right color scheme for your form can create a visually appealing experience for your users. In Google Forms, you can choose from pre-made themes or create your own custom theme. If you wish to modify the theme, click on the palette icon (Customize Theme) located on the top right of the Google Form page. Subsequently, a “Theme Options” sidebar will appear, enabling color customization.
Adding Images
Incorporating images into your form can help capture users’ attention and enhance the overall design. They can be added to the form header or as part of individual questions. To add an image to a question or the header, simply click on the image icon in the question field, and follow the steps to upload or select the desired image.
Adjusting Font Styles
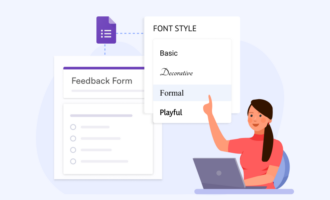
Adjusting font styles is another way to make your form stand out and match the overall design. Although Google Forms does not offer a lot of native font customization options, there is a selection of popular fonts that you can choose from. You can also use a third-party add-on called Formfacade, available from the Google Marketplace, to increase the number of font style options that you can select from, in your forms. After installation, access the Add-ons menu to select the Fonts tab and customize the font, font size, and color.
Pro Tip
For details on how to change the font in Google Forms with expanded options, check out our post on the topic.
Sharing Your Form
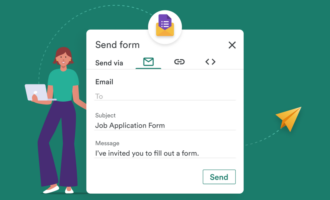
Once you have created and customized your form, it’s time to share it with others. Google Forms offers several options for sharing, such as sending the form via email, embedding it in a website, or sharing a direct link.
To share your form via email or a direct link, click the “Send” button located in the top right corner of the Google Form. You can then choose to send the form via email or generate a shareable link. Alternatively, to embed your Google form into a website, click the “Send” button and select the “Embed” option. This will generate an embed code that you can copy and paste into your website’s source code.
Analyzing the Form Submission Data
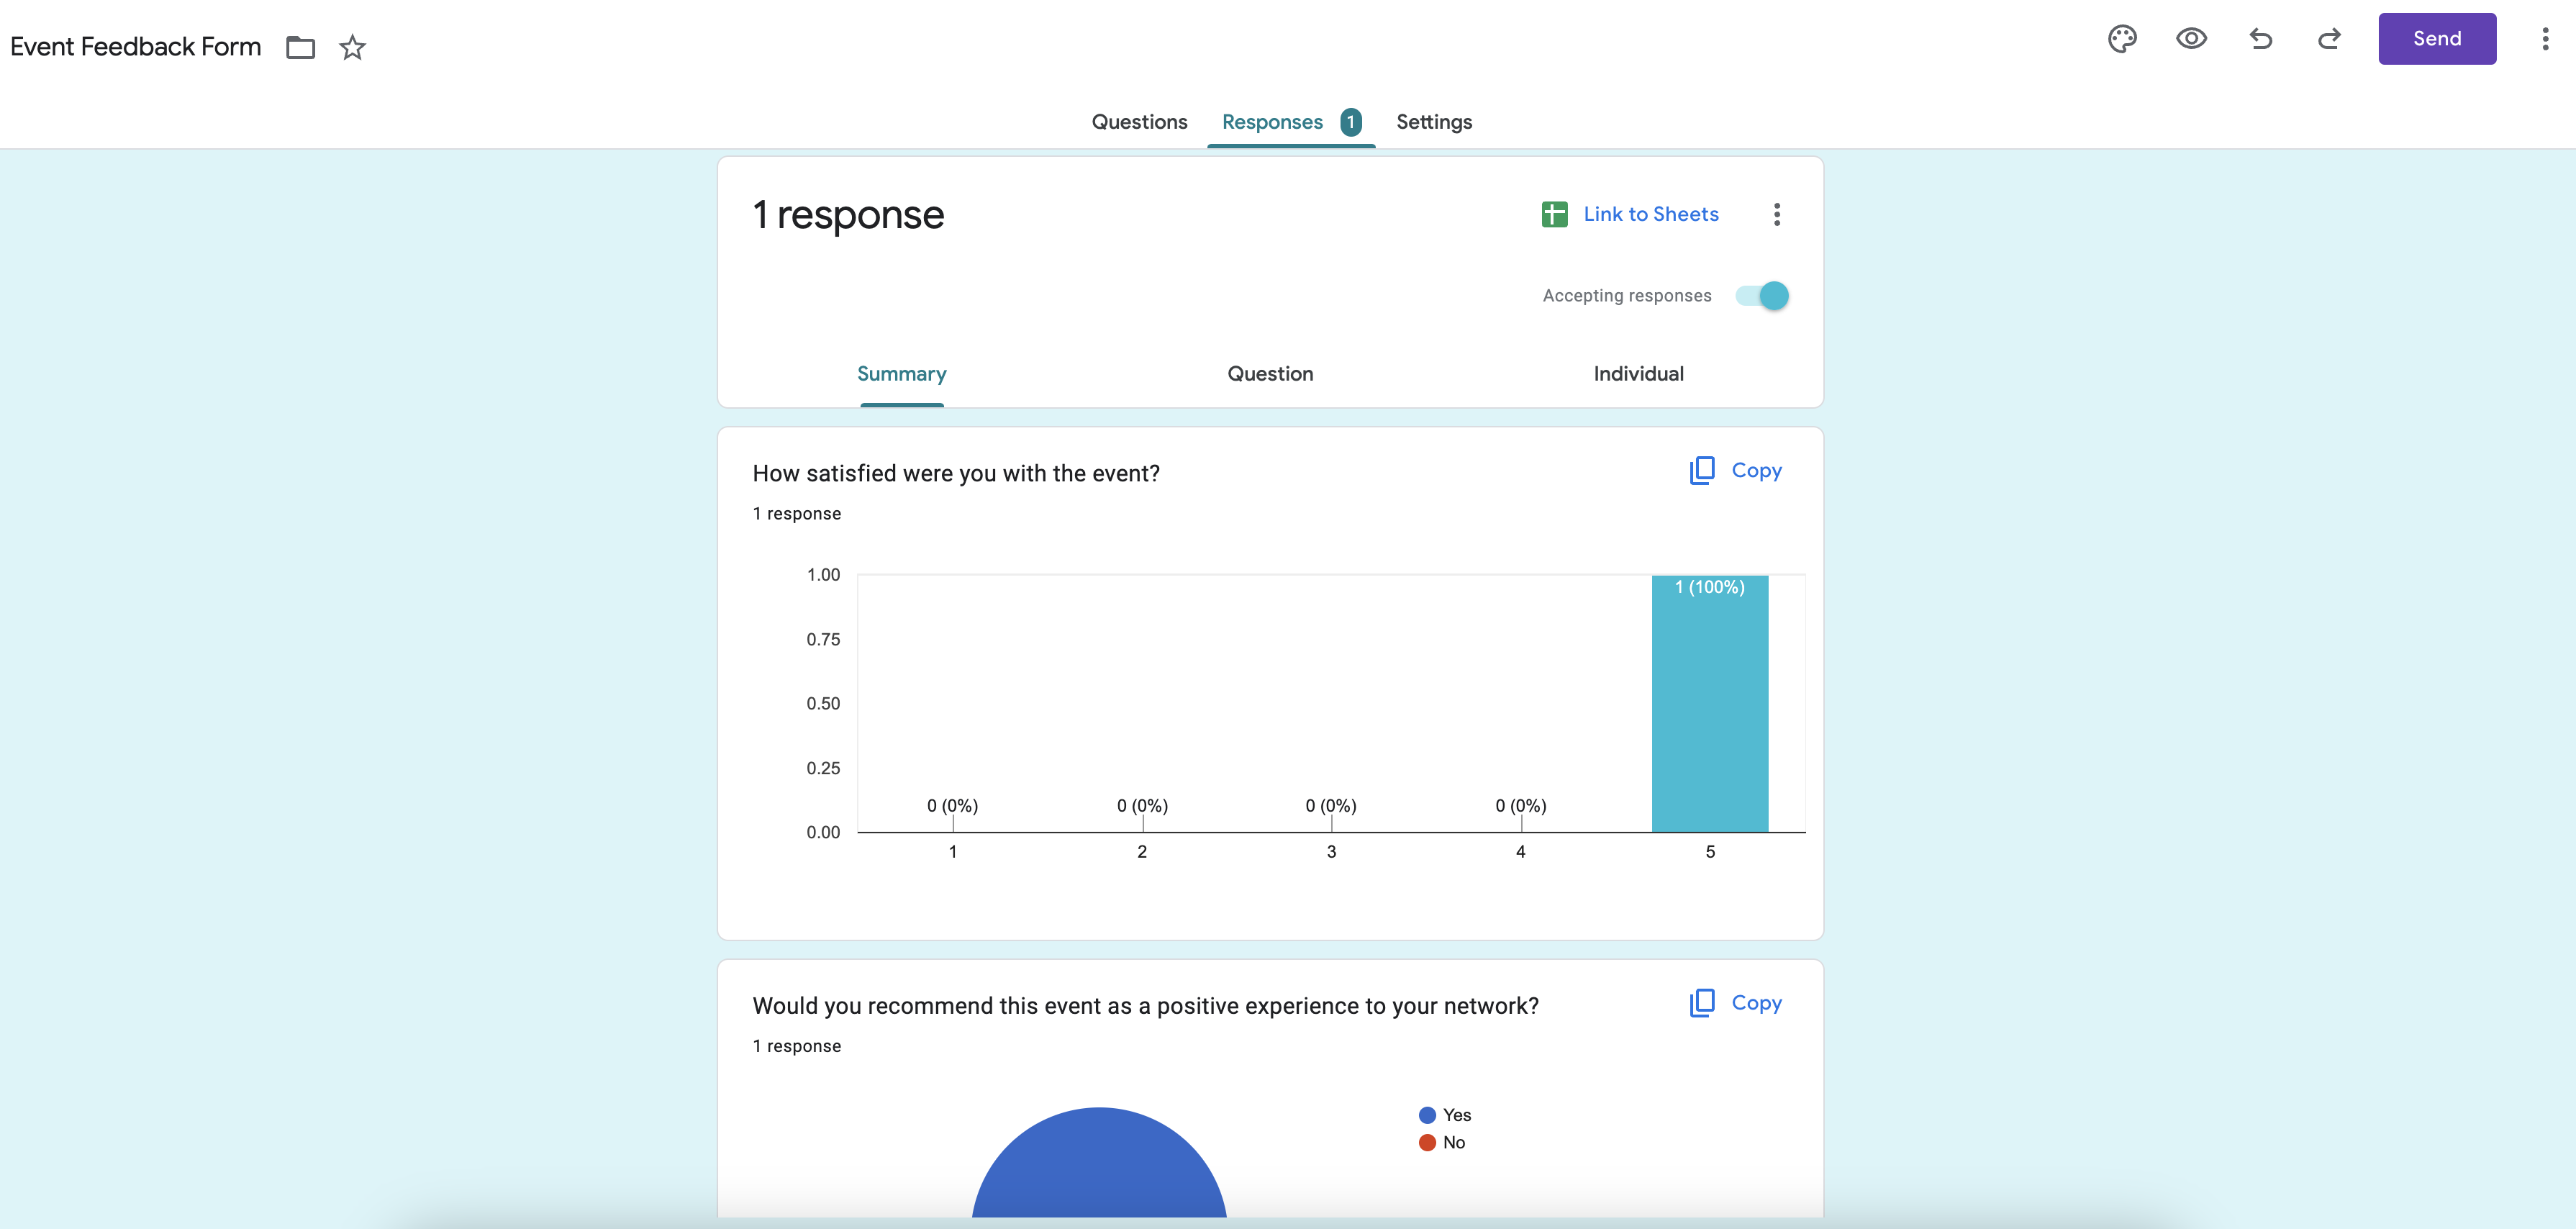
Once responses start coming in, it becomes important to analyze the submission data to gather useful insights and information. Google Forms provides the ability to view and analyze the data via Google Sheets or other integrated tools.
To access the form submission data, simply open the “Responses” tab within your Google Form. You can choose to view the responses directly in Google Forms or link the form to a Google Sheet (Link to Sheets). Data analysis can provide insights into your target audience’s preferences, opinions, and needs. This information can guide decision making and lead to improvements in your offerings.
Jotform: A Powerful Alternative to Google Forms
While Google Forms is a solid data collection tool, it’s worth considering Jotform as a powerful alternative. Jotform offers advanced customization options, enhanced integrations, and a wider variety of question types compared to Google Forms.
How Jotform differs from Google Forms
Jotform sets itself apart from Google Forms with several features that cater to a wide range of use cases. Some of these features include payment integrations, e-signature collection, and mobile compatibility.
Furthermore, Jotform offers over 10,000 form templates, plenty of form field types and widgets, and 100+ integrations. This allows the creation of advanced online forms capable of collecting payments, accepting donations, capturing signatures, among others. These features make Jotform a highly versatile and powerful alternative to Google Forms.
Getting Started with Jotform
It’s easy to get started with Jotform. Simply create a free account to build your first form. You can explore the extensive library of templates to find the one that suits your needs or create a brand new one.
Once you’ve selected a template or started from scratch, you can customize your form using Jotform’s drag-and-drop builder. You can also take advantage of the powerful integrations like Google Drive, PayPal, and Mailchimp.
Summary
In this blog post, we have covered the essentials of creating and customizing a Google Form, as well as analyzing the submission data. We also introduced Jotform as a powerful alternative, offering advanced customization options, enhanced integrations, and a wider variety of form elements.
While Google Forms is capable of collecting user data to a certain extent, Jotform can be considered a more suitable alternative for taking care of more complex data collection needs. No matter what type of data you’re collecting, give Jotform try to see the difference for yourselves.
Frequently Asked Questions
Is creating Google form free?
Yes, creating a Google Form is free.
What is Google form template?
Google Forms provide users with pre-made templates and the option to create their own form using a blank template. For those who are looking to create forms or surveys online, it is possible to start off with a template.
What are some common use cases for Google Forms?
Google Forms are commonly used for data collection, event registrations, and creating quizzes.
How can I access Google Forms?
You can access Google Forms either through Google Drive or by visiting forms.google.com.
See also Jotform’s detailed guide about: Google Forms
Photo by Gustavo Fring








































Send Comment: