QR codes have made RSVPing to an event easier than ever. They give guests instant access to event details and registration forms, allowing them to sign up in a snap.
While you can create a QR code for an Eventbrite registration page using a third-party solution, an advanced form builder like Jotform streamlines this process into just one platform. Here’s a step-by-step guide to help you create QR codes for events using Eventbrite, plus explain how using Jotform instead can streamline your event planning even more.
What is Eventbrite?
Eventbrite is a popular online platform that makes it easy for organizations and individuals to create, manage, and promote events of all sizes. Whether you’re hosting a concert, workshop, or charity gala, Eventbrite lets you build event pages, sell tickets, and manage attendees.
The platform is especially useful for event organizers who want to reach new audiences and track attendee information in one place. Eventbrite also allows you to manage everything from ticketing to marketing in a user-friendly way.
Why use QR codes for your event?
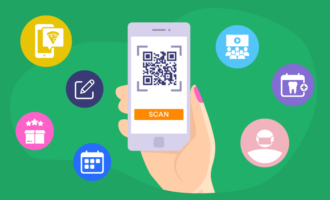
In case you need a refresher, QR codes are barcode images that store various data types, including URLs, contact information, and event details. QR codes can be scanned by smartphone cameras, making them a quick and easy tool for sharing information.
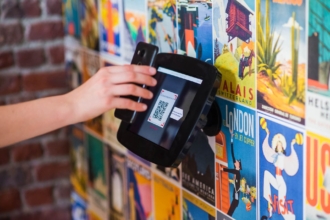
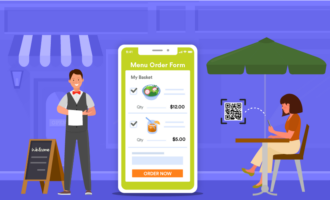
By sharing a QR code, you can streamline and digitize a number of event-related processes. For example, QR codes are commonly used to link guests to online registration forms, event details, and entry passes.
How to create a QR code for an event with Eventbrite
Eventbrite doesn’t have a built-in feature to generate QR codes for your events, so you’ll have to use a third-party service. Follow these simple steps to create a QR code for an Eventbrite event.
- Log in to your Eventbrite account and click Create Event.
- Add the details of your event, including title, location, date, time, and ticketing options.
- Once you’ve added all the details, click Publish.
- In the menu on the left, click on Dashboard. Then, click Copy link.
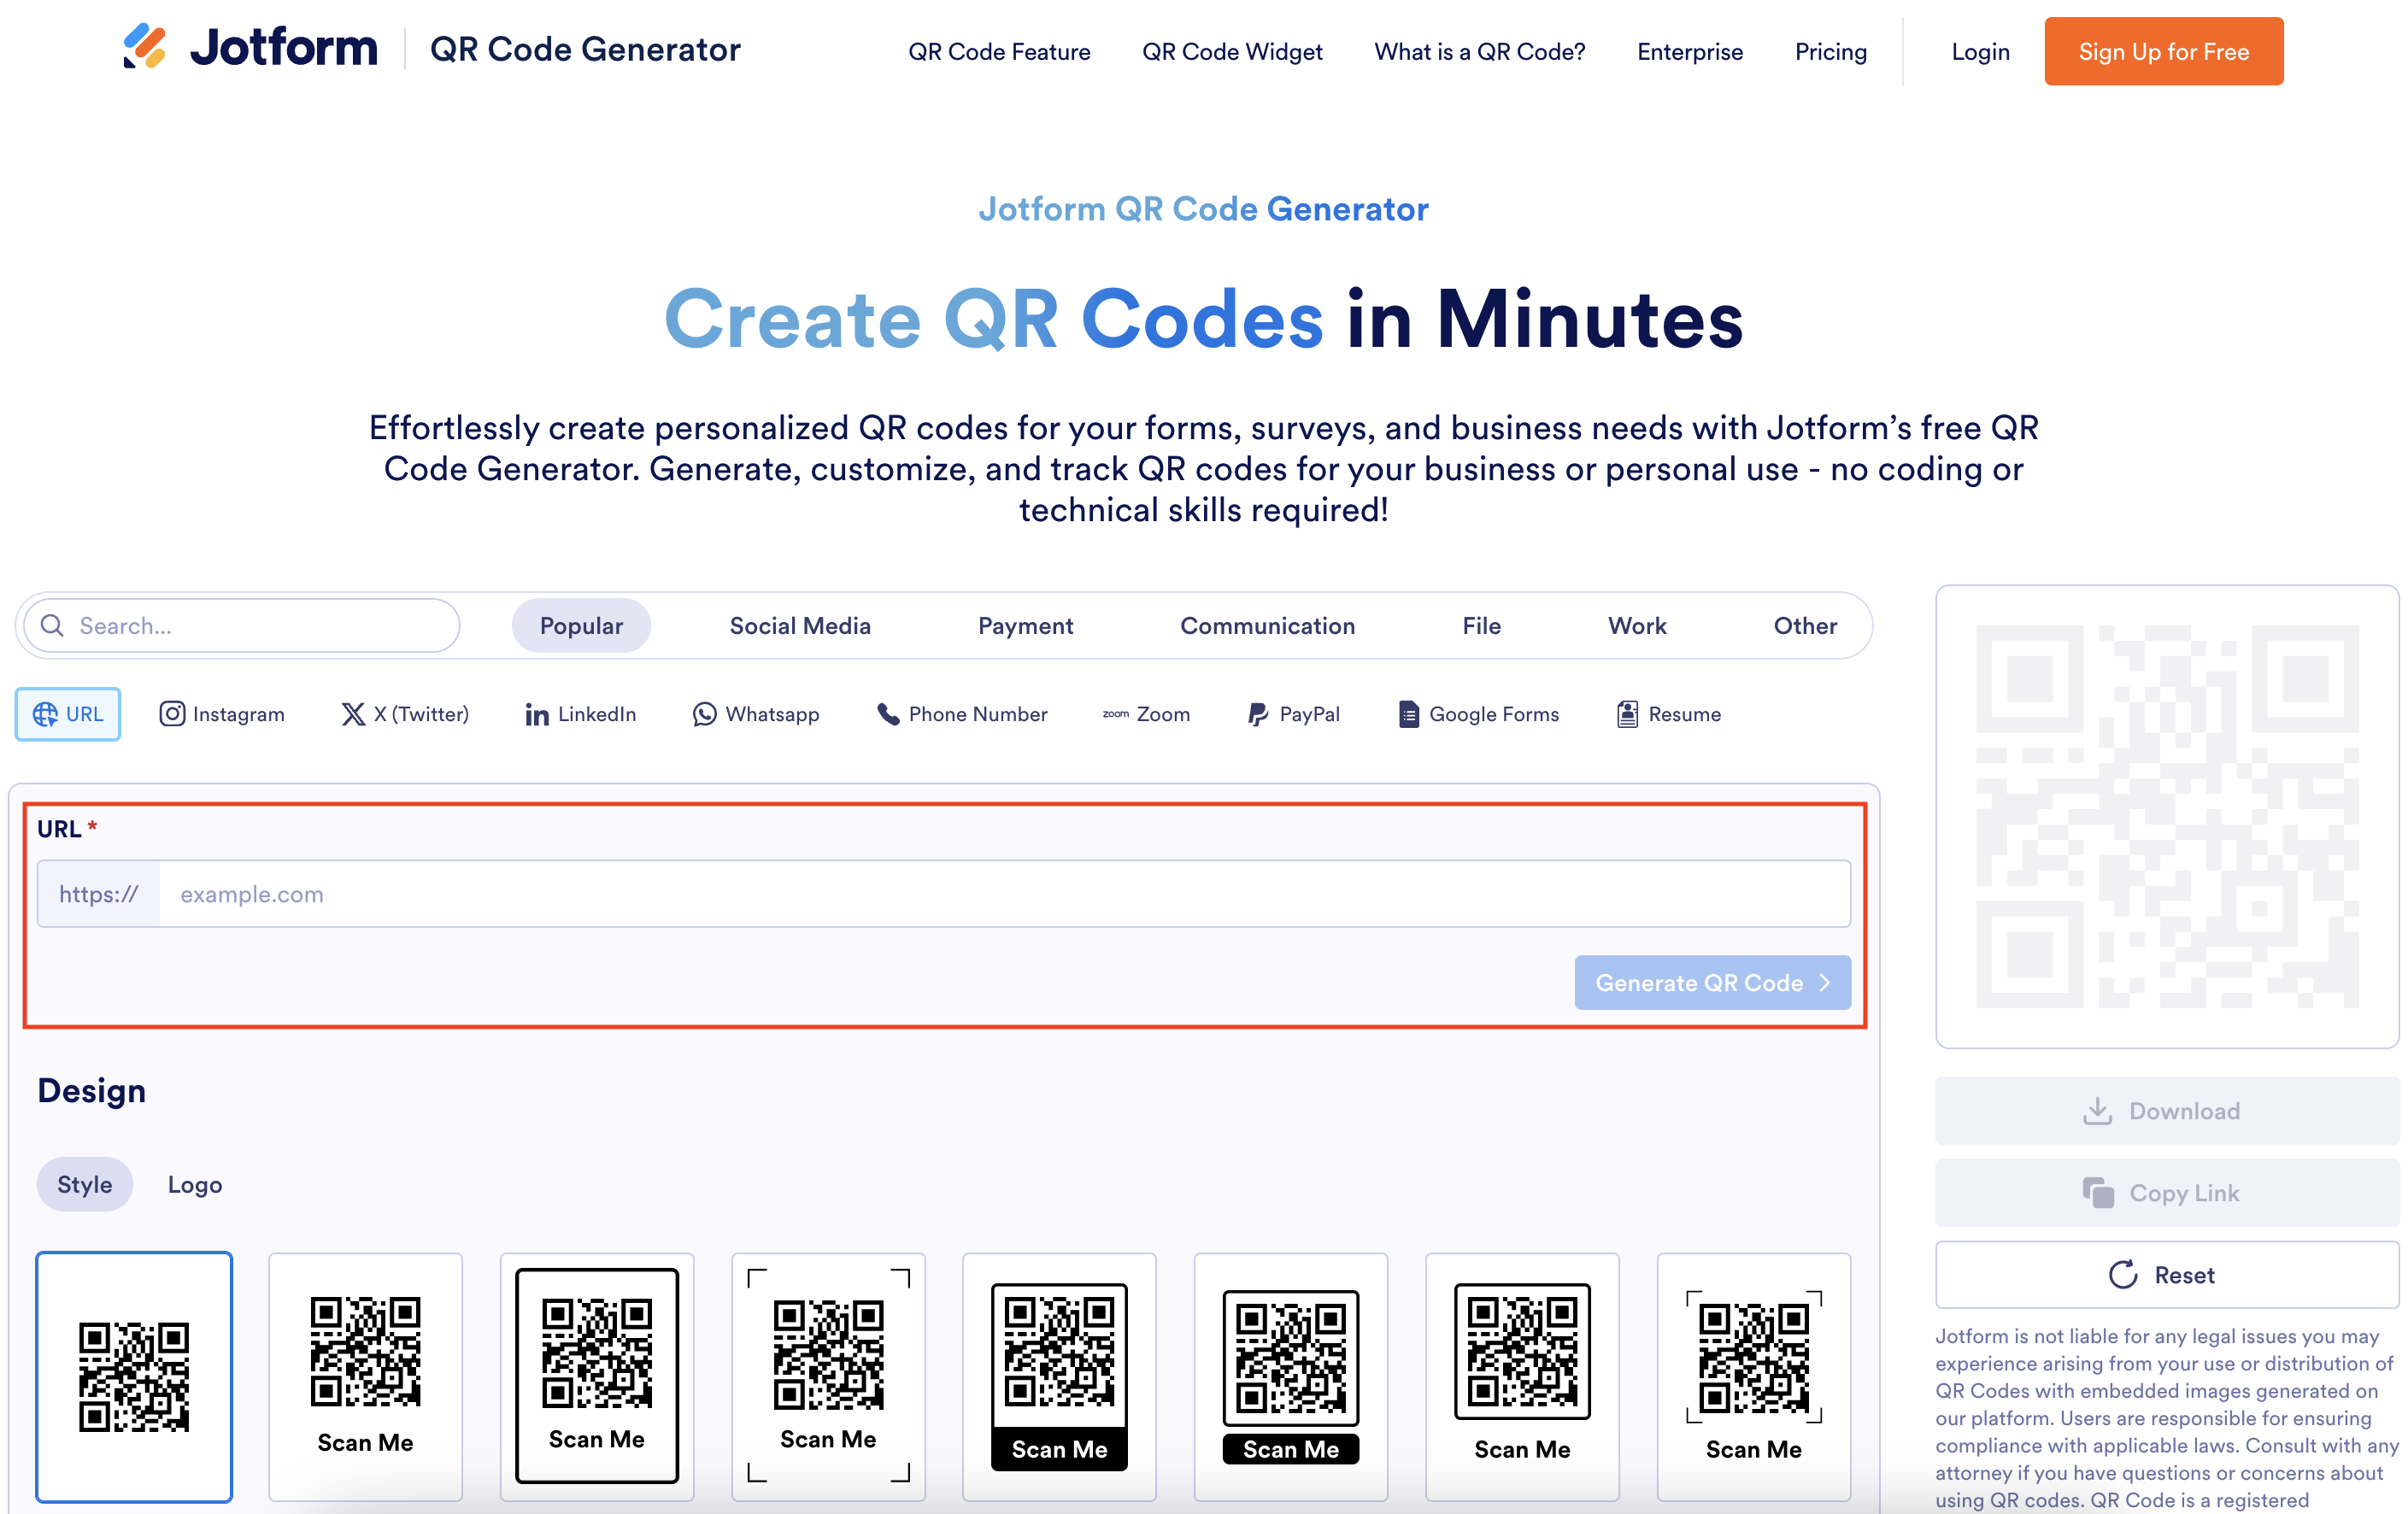
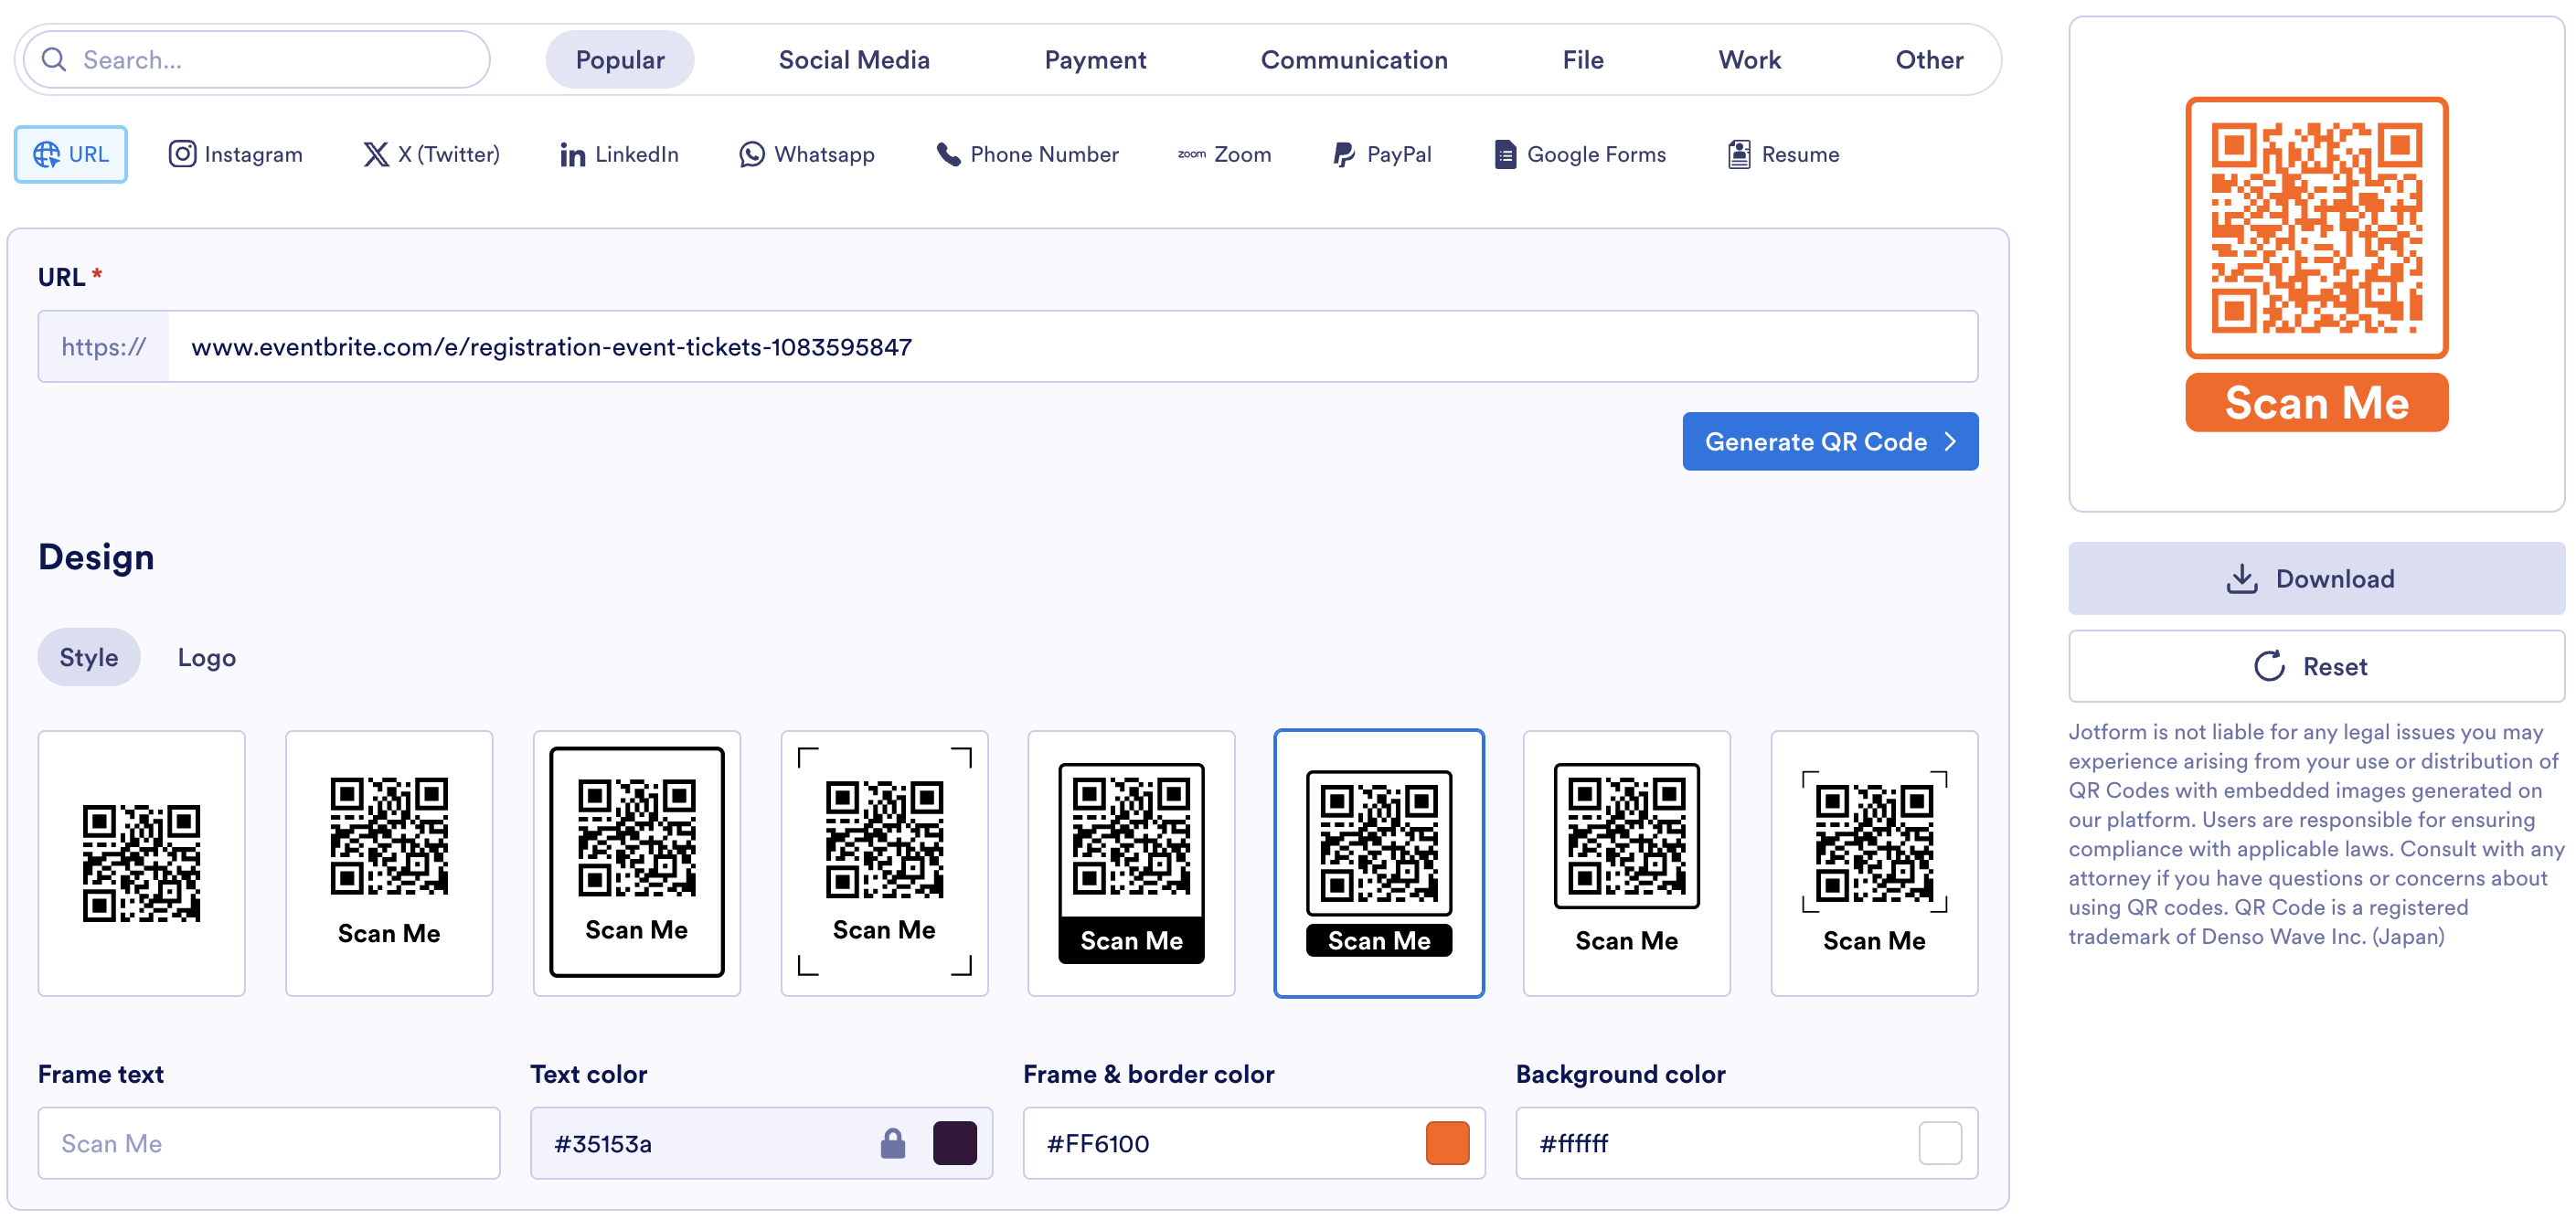
- To generate a QR code, you can use Jotform’s QR Code Generator. Select URL among the options to create a QR code for and paste the link.
- Personalize your QR code by changing the color, adding text, modifying patterns, or embedding your logo. Once done, generate and download your customized QR code.
This QR code will allow you to manage attendees and provide a seamless experience, from registration to check-in.
How to create a QR code for an event registration page with Jotform
Jotform offers a built-in QR code generator that gives you even more flexibility and customization options when creating a form for your event and generating a QR code for it. You can do it all using just one platform.
Here’s how to create a custom event registration form with Jotform, generate a QR code for it, and manage registrations.
- Browse Jotform’s event registration form templates to get started quickly, or choose to create a form from scratch.
- If you’re using a template, select the one you want to use. With over 400 ready-made templates just for event forms, you’re sure to find one that fits your requirements.
- Whether you’re using a template or creating a new form, you can use Jotform’s drag-and-drop Form Builder to customize the content and design. Add fields from the Form Elements menu on the left to capture attendee names, emails, dietary preferences, and other necessary details.
- When you’re ready to generate a QR code for your form, click on the Publish tab.
- Click the QR Code icon in the Share Form section. Jotform will automatically generate a unique QR code that links to your form.
- To share your QR code, you can click Download to save it as an image that you can add to event materials. You can also use the URL under Share with Link to share a link to the QR code. Finally, you can click Copy Code to get an HTML embed code to add the code to your website.
You can now use your QR code for event invitations, promotional materials, or on your website. Guests simply scan the code with their smartphones to access your form instantly.
- As attendees begin using your QR code, you can track form submissions with Jotform Tables. Log in to Jotform Tables to manage and track registrations, sign-ups, and other data. With Jotform Tables, you can view all responses in a spreadsheet, organize guest lists, and add notes for specific attendees.
Why use Jotform to create event registration forms?
While Eventbrite offers a straightforward way to manage events, Jotform’s customizable templates and built-in QR code generator make it a more robust alternative. Here’s why Jotform stands out:
- Extensive templates: With over 400 event registration templates ready to use, Jotform allows you to get started quickly on creating the exact form you need. These customizable templates allow you to tailor fields, colors, and designs to match your branding.
- Easy response tracking: Jotform Tables provides a dynamic way to manage attendee data, ensuring you can track and organize registrations, and analyze trends all in one place.
- Customizable QR codes: Jotform lets you generate a QR code for any form, including custom RSVP and registration forms, making it a more flexible choice.
Create QR Codes in Minutes
Using Jotform to create and manage your event registration forms provides more flexibility and customization options, plus it’s an easy way to track attendees and stay organized from start to finish. With Jotform, you’ll be ready to handle your event registration seamlessly and make a great impression on your guests.
Photo by Jack Sparrow




























Send Comment: