Steps to create a timesheet in Microsoft Forms
- Go to the Microsoft Forms homepage.
- Click on the New Form button.
- Type in the title of your timesheet.
- Click on the Quick start with button, or lightning bolt icon.
- Click Add a new question.
- Click on the Style button.
- Click the Collect responses button.
- Share the timesheet.
In every business, time is money. That’s one of the reasons why timesheets are so essential — they give you the ability to track your team’s hours and maintain an efficient operation. However, managing timesheets well requires a solution that’s designed to make form creation easy.
For many businesses, especially those that already use the Microsoft 365 suite of tools, Microsoft Forms is the ideal solution. With Microsoft Forms, you can quickly create a timesheet that will collect the data you need.
This guide will show you how to use this industry-leading form builder to create your timesheets, explain why these forms are so important, and illustrate how a Microsoft Forms alternative can deliver additional benefits.
What is Microsoft Forms?
Part of the Microsoft 365 suite of solutions, Microsoft Forms is an online form building program. Microsoft Forms features a variety of customization options to help you collect all the information you need. It also features sharing options that ensure everyone on your team can easily access the form.
Why timesheets are important to your business
To ensure your business is running smoothly, you need to have a clear understanding of how long it takes for your team members to complete tasks and how well they are using their time. That’s what makes timesheets such an essential tool in your organization.
Tracking time with timesheets can deliver a variety of benefits, such as
- Improved productivity and efficiency
- Enhanced project management
- Elevated employee management
- Less duplication of effort and avoidable costs
To track time effectively with timesheets, start by creating the right form using a user-friendly solution like Microsoft Forms.
How to create a timesheet in Microsoft Forms
You can create a timesheet in Microsoft Forms in just a few quick steps. Once your form has all the necessary fields, you can customize it and share it with your team. Follow these instructions to build your timesheet using Microsoft Forms.
- Go to the Microsoft Forms homepage.
- Click on the New Form button.
- Type in the title of your timesheet in the top title section.
- To add your first question, click on the Quick start with button, or click the lightning bolt icon to choose one of the recommended questions to add to your timesheet.
- Click Add a new question to choose your next question type or select one of the recommended questions. Repeat the process until your form is complete.
- To update the visual design of your timesheet, click on the Style button in the top menu.
- Once your form is complete, click the Collect responses button in the top menu.
- To share your timesheet with your team, you have a few options. Click the Copy link button to send a link, enter an email address to send it via email, create a QR code, embed the form on your website, or share it through social media.
While Microsoft Forms offers an easy way to create timesheets, its customization options are somewhat limited. You may want to consider trying a powerful Microsoft Forms alternative like Jotform.
How to create a timesheet in Jotform
Jotform is a user-friendly online form builder that allows you to quickly and easily create timesheets from scratch. With Jotform, you can even save time by using templates like this simple timesheet or this time tracker form template. To create your timesheet in Jotform, use one of these two methods.
Method 1: Use a template
A template can save you a lot of time on creating your timesheet — if you find the right one. Luckily, Jotform has several templates you can easily customize to fit your needs.
- Go to the Jotform template library and search for timesheets.
- Select the template that best suits your needs and open it in the Jotform Form Builder by clicking the Use Template button.
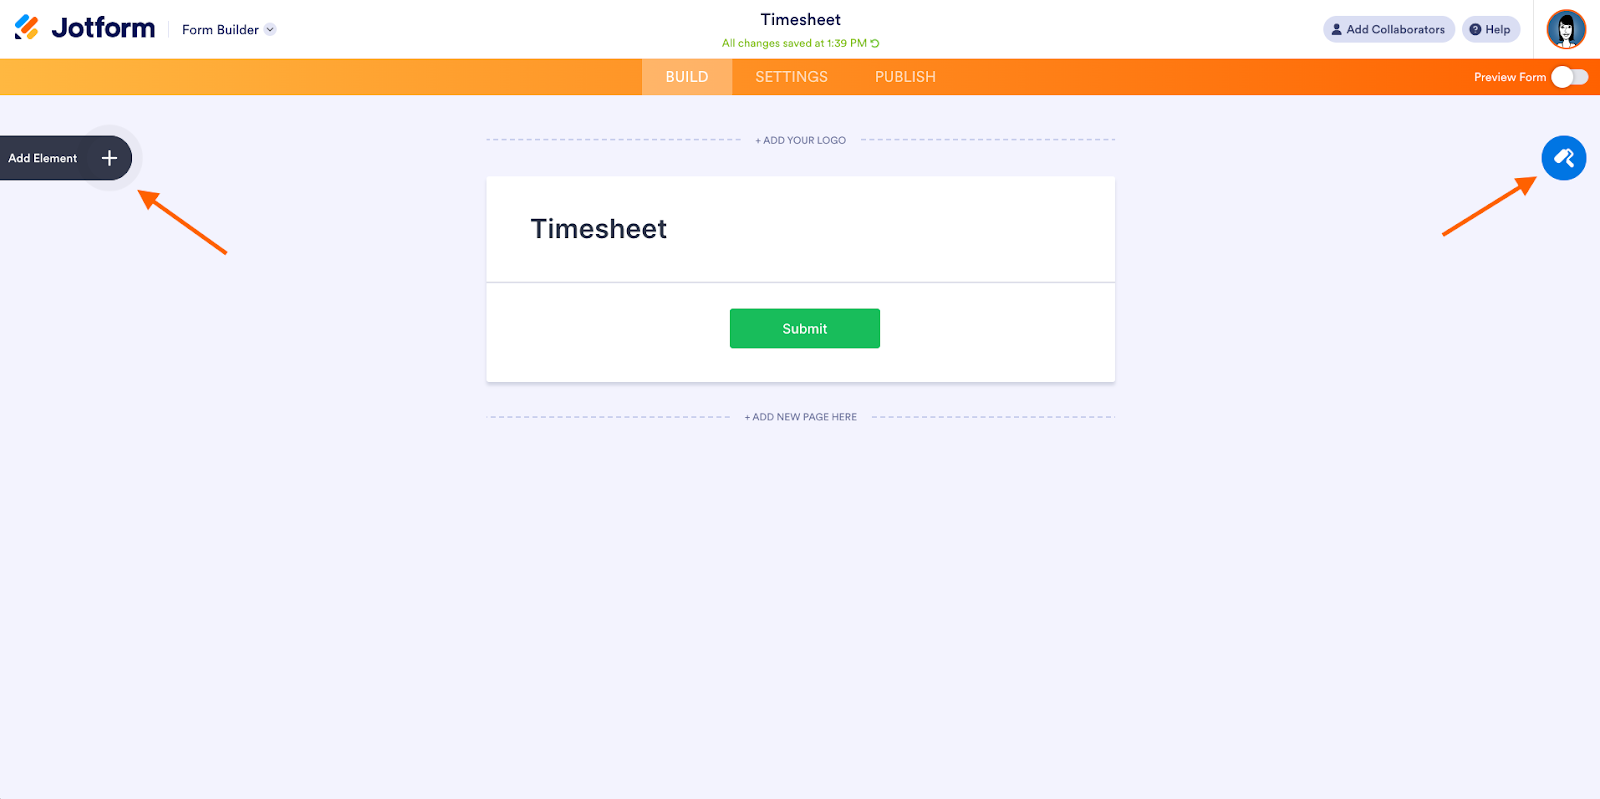
- To add elements to your template like new fields, click the Add Element button on the left side of the Form Builder. Or to customize the design of the template, click the blue Form Designer (paint roller) button on the right.
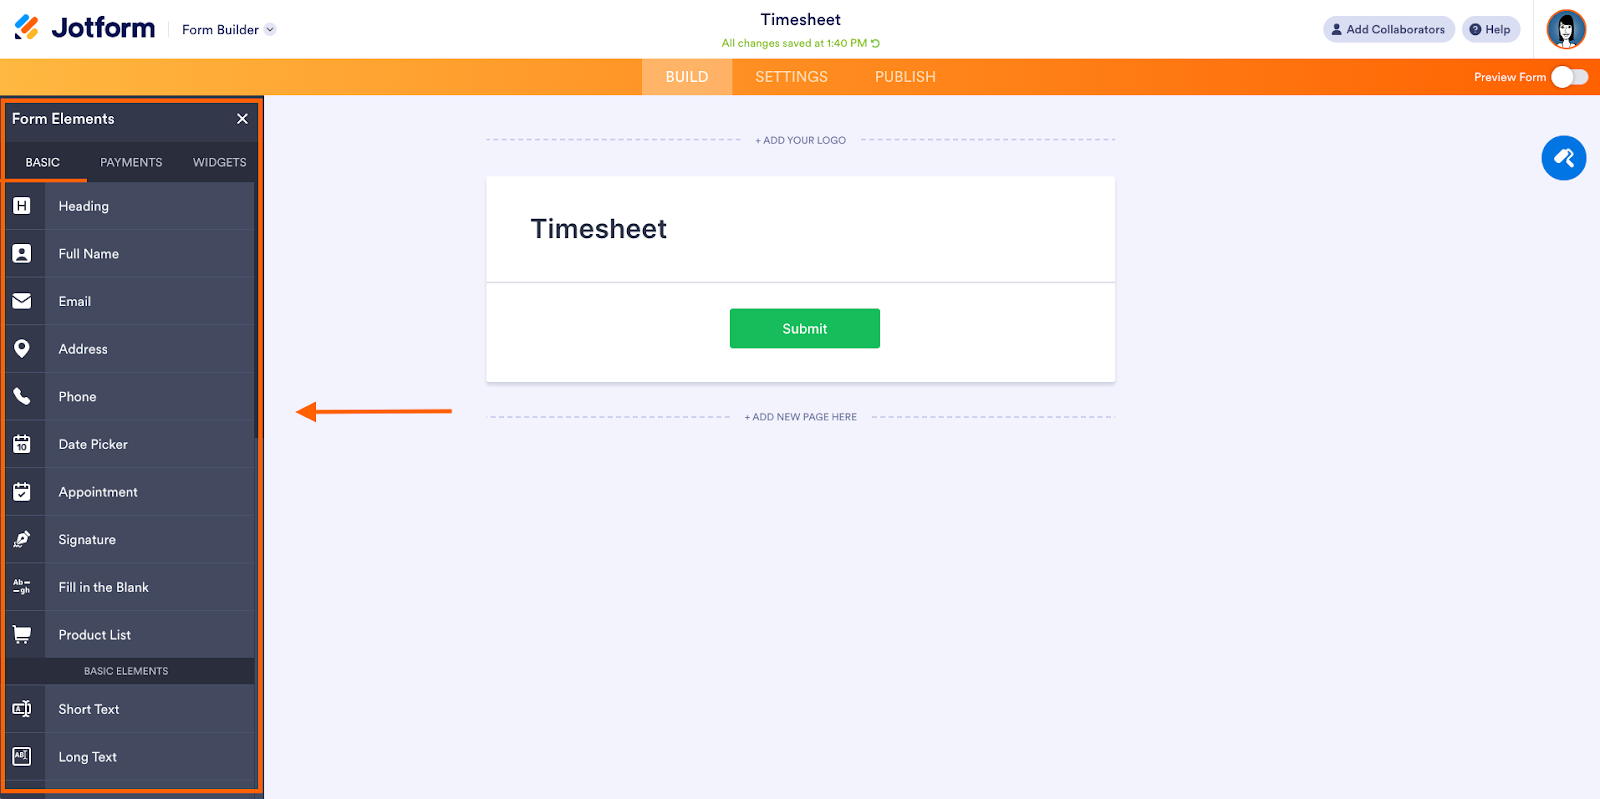
- Add elements to your template by dragging and dropping them from the Form Elements menu on the left.
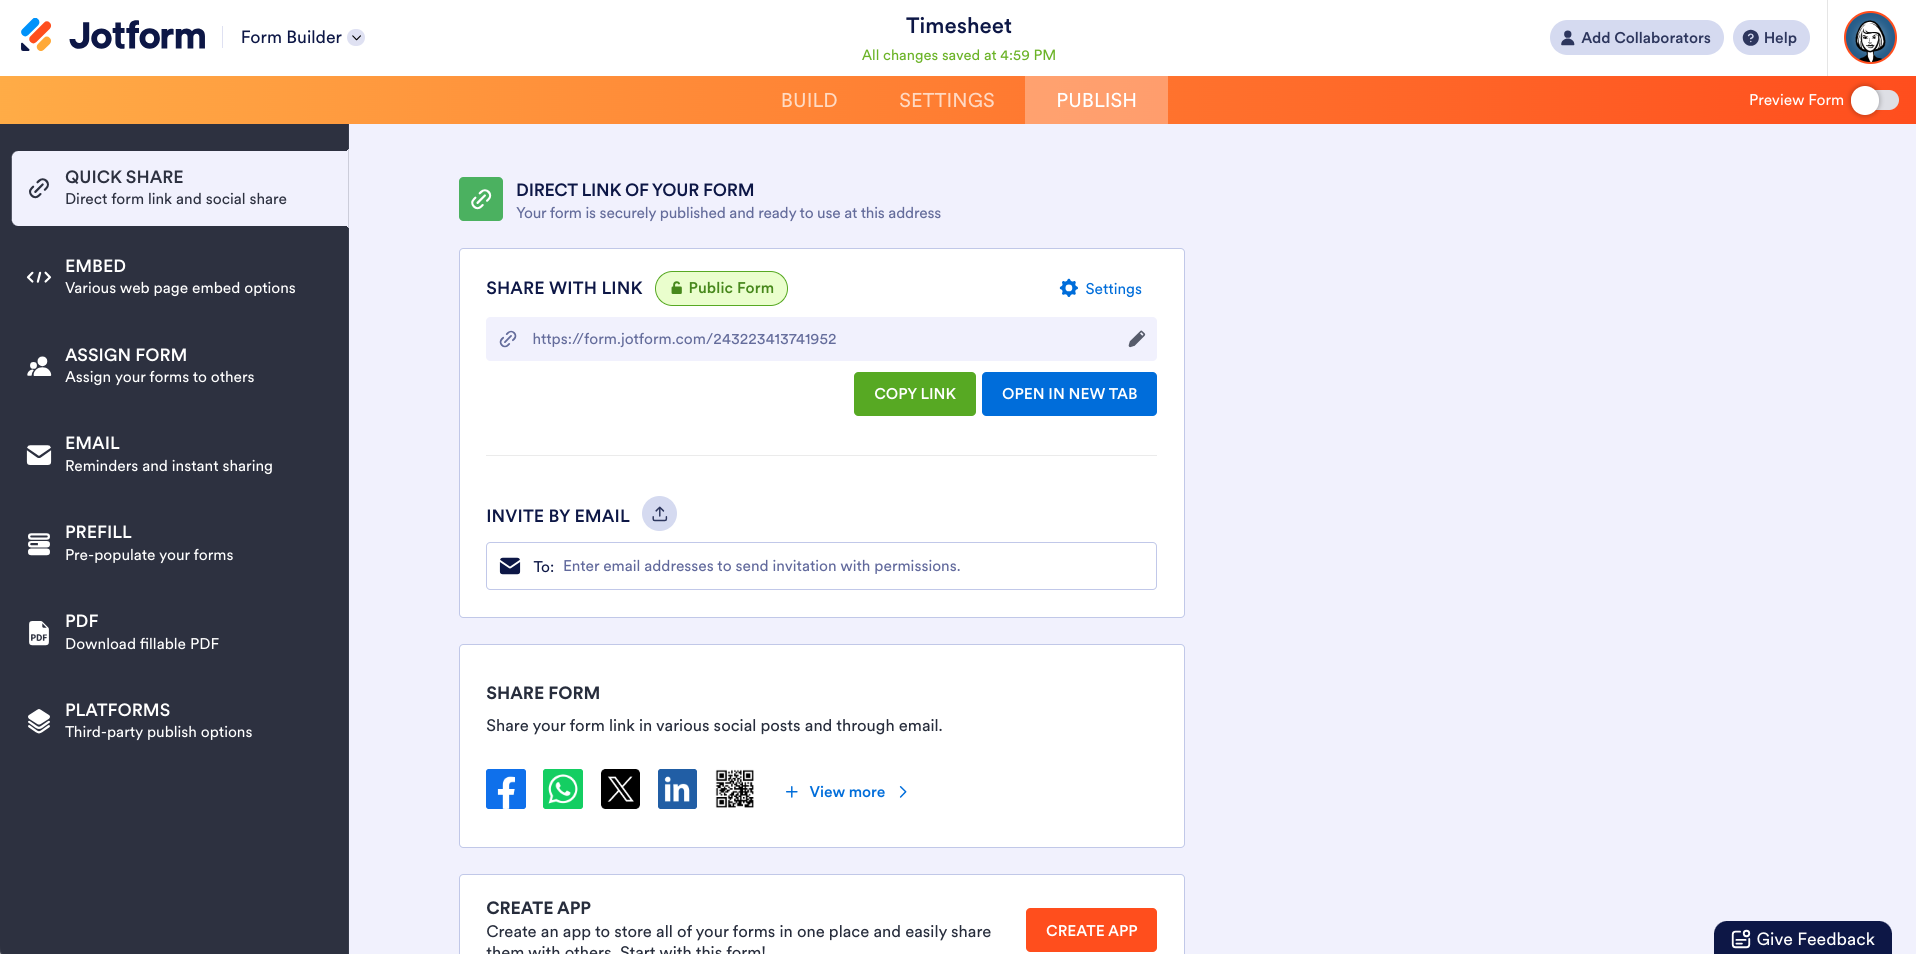
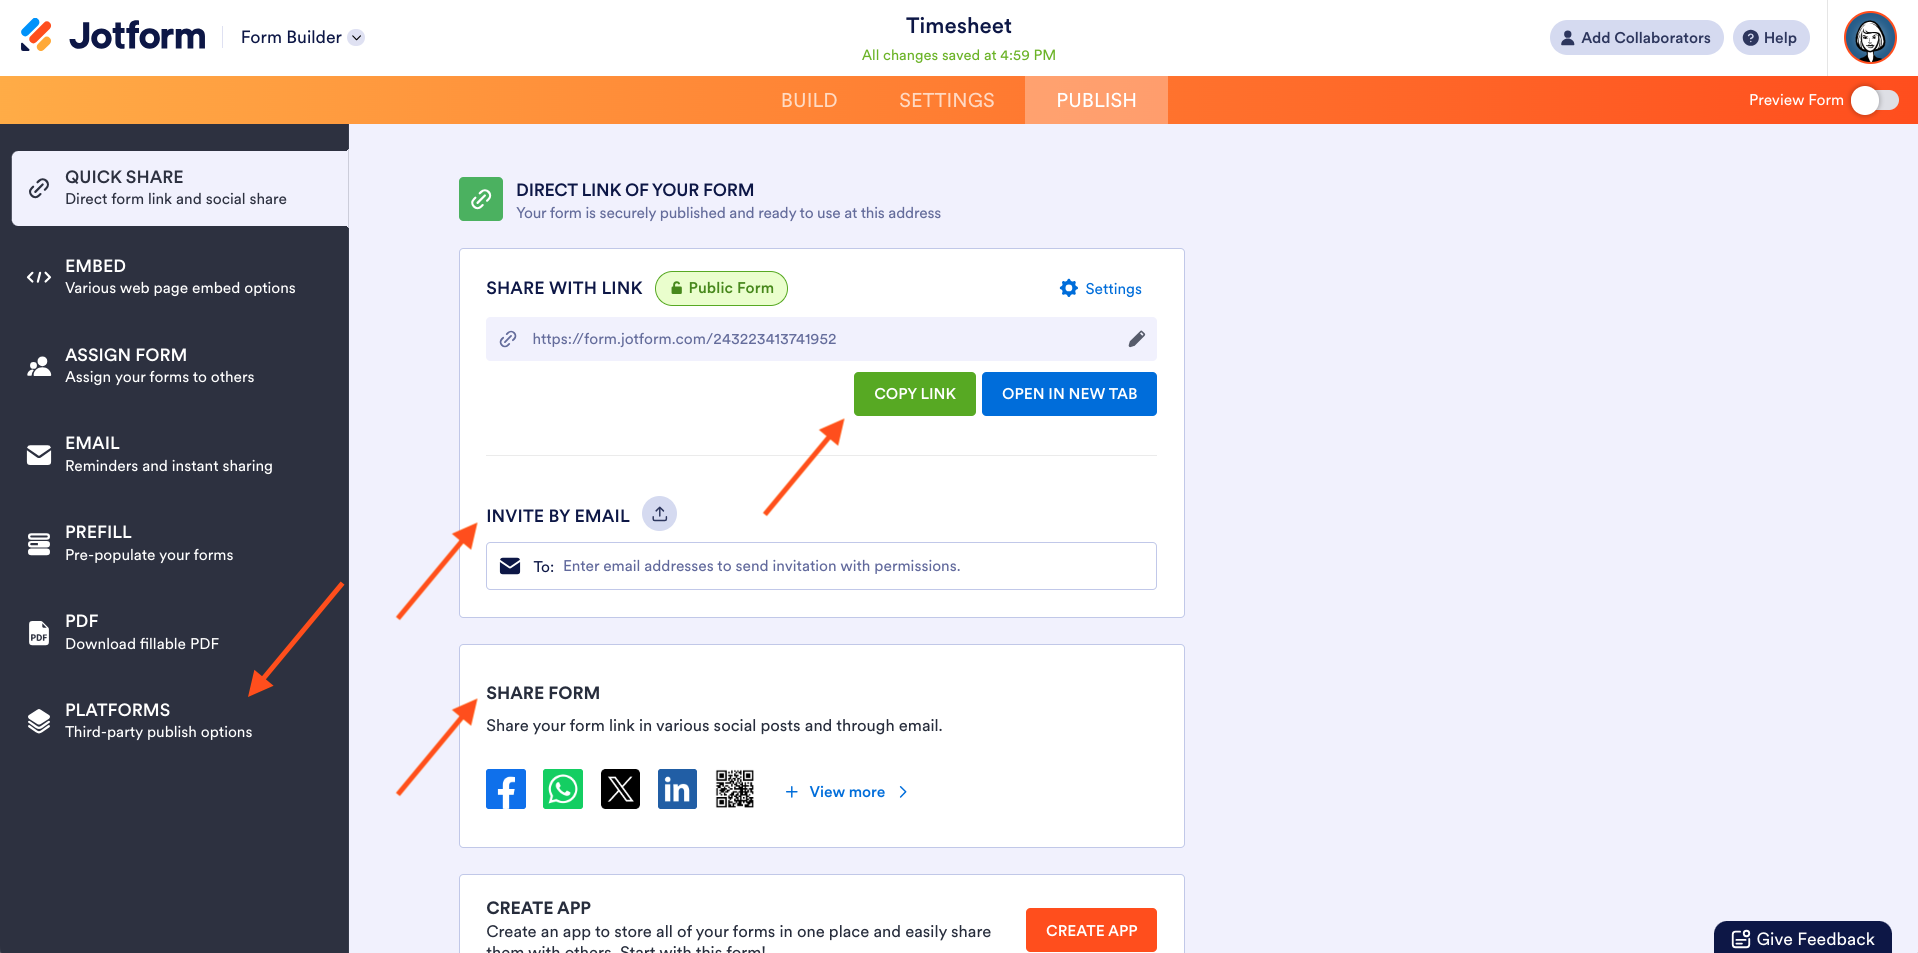
- Once your form is complete, click the Publish button in the top menu to share it.
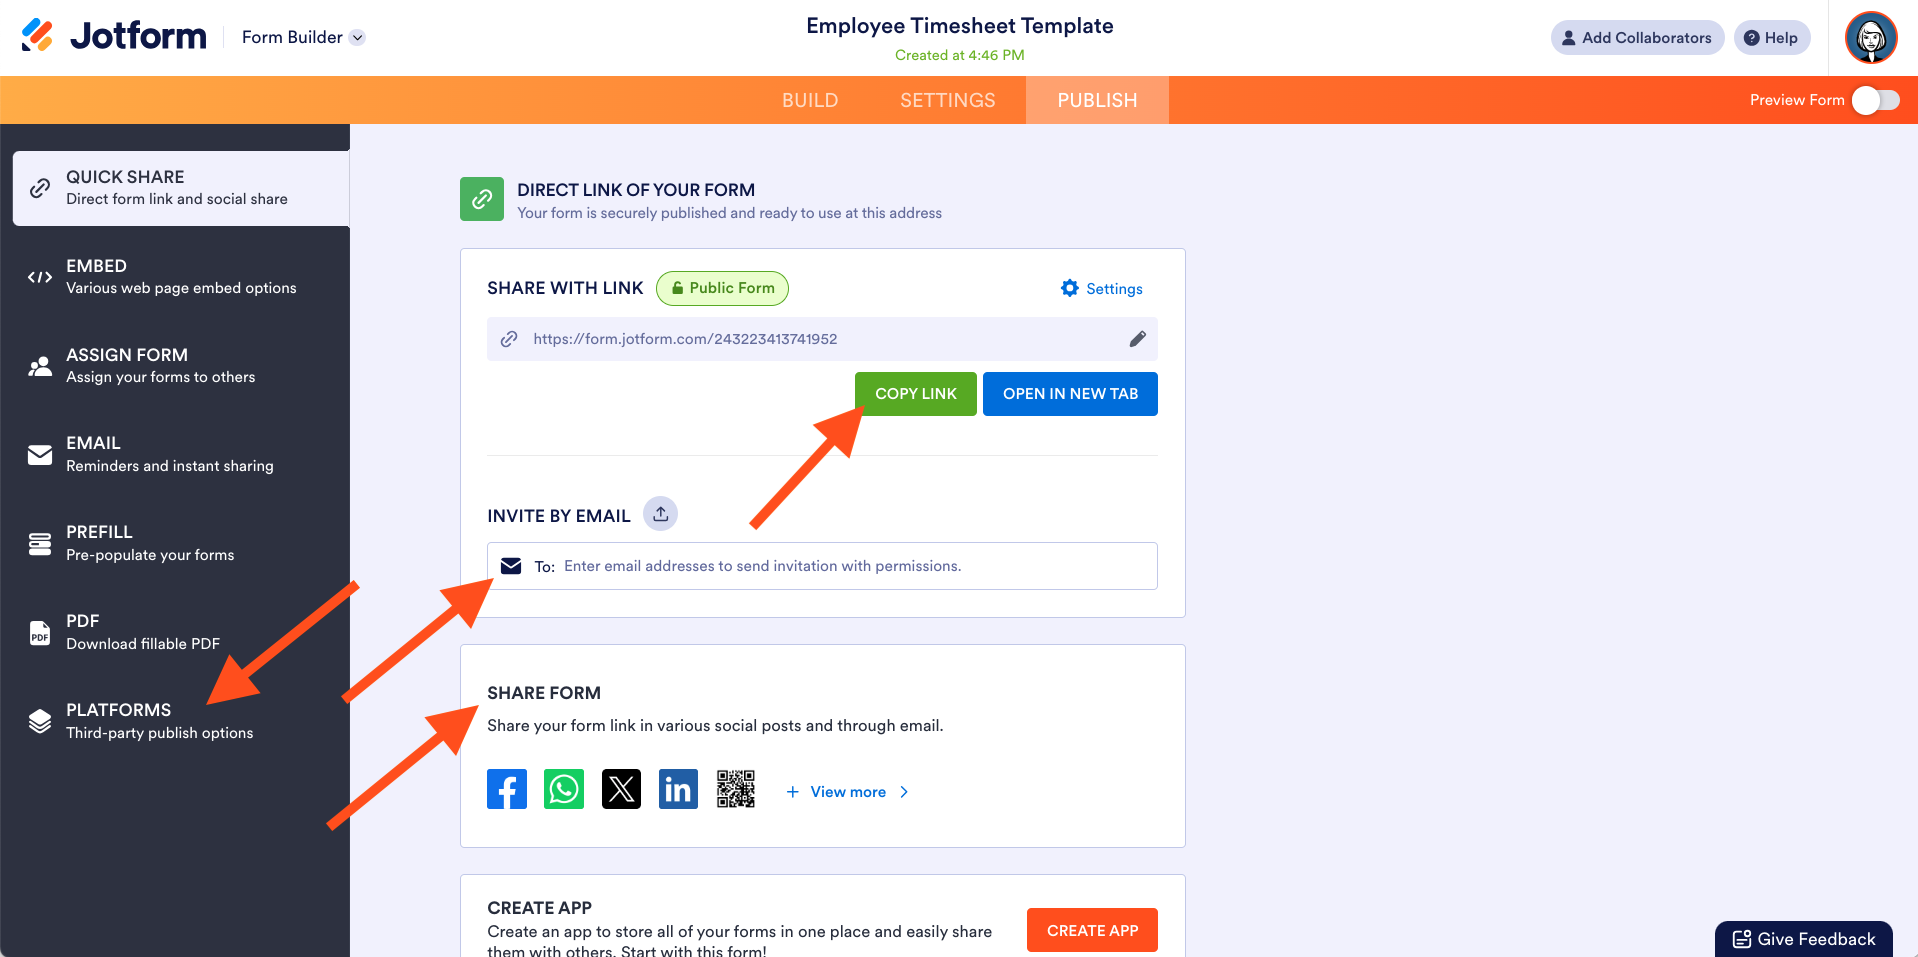
- Share your timesheet through a link, social media, email, or QR code, or by embedding it in a website. You can also share it through integrations with third-party apps.
Method 2: From scratch
If you prefer to create your own unique timesheet, you can also build your form from scratch using Jotform’s drag-and-drop form builder.
- Go to the My Forms page in Jotform.
- Click on the orange Create Form button in the top-left corner.
- Select Start From Scratch on the Create a Form menu.
- Select Classic Form on the Select form layout menu.
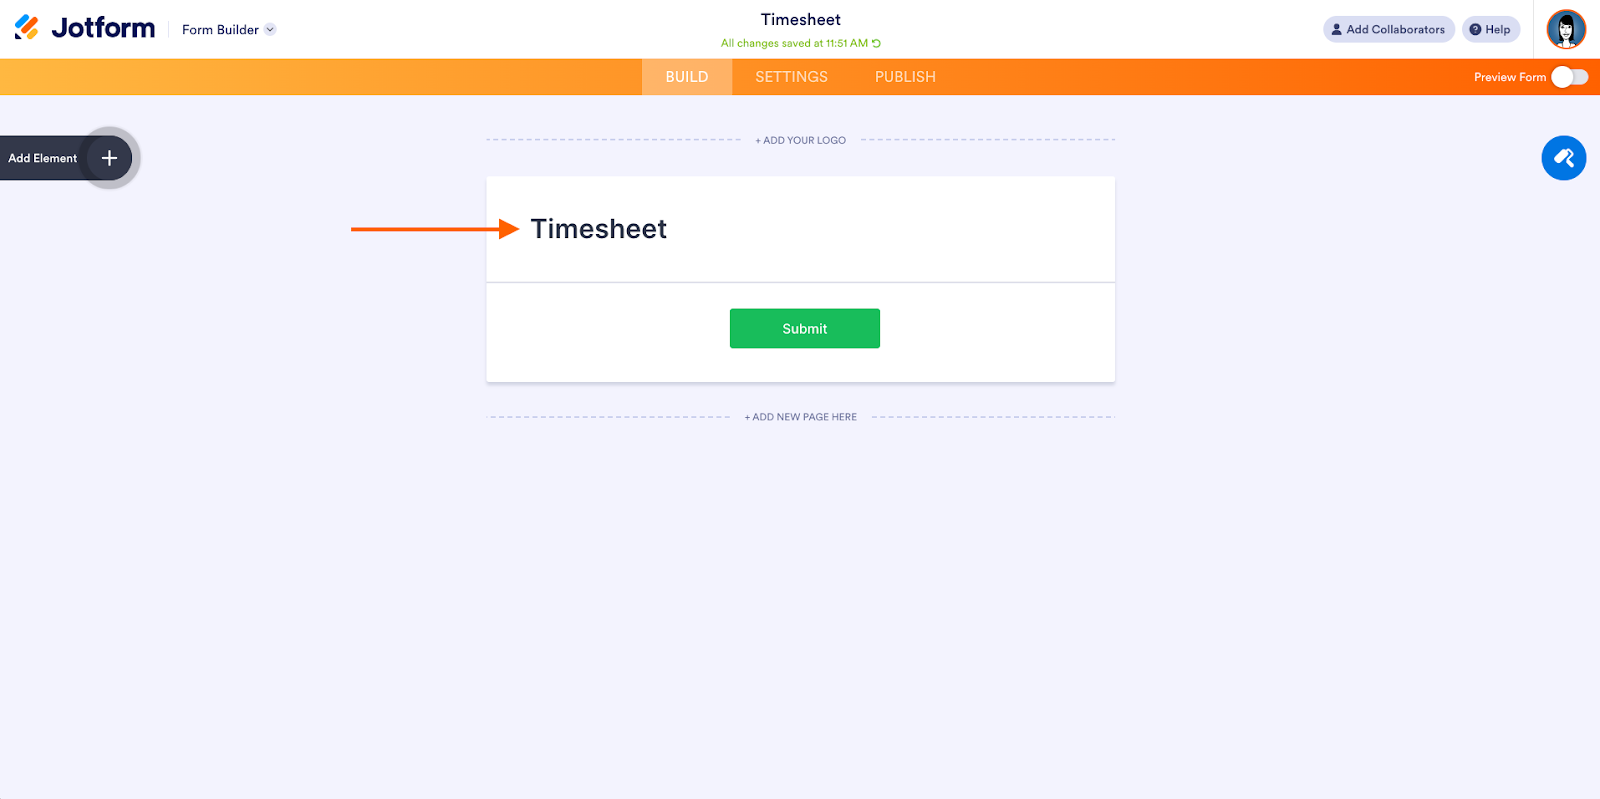
- At the top of the form, add a title for your timesheet.
- To add fields to your timesheet, click the Add Element button on the left side of the Form Builder. To customize your form’s design, click the blue Form Designer (paint roller) button on the right.
- Add elements to your timesheet by dragging and dropping them from the Form Elements menu on the left.
- Once your form is complete, click the Publish button in the top menu to share it.
- Share your timesheet through a link, social media, email, or a QR code, or by embedding it in a website. You can also share it through integrations with third-party apps.
Jotform makes timesheet creation simple, but the benefits don’t stop there. Jotform also has a variety of advanced features to elevate your forms even further.
For example, with Jotform Tables, you can easily track and store timesheet data for future use and analysis. Jotform Tables even allows you to quickly organize common timesheet data with templates for employee or student timesheets.
While Microsoft Forms may be one of the most popular form builders, it’s not the best option for every organization. Assess your options and consider which form builder program will make it easiest for you to build a timesheet that meets your organization’s requirements.
Photo by MART PRODUCTION










Send Comment: