Creating a booking form in Microsoft Forms
- Open Microsoft Forms.
- Click the Template gallery.
- Select a template.
- Click on the form’s title field to rename it.
- Customize your template’s design.
- Add new questions.
- Once you’re finished, click on Collect responses.
- Send your form.
For a wide range of businesses, from hotels to hair salons, booking forms are an essential organizational tool for keeping everything running smoothly. They help avoid double-booking, prevent confusion, and tame unruly schedules.
But creating these forms takes time, and without the right tools, you could dedicate a lot of time and energy to it and still end up with an inferior result. To ensure you’re getting the most out of your booking form — and the time you spend making it — you need an online form-building program like Microsoft Forms.
Before you get started, join us as we explain how to create a booking form in Microsoft Forms, why these forms are important, and what powerful alternatives like Jotform can do to increase your forms’ value even further.
What are booking forms, and why are they necessary?
Booking forms give customers or clients the ability to schedule an appointment for a service or reserve a location or facility at a particular time. They can make the scheduling process easier for customers. For businesses, these forms make it easy to organize and approve requests — as well as collect relevant client information such as
- Name
- Requested date and time of booking
- Contact information
- Payment method
- Travel information
Booking forms can make running your business a lot easier, but you need to ensure you can create forms that offer a smooth user experience and provide you with all the information and functionality you need.
How to create a booking form in Microsoft Forms
If you choose to create your booking forms in Microsoft Forms, there are two main methods to do so: using a template or building from scratch. The method you choose may depend on your available time, design skills, and personal preferences. However, either method should offer you an easy way to create your booking forms.
Method 1: Using a template
If you’re looking to save time, Microsoft Forms has a full gallery of templates to give you a solid starting point. While you may not find a template that meets all of your needs, you can customize any template to fit your purposes. Here’s how to create a form with a template:
- Open Microsoft Forms.
- Click on the Template gallery button on the Forms homepage.
- Select a template in the template gallery.
- Click on the form’s title field to rename it.
- Customize your template’s design by clicking on Style in the top menu.
- To add a new question, click on the Add new question You can also click on the lightning bolt icon to see recommended fields and questions. Select any you want to add and click Add all.
- Once you’re finished with your form, click on Collect responses at the top.
- Send your completed form using email, a quick link, social media, or a QR code, or embed it on your website.
Method 2: Creating a booking form from scratch
If you have the time and resources, you can choose to create your own booking form to ensure it fits your exact specifications. This process allows you to avoid editing templates and just develop a form that has all the elements you need.
- Open Microsoft Forms.
- Click on New Form in the Microsoft Forms homepage.
- Enter the title of your form in the top title section.
- Add your first question using the options under Quick start with.
- Customize your form’s visual design using the Style button in the top menu.
- To add a new question, click on Add new question on your form. Or, click one of the fields in the Recommended section to quickly add content to your booking form.
- Once you’re finished with your form, click the Collect responses button in the top menu.
- Send your completed form using email, a quick link, social media, or a QR code, or embed it on your website.
Microsoft Forms is an effective solution, especially for those with a Microsoft 365 account, but its options are somewhat limited. For businesses that don’t already use Microsoft 365, the additional cost may be an issue. For a more flexible, affordable, and powerful booking form creation experience, consider using a Microsoft Forms alternative like Jotform.
How to create a booking form in Jotform
Jotform is a dedicated form-building solution designed to make it easy to create booking forms — and just about any other form you may need. Jotform offers over 700 booking form templates to get you started, or you can create your own using the drag-and-drop functionality in Jotform Form Builder. Either way, you’ll end up with a powerful booking form to meet your needs.
Here’s how to create a booking form in Jotform.
Method 1: Using a template
With a wide variety of different booking form templates to choose from, you may be able to find the exact form you need without having to build it yourself — whether it’s a hotel booking form, photography session booking form, car service booking form, or tattoo booking form.
- Go to the Jotform booking form templates page.
- Find a template you want to use and click the Use Template button to open it in the Form Builder.
- In the Form Builder, click on the Add Element + button on the left to add questions, widgets, or payment methods to your form. To customize the form’s design, click on the blue Form Designer button (the paint roller icon) on the right.
- Add form elements by dragging and dropping them from the left menu to where you want them to appear in your form.
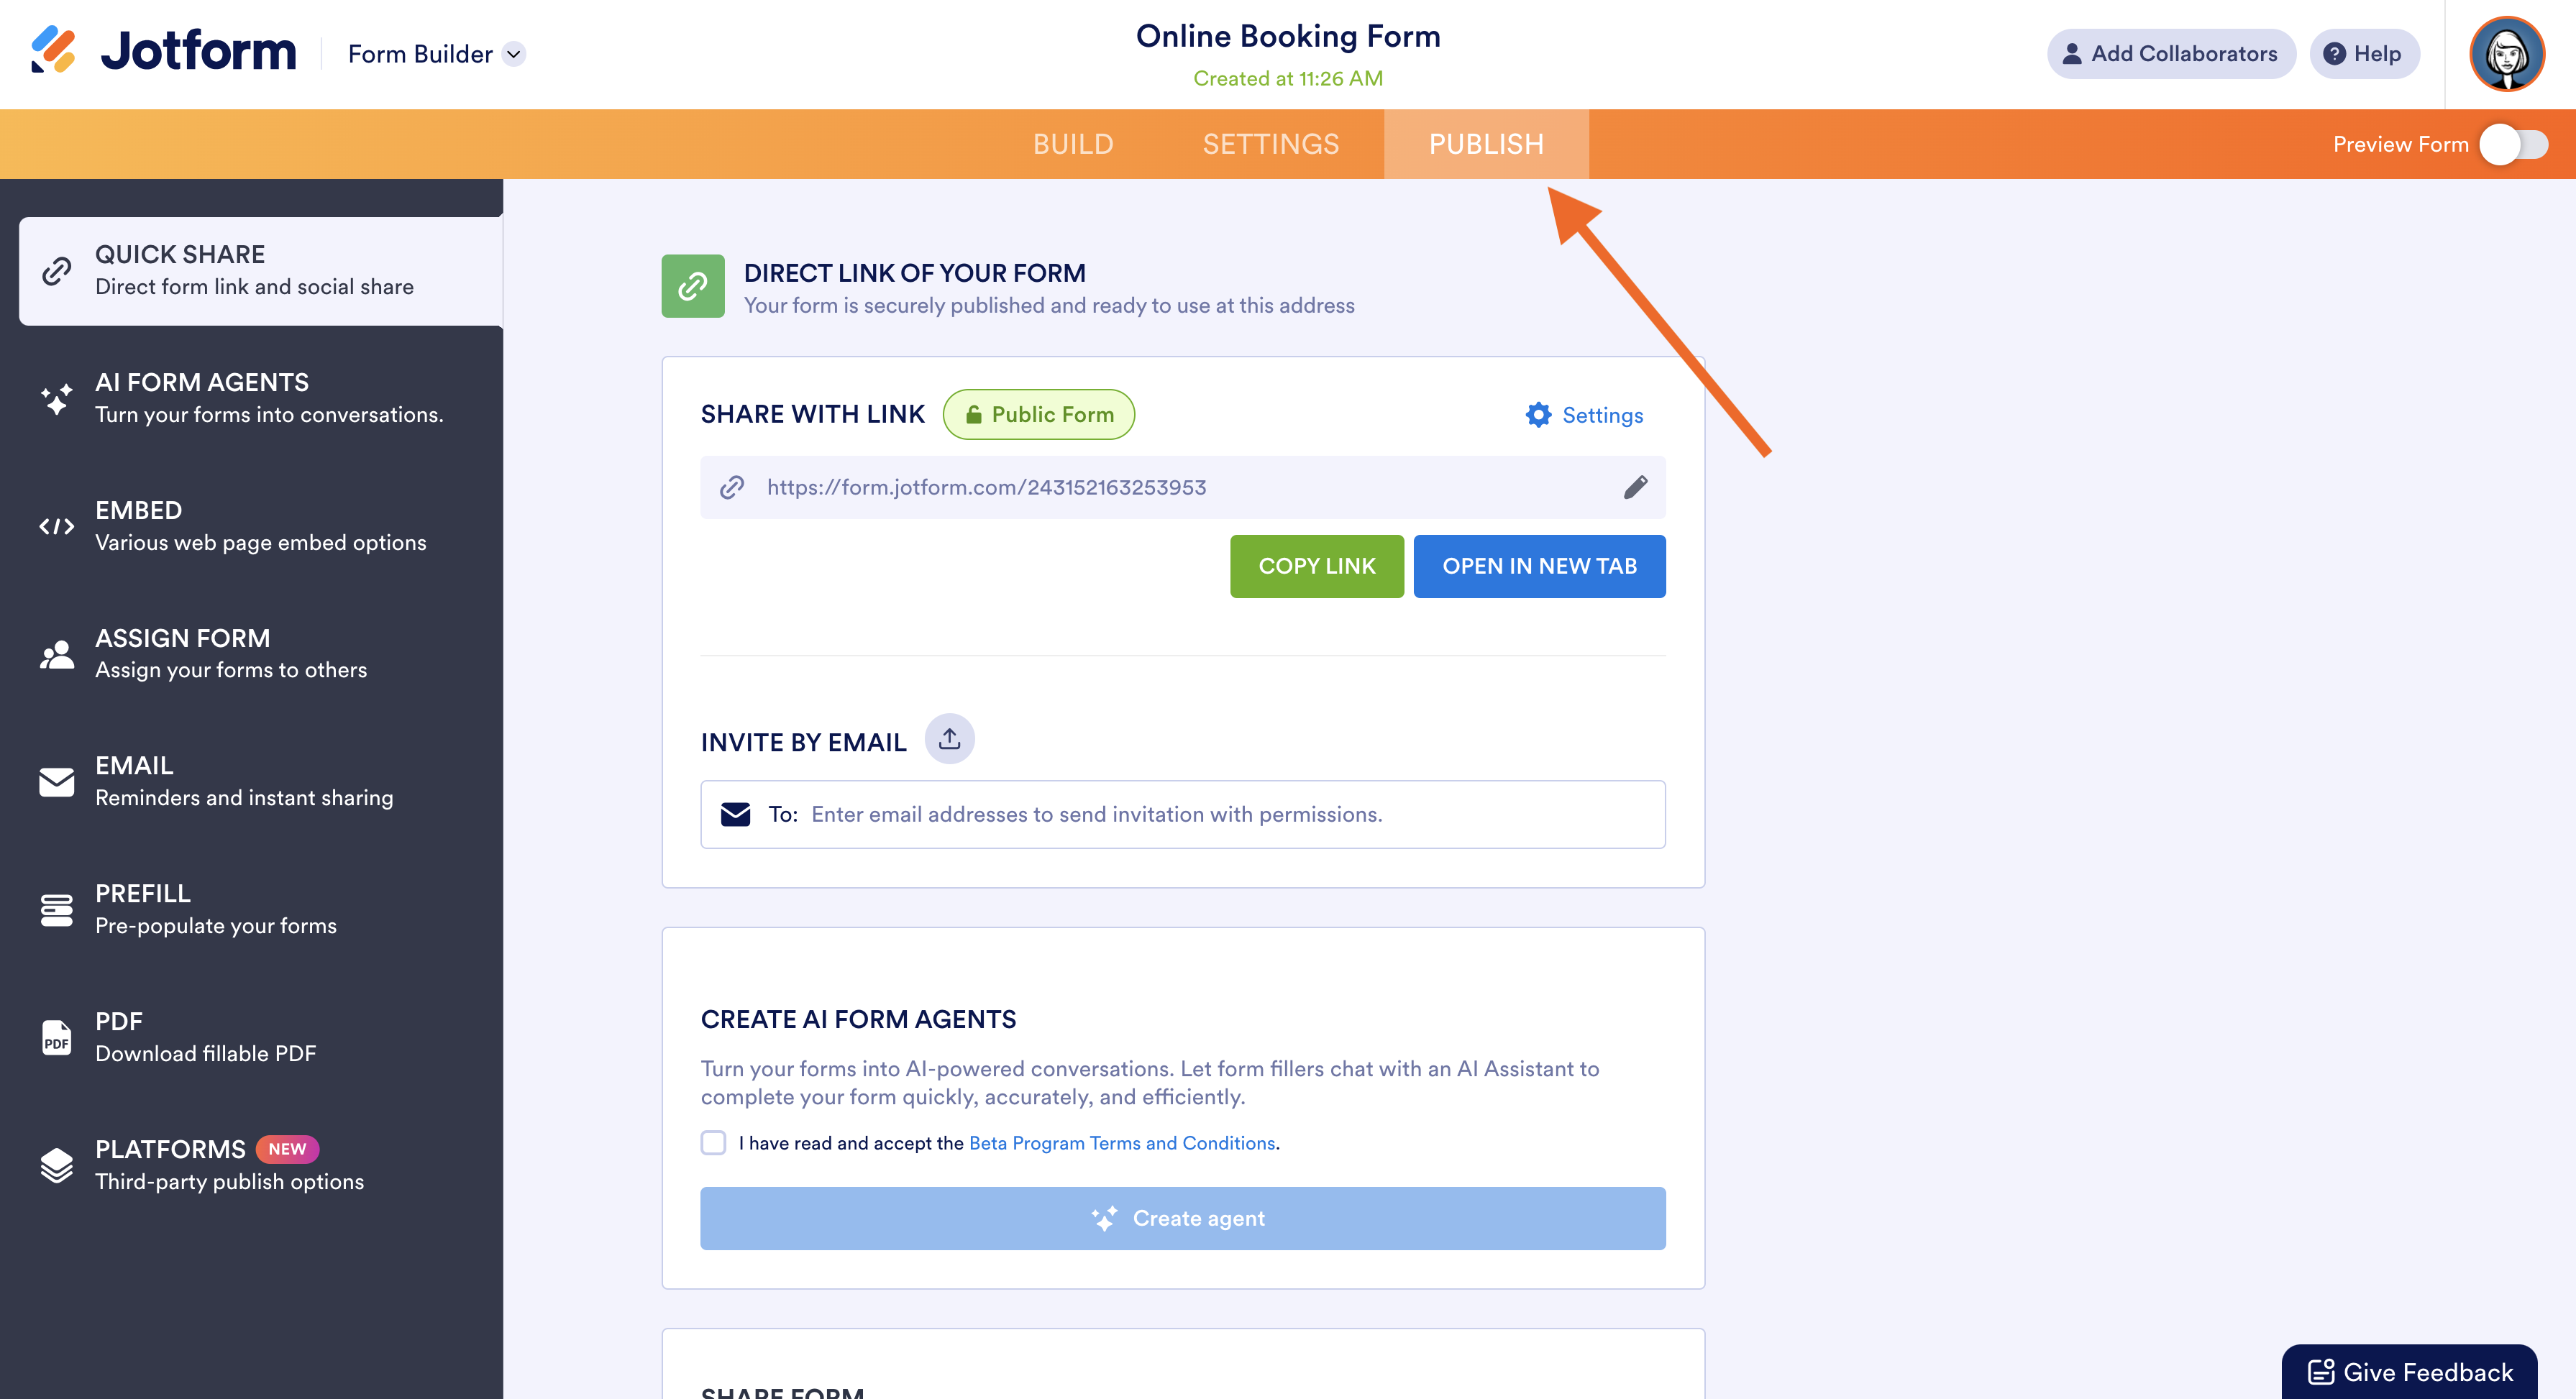
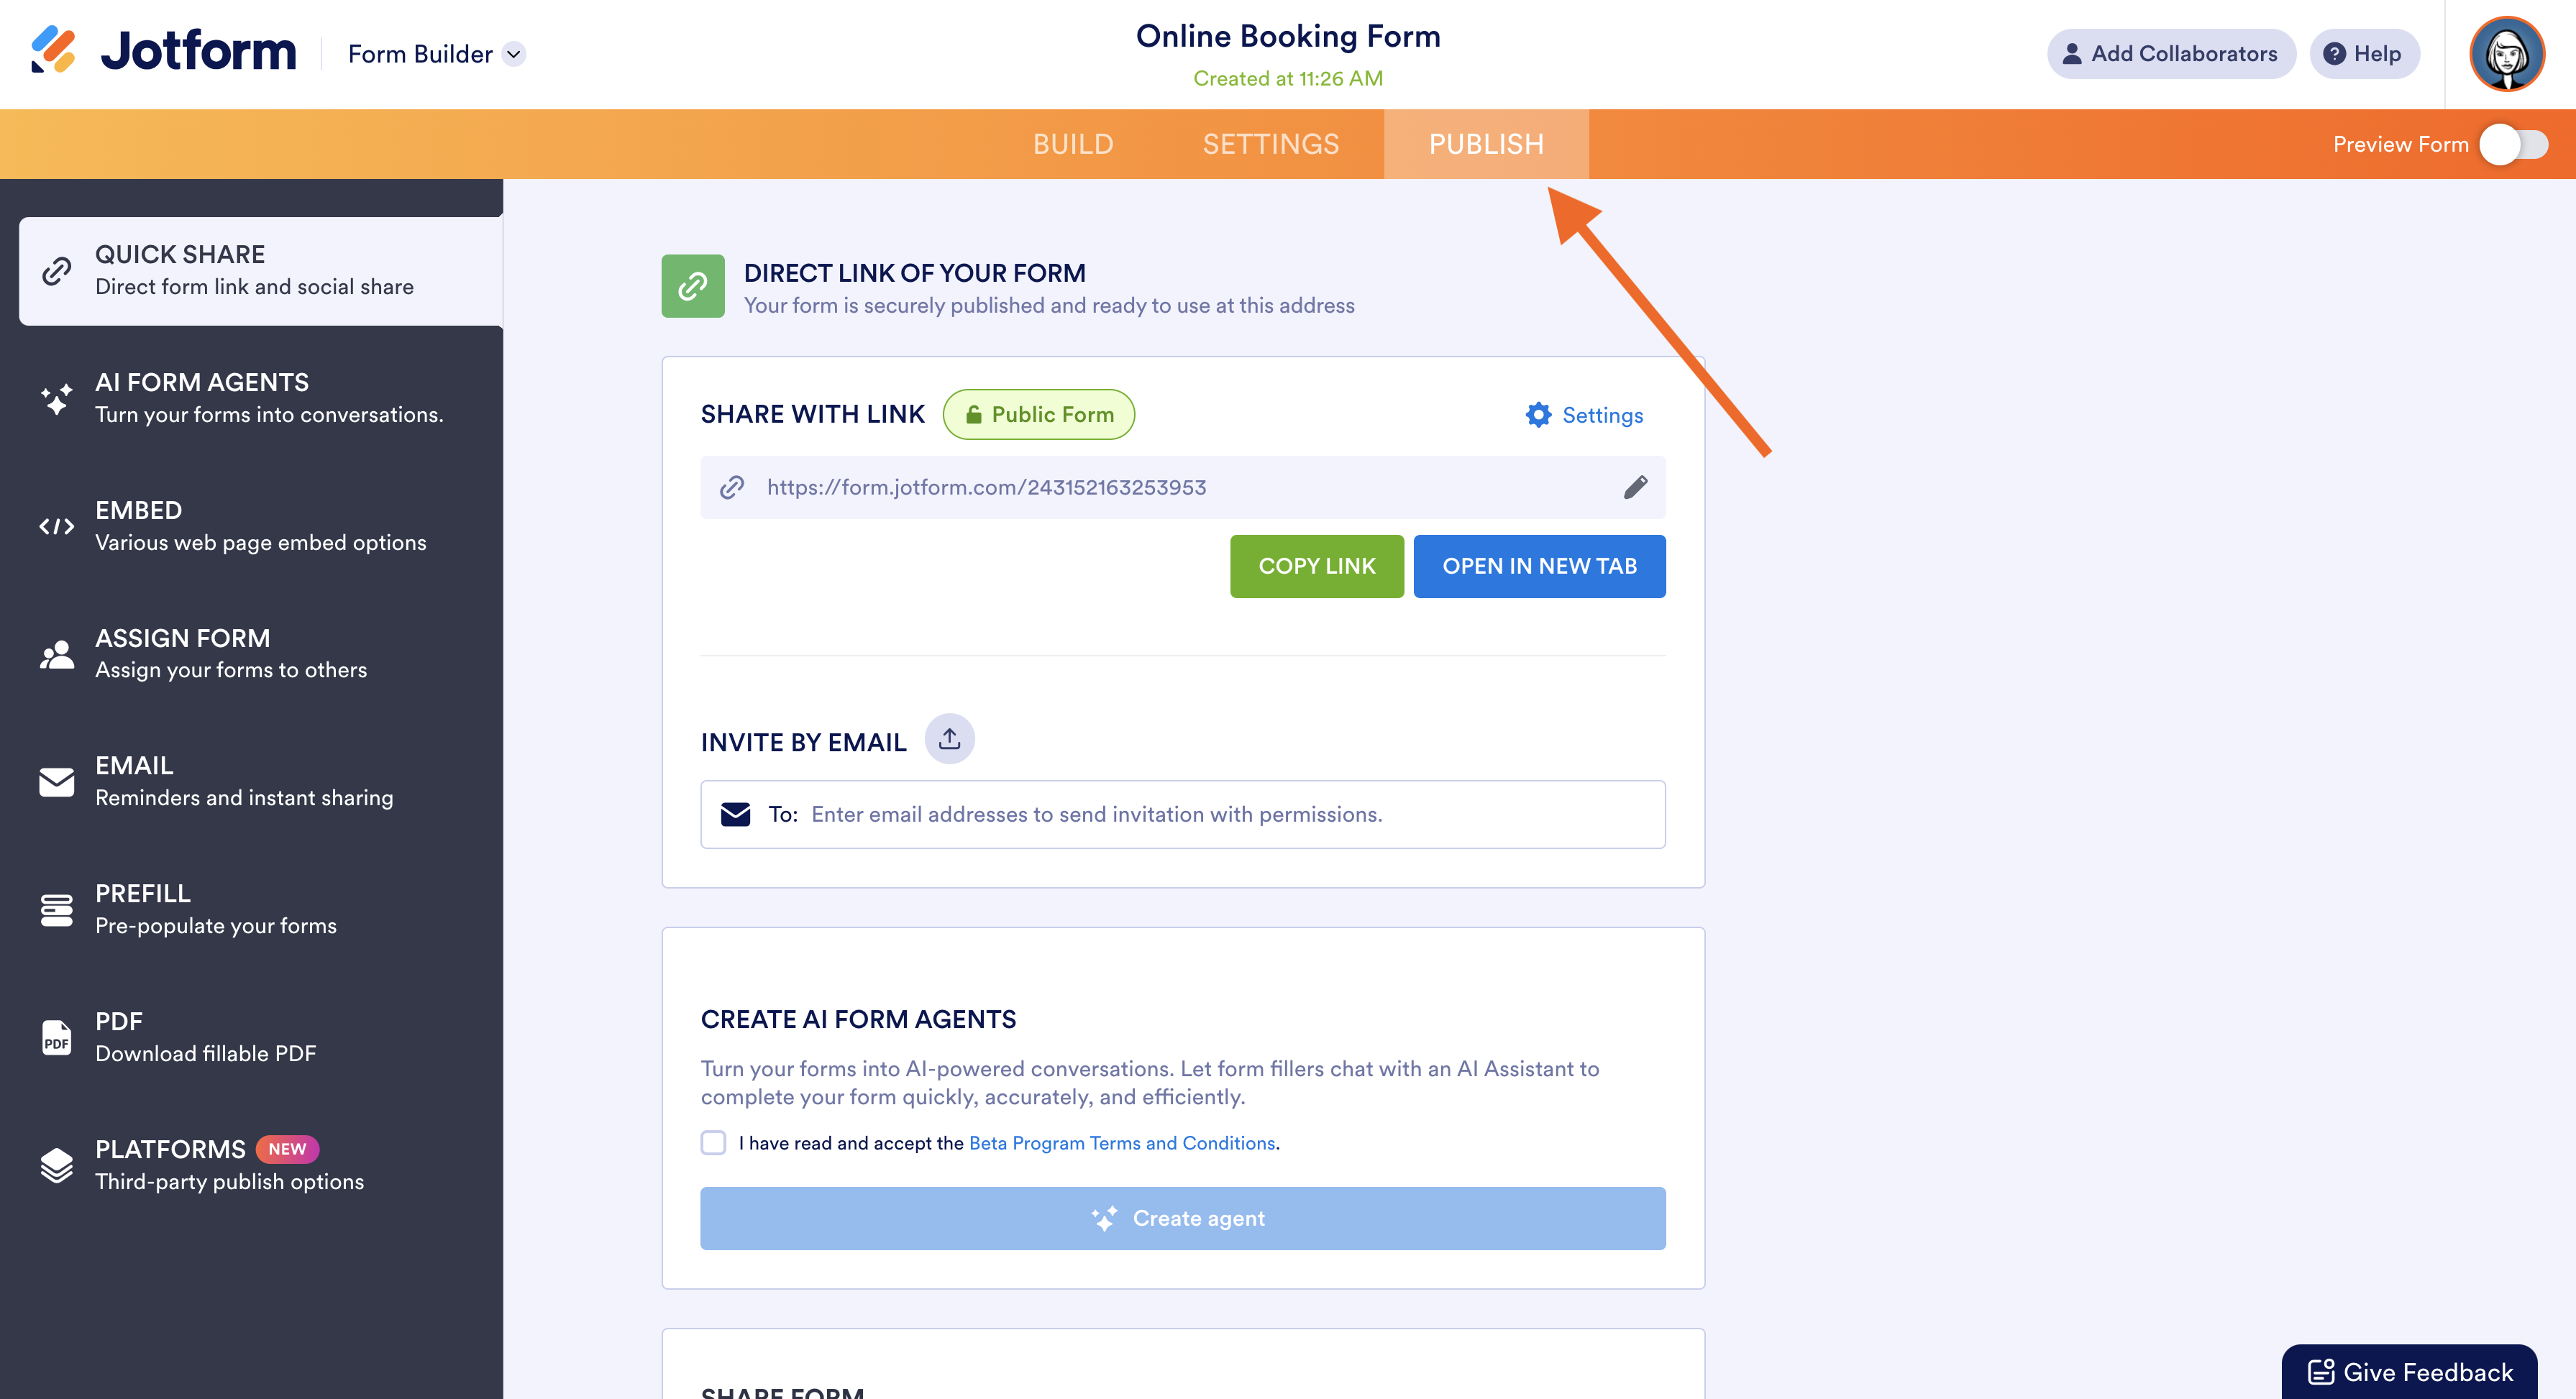
- Once your form is complete, click on Publish at the top of the form builder to select your sharing options.
- Send your completed form using quick share, email, social media, or a QR code, or embed it on your website.
Method 2: Using the drag-and-drop form builder
If you want to build a booking form that meets your precise requirements, you can do that with ease using the drag-and-drop functionality of Jotform Form Builder.
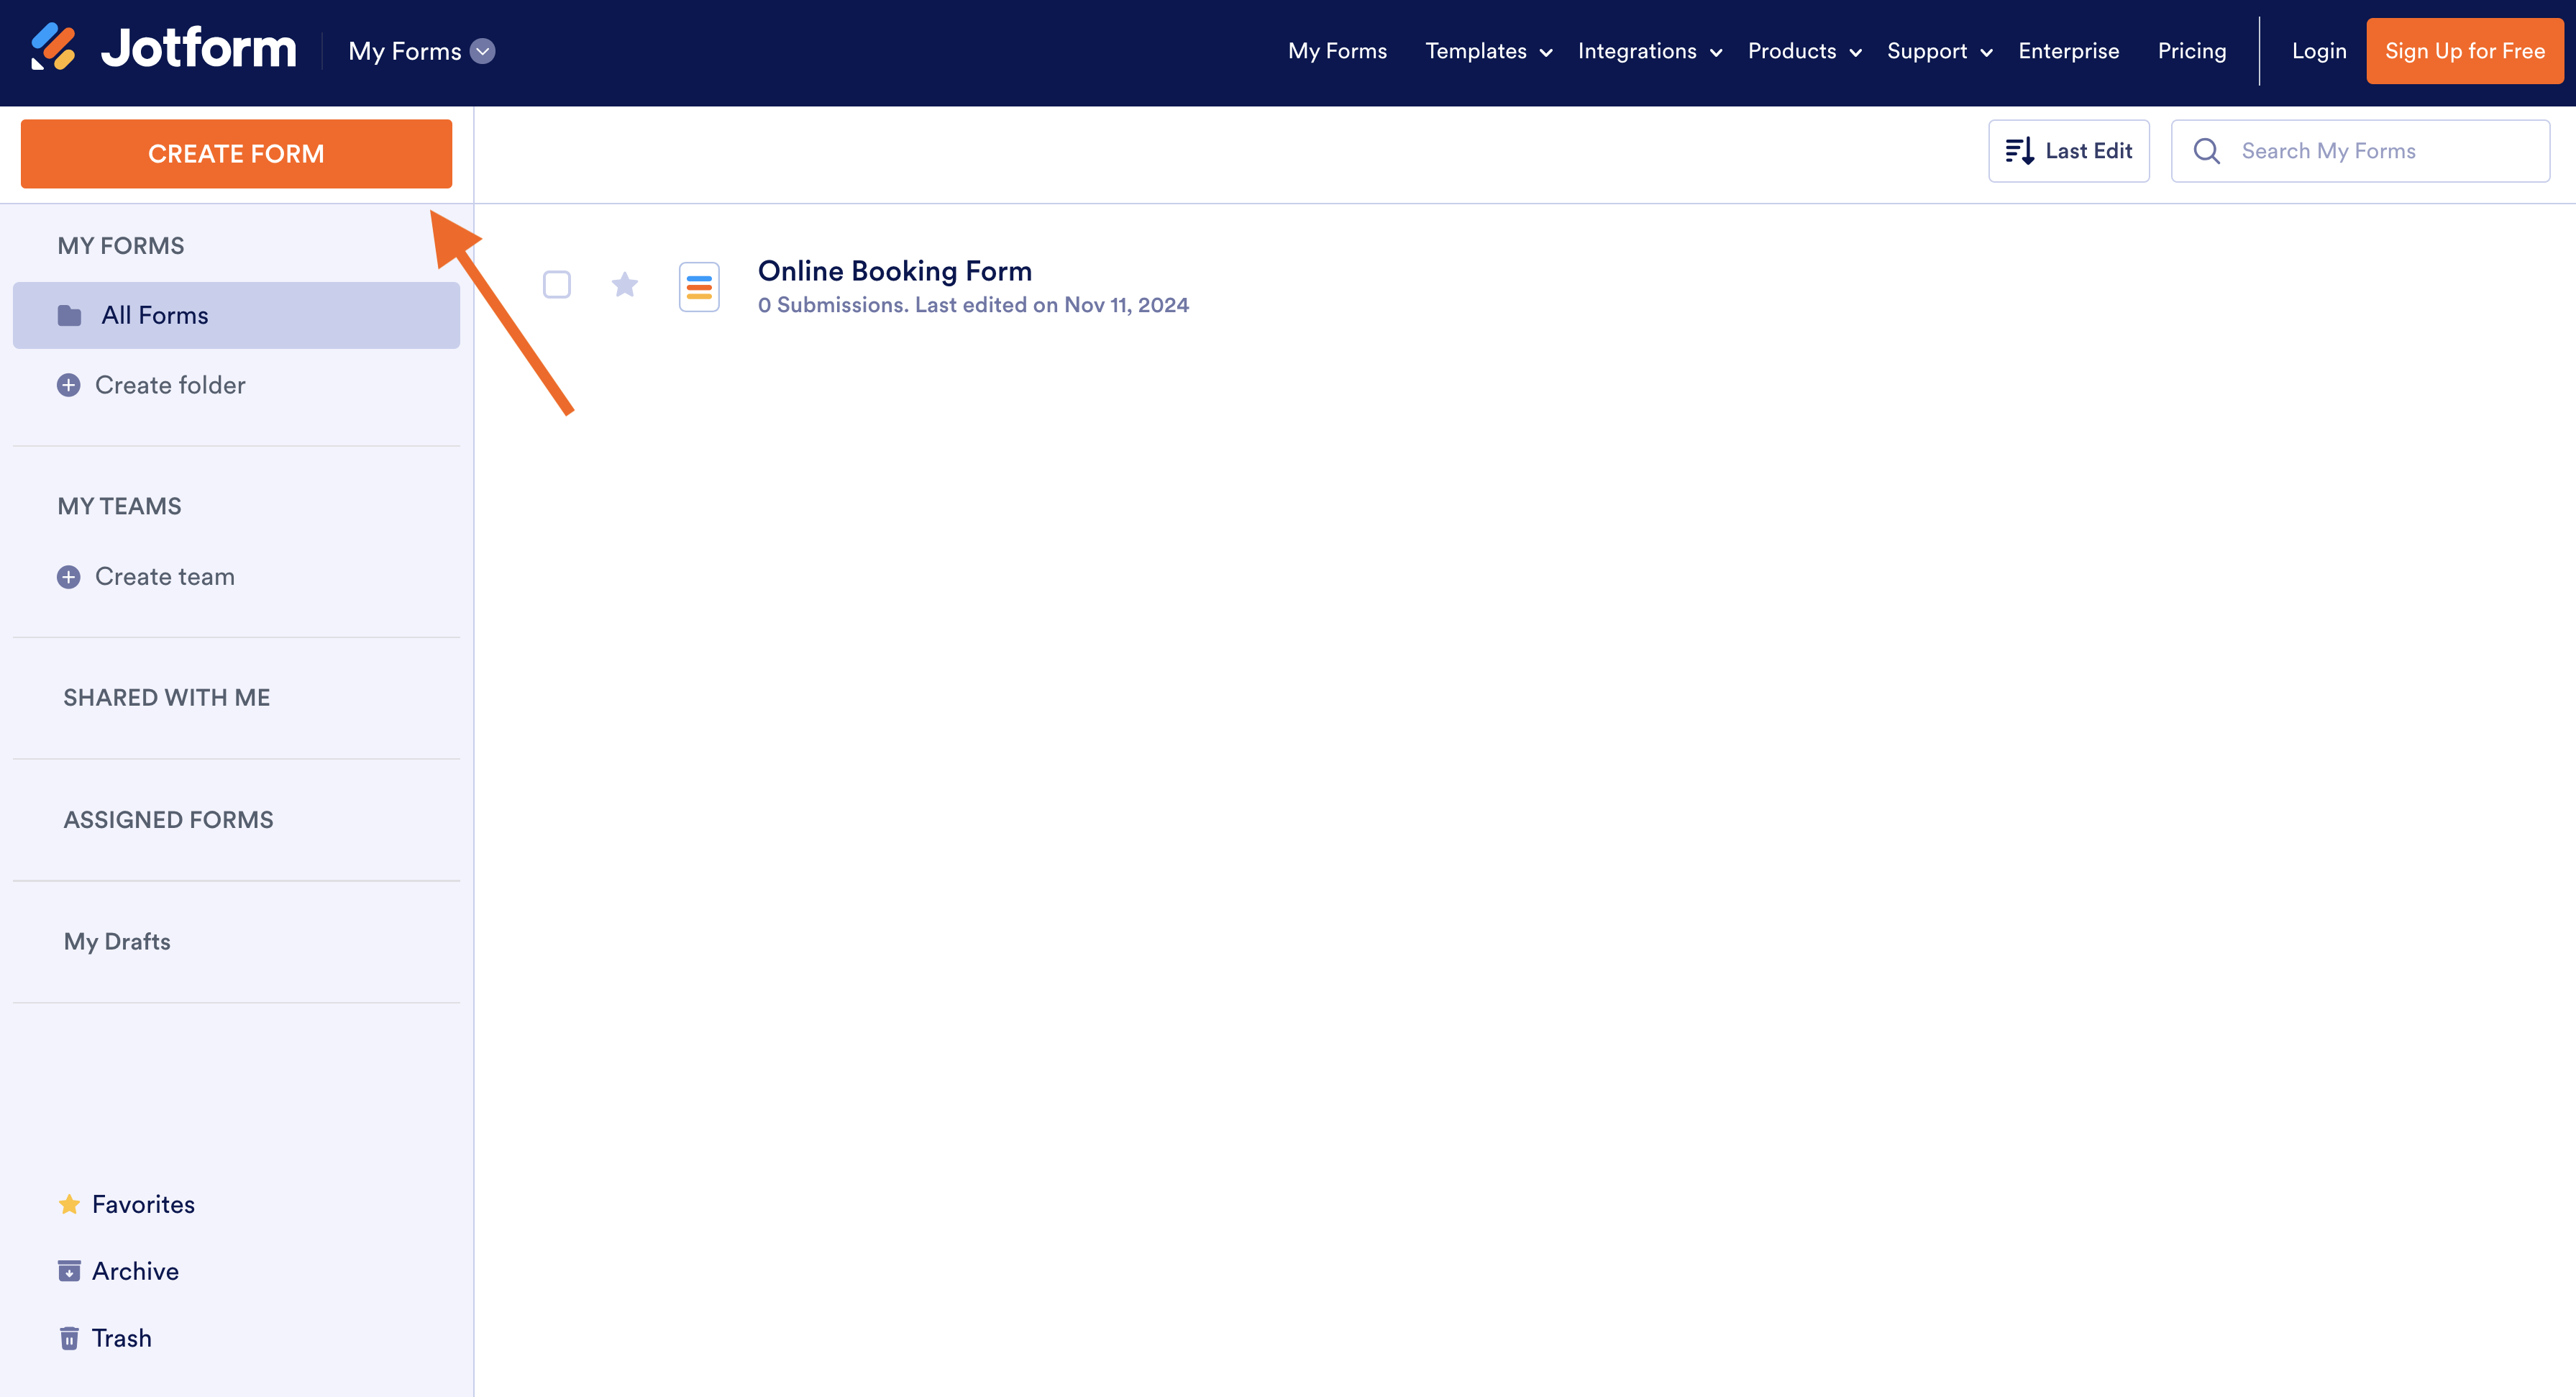
- Sign in to Jotform and go to the My Forms page.
- Click on the orange Create Form button in the top-left corner.
- On the next page, click on Start From Scratch.
- Select your preferred form layout from either a Classic Form or Card Form. (Pro tip: Most booking forms typically use a classic form layout.)
- Customize your form. Click on the Add Element + button on the left to add questions, widgets, or payment methods to your form. To customize the form’s design, click on the blue Form Designer (paint roller) button on the right.
- Add form elements by dragging and dropping them from the left menu to where you want them on your form.
- Once your form is complete, click on Publish at the top of the form builder to select your sharing options.
- Share your form using a link, email, social media, or a QR code, or embed it on your website.
Jotform has the tools you need to to create a form that meets your needs. It also comes with a full suite of products that can maximize your booking form’s potential and elevate its value to your business.
How Jotform elevates your booking forms
Creating your booking form with Jotform Form Builder is not only easy, but also gives you access to other helpful Jotform tools that will take your forms to the next level. For example, you can
- Automate your booking form approval workflows with Jotform Workflows
- Track and manage your bookings through Jotform Tables
- Create your own no-code booking app with Jotform Apps
- Add specific appointment scheduling form elements
- Generate booking QR codes
Plus, you can combine these Jotform solutions to create an online booking system and even tailor it to specific industry use cases, such as hotel booking software, tour booking software, or salon booking software.
Regardless of whether you use Microsoft Forms or a powerful alternative like Jotform, you now have a better understanding of how to quickly create booking forms for your business. While creating your forms, make sure you include all the form fields you need to make them as beneficial as possible — and don’t forget to add your branding for a cohesive, professional look.
Photo by Arina Krasnikova











Send Comment: